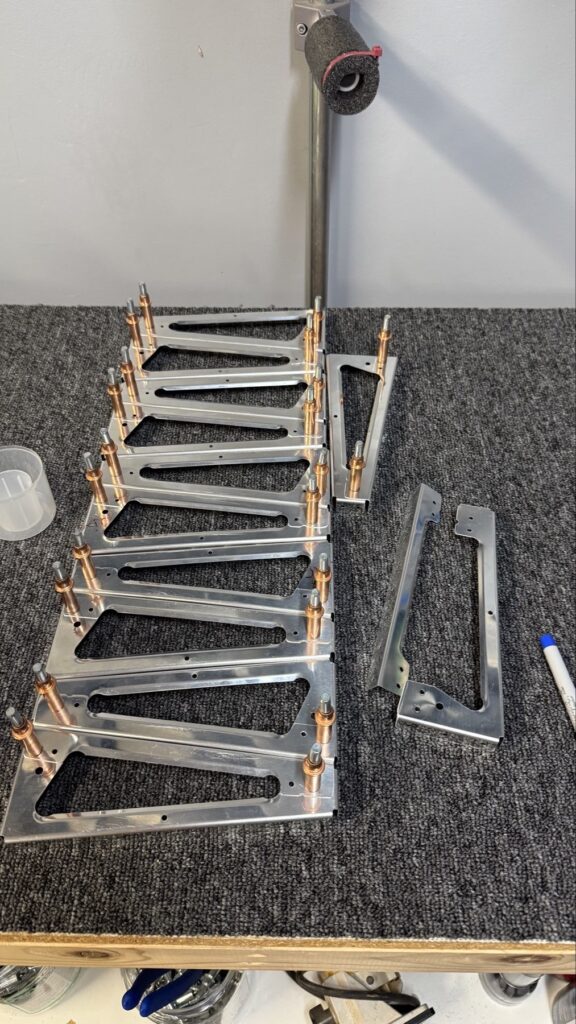
For some reason I was dreading this but it really wasn’t that bad. There was tedium, sure, but it wasn’t bad. There were some new techniques learned in this section as well, which I’ll get in to below. First I had to separate and prep a bunch of stiffners, including some foam ones. This project hadn’t worked with any foam yet, so I immediately got excited about making these perfect foam ribs using my CO2 laser, but I quickly learned that the kind of foam I’m working with here can’t be lasered because it creates a toxic and corrosive acidic fume and I didn’t feel like damaging my laser. Or my lungs.
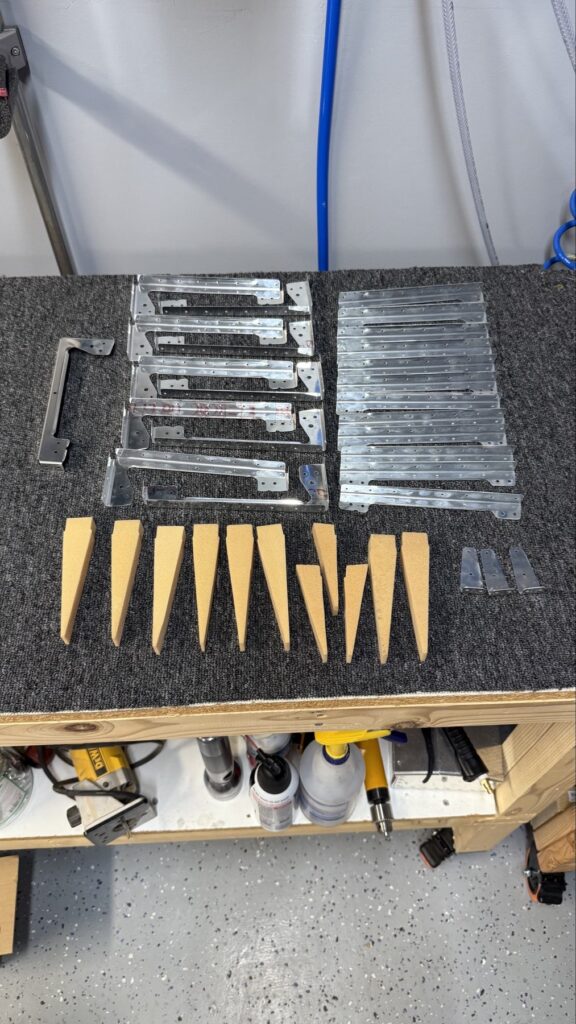
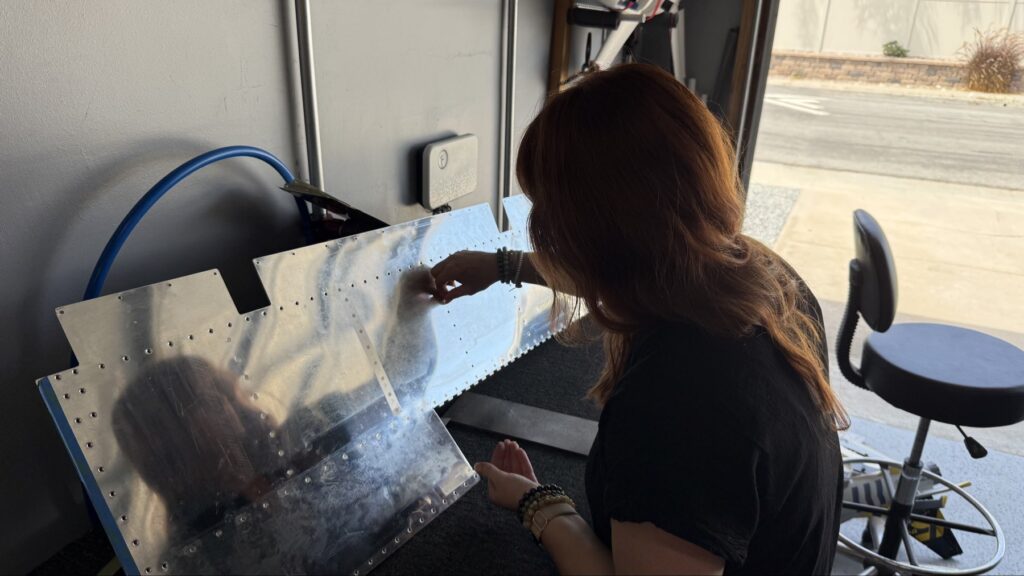
There are those foam pieces I had to pruduce from some raw-material blocks of foam. They were easy, I just printed the templates from the kit plans, spray-glued them in to the foam blocks, and used the bandsaw to cut them it and then the grinding wheel to finish them off. It was very easy.Starting to test fit everything for one of the sides
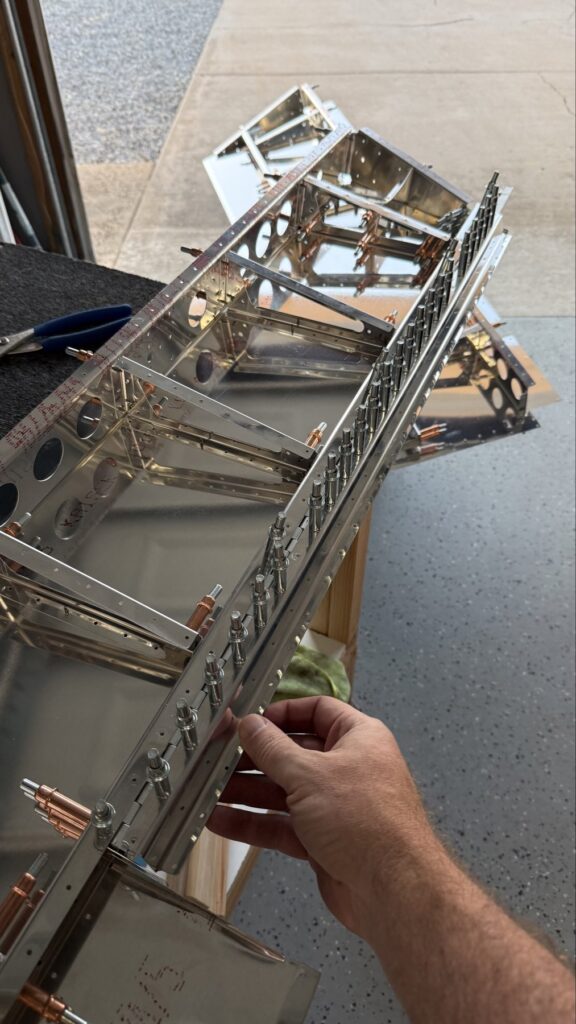
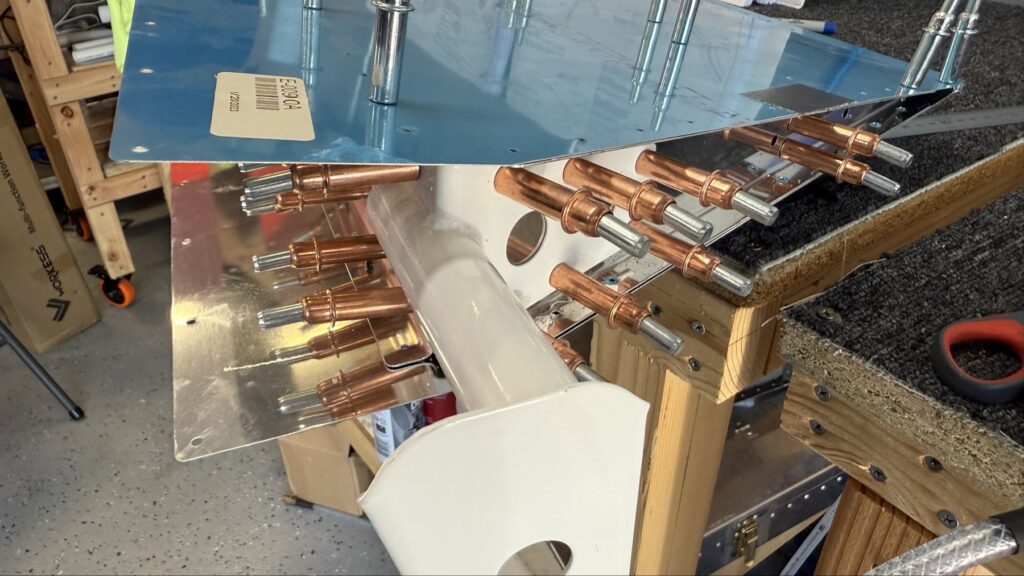
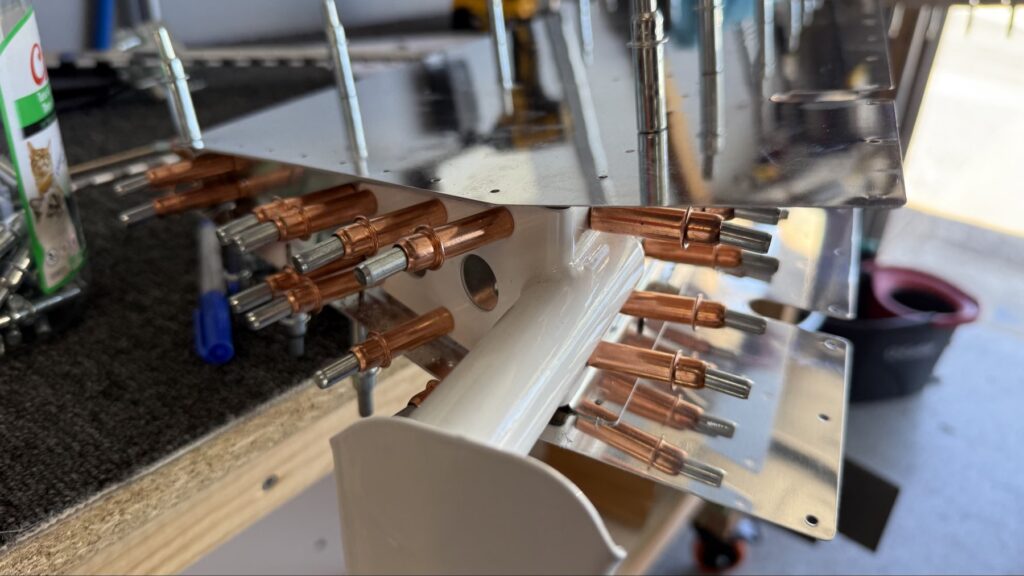
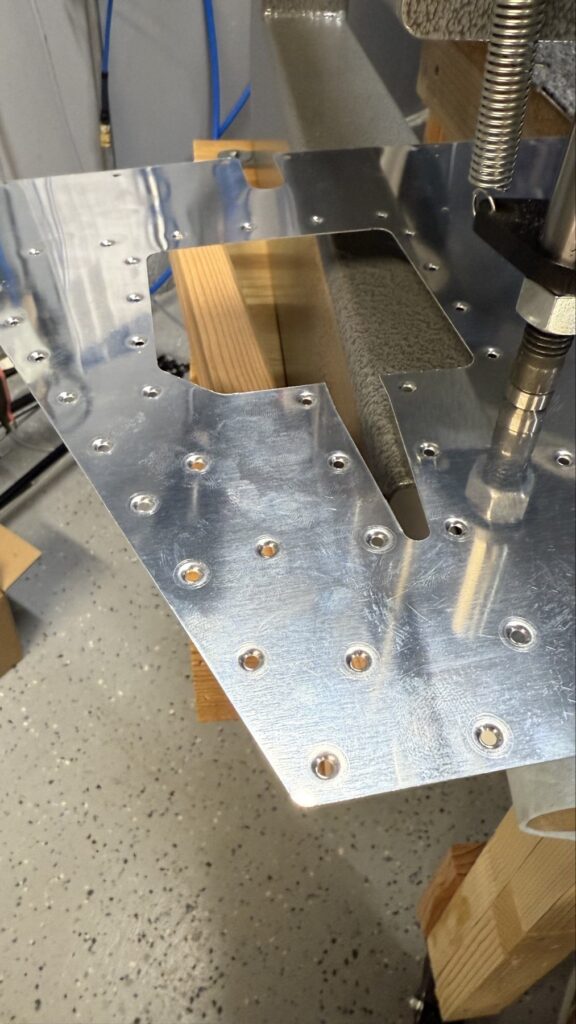
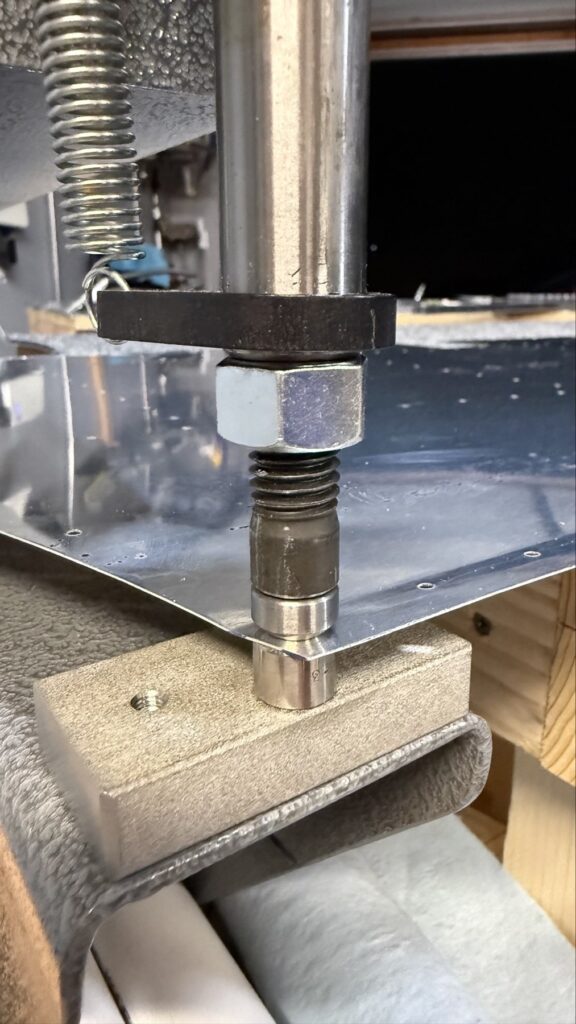
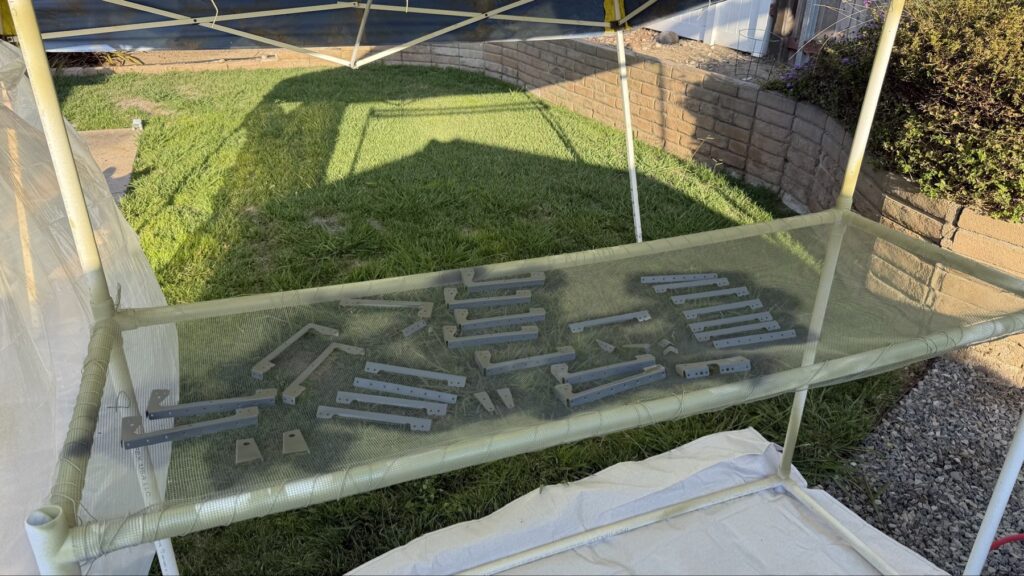
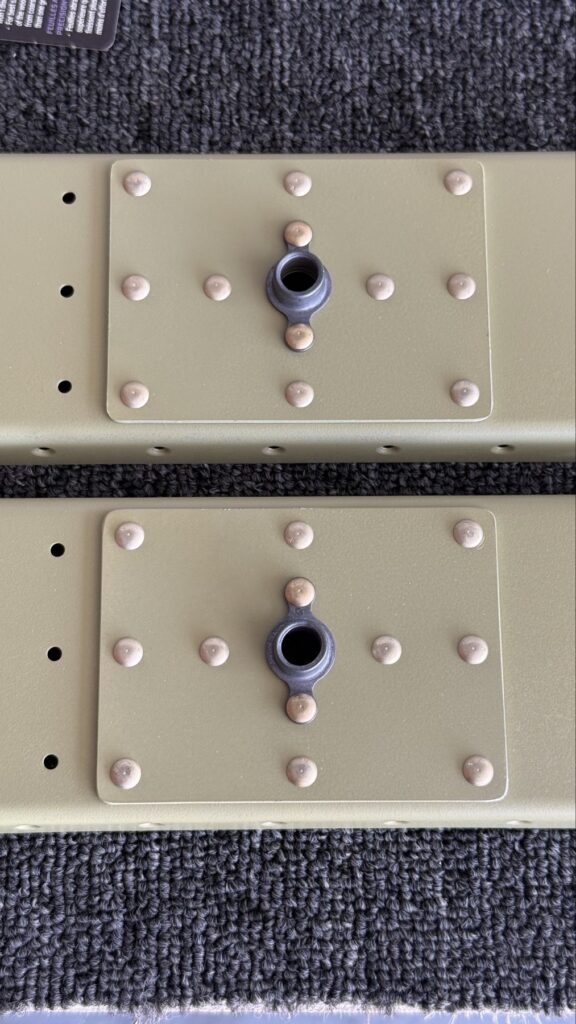
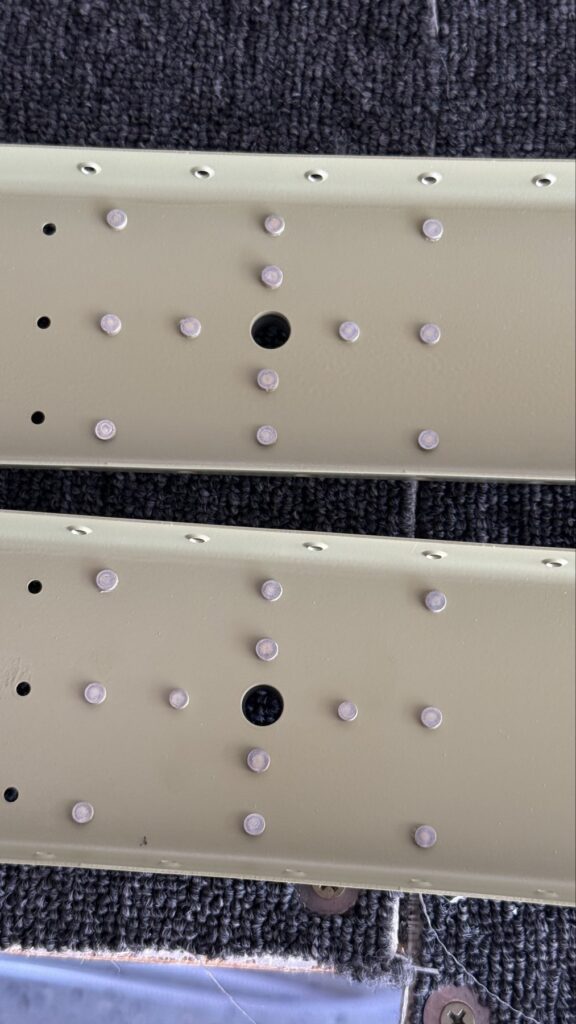
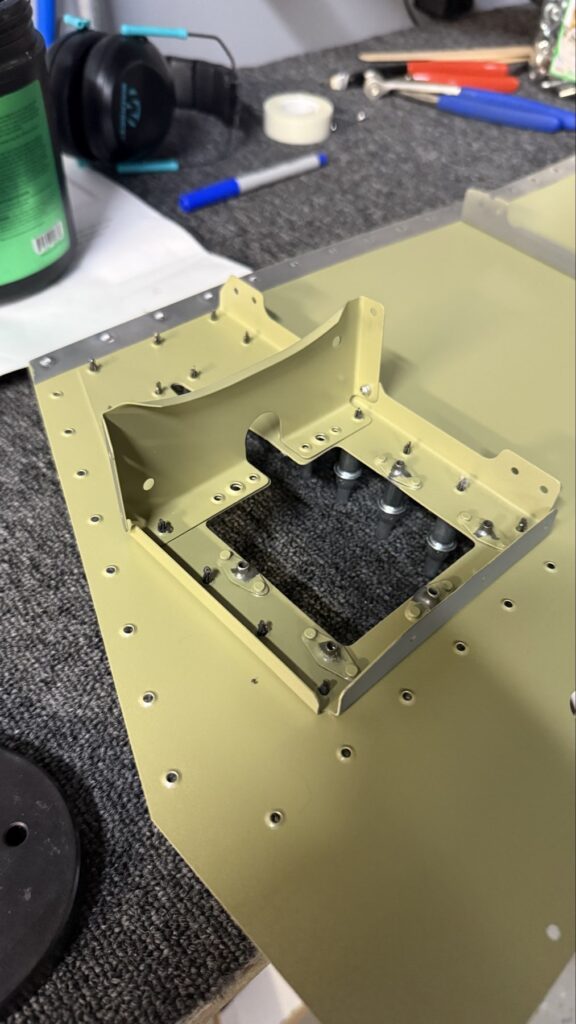
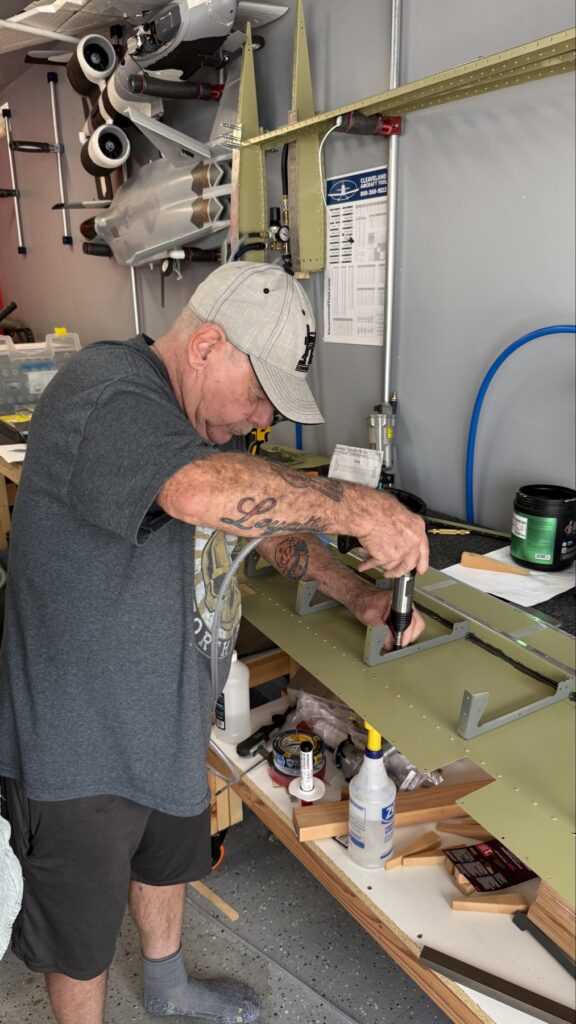
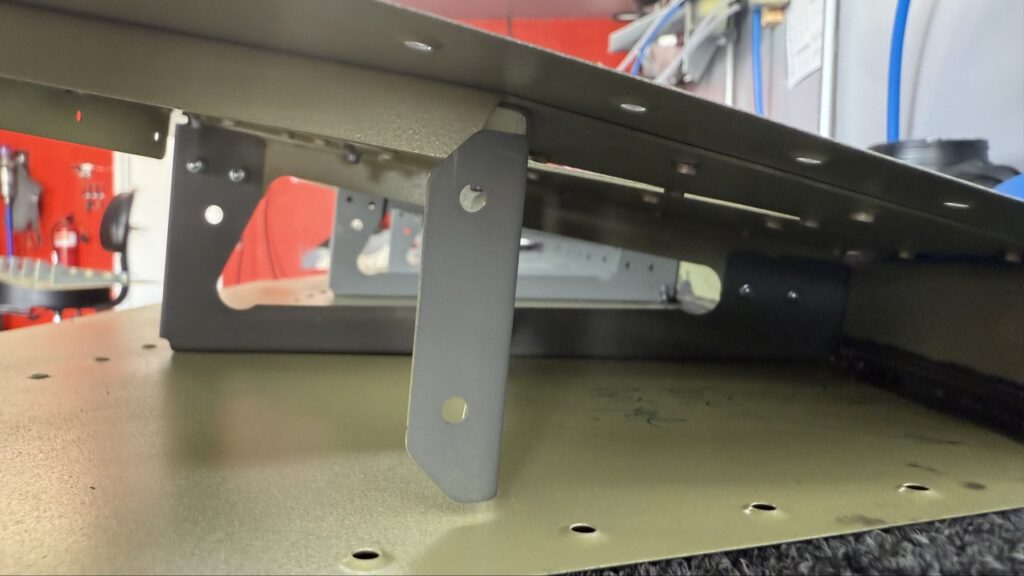
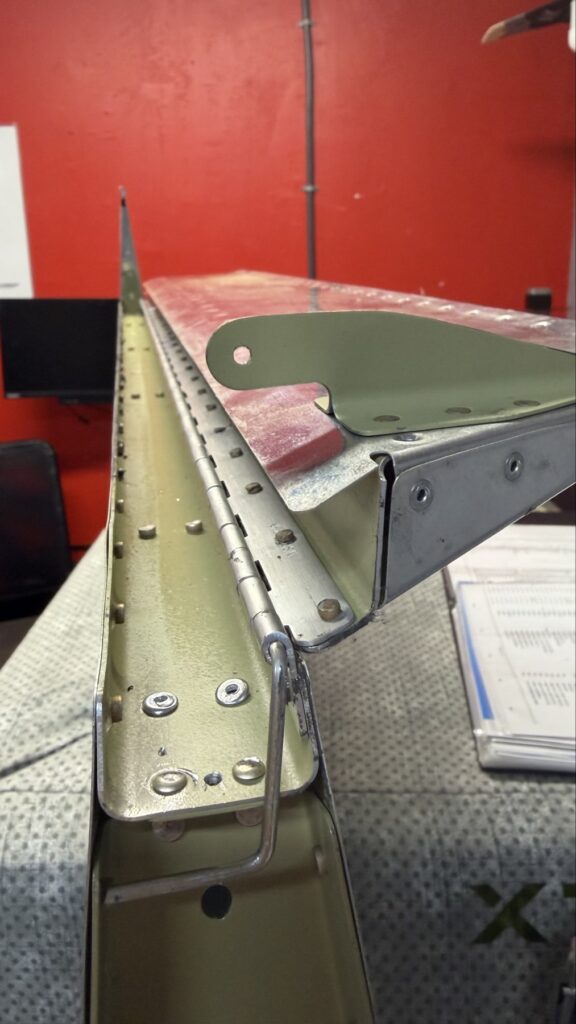
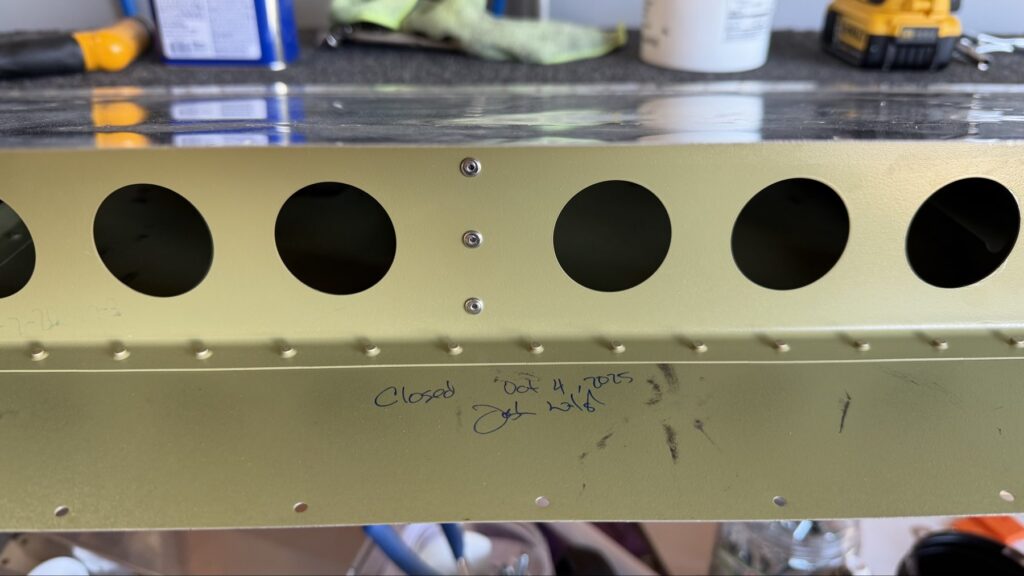
In the following two pictures you see the control horns that get joined to a push-pull tube that connects to some “stuff” you’ll see later which ultimately connect directly to the control stick.
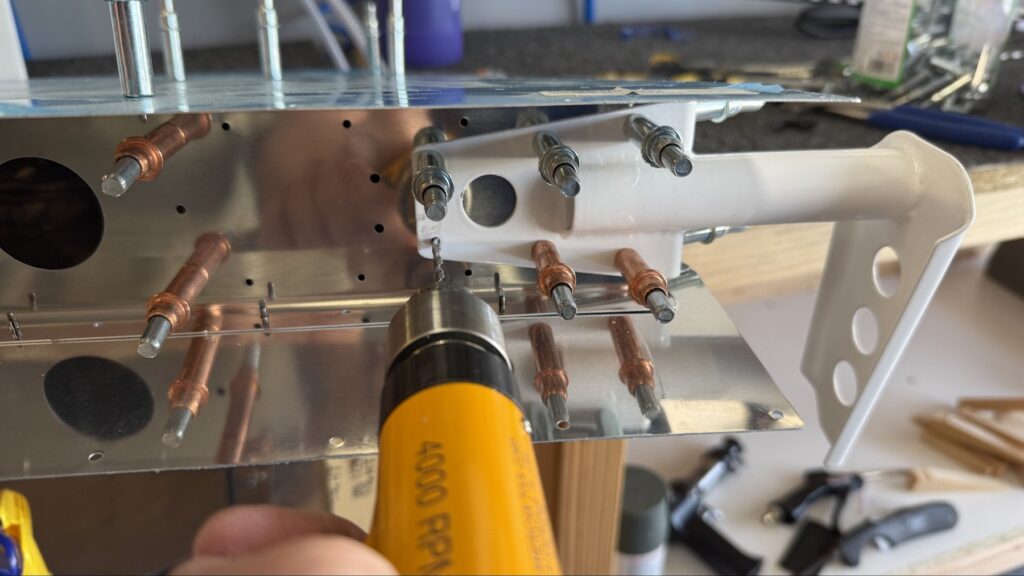
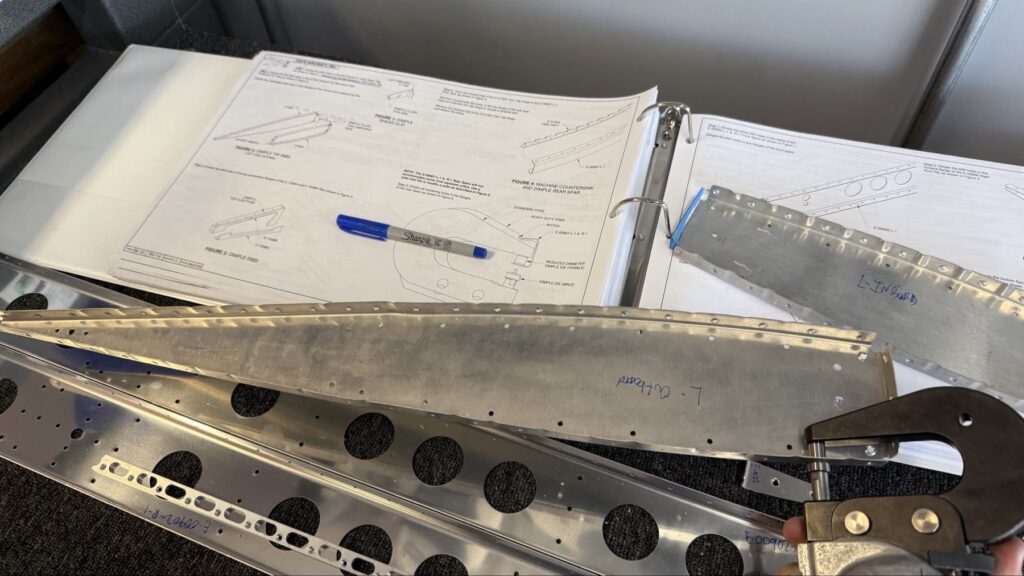
Here is another shot of one of the control horns. I am match-drilling these holes to the pre-existing holes in the forward spar of the elevators to make sure they all align perfectly, are the same size, so I can then put some rivets in and perma-connect. That all comes after priming though, and the white parts throughout the build are powder coated so never get primed.
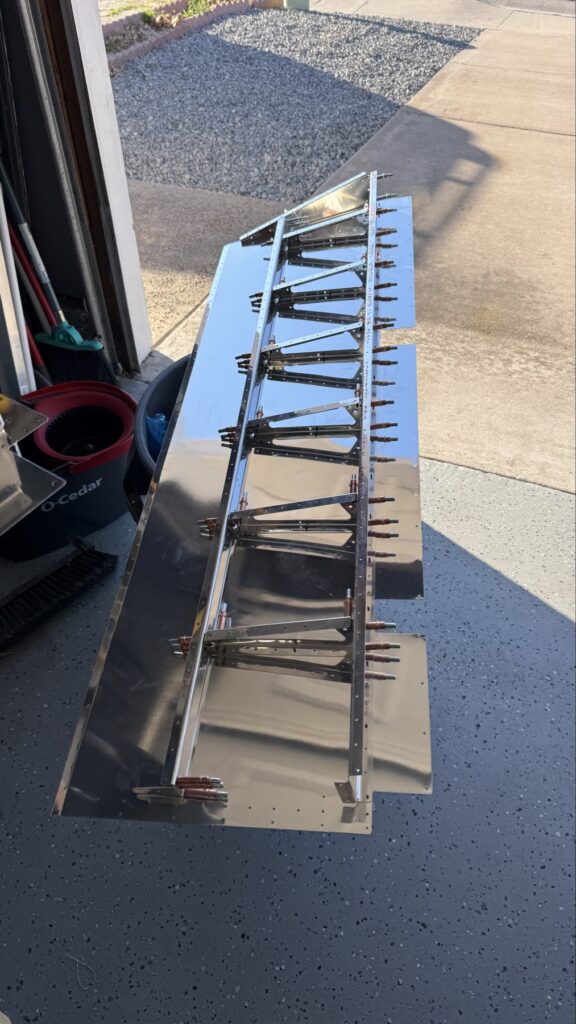
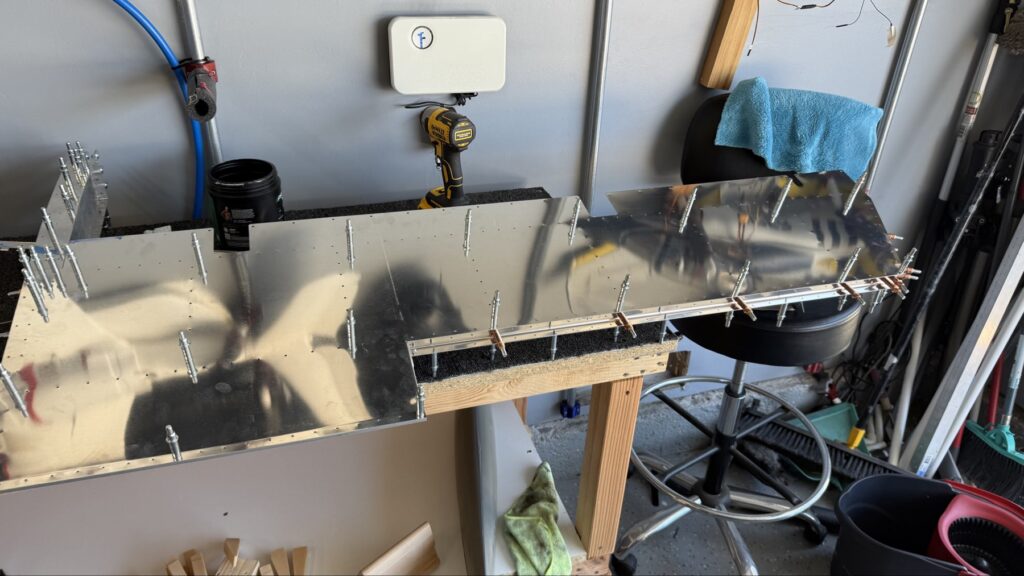
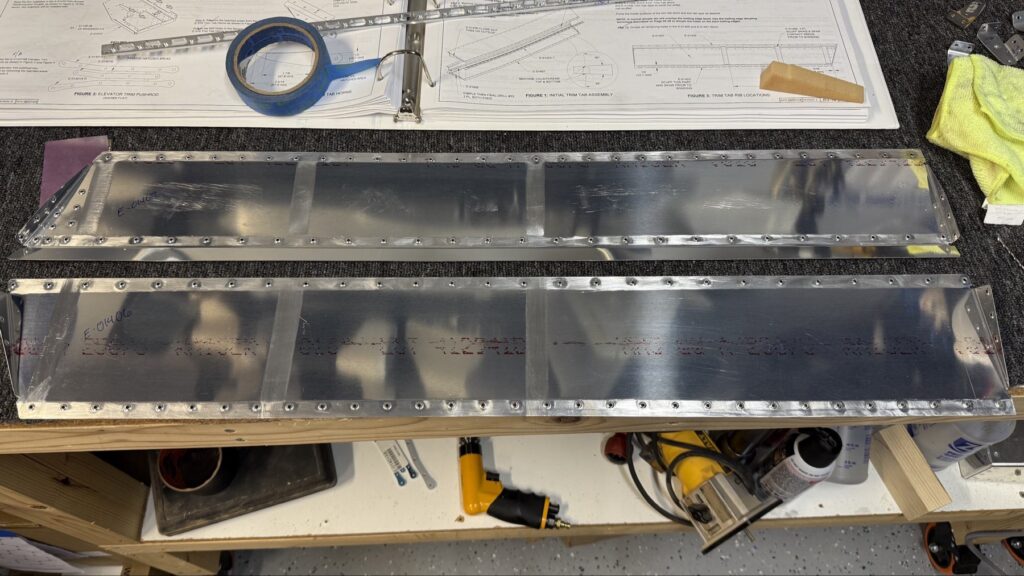
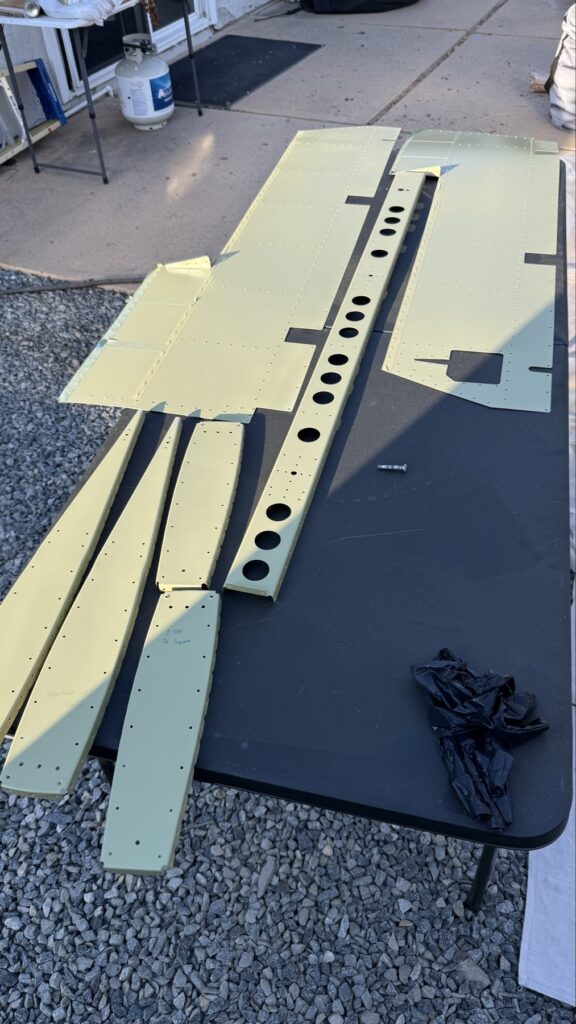
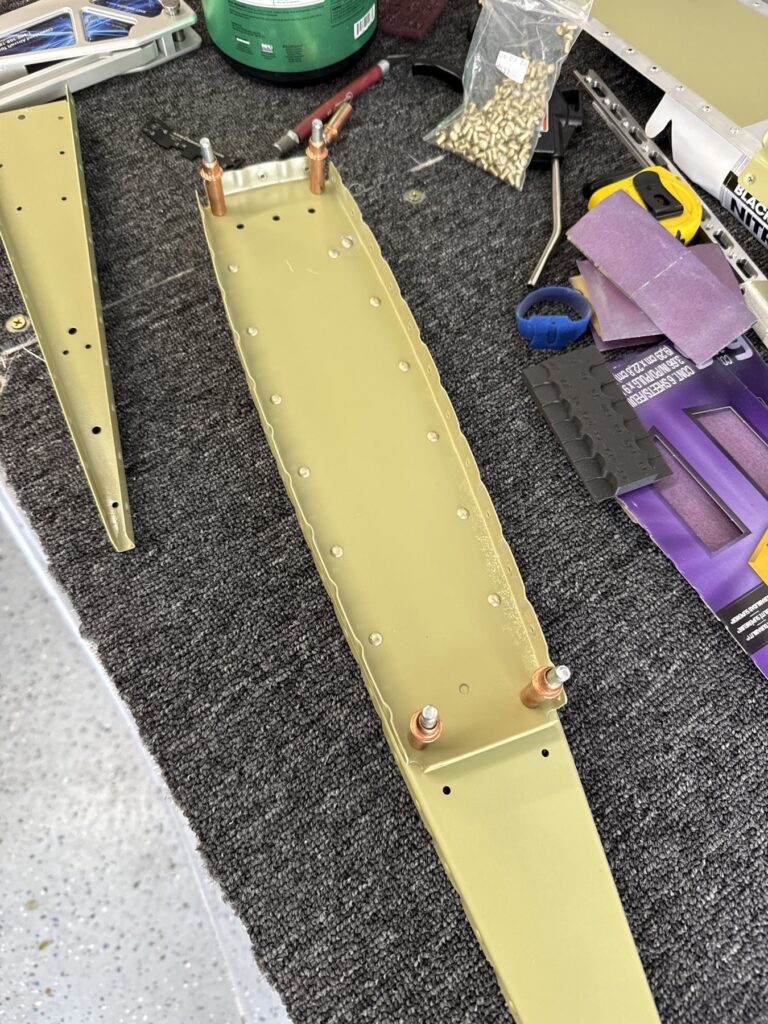
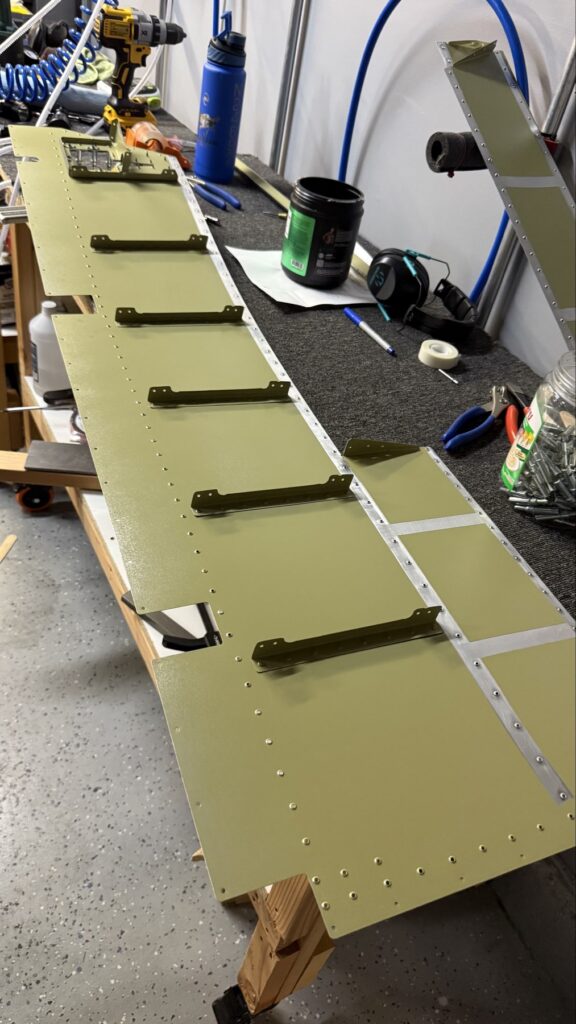
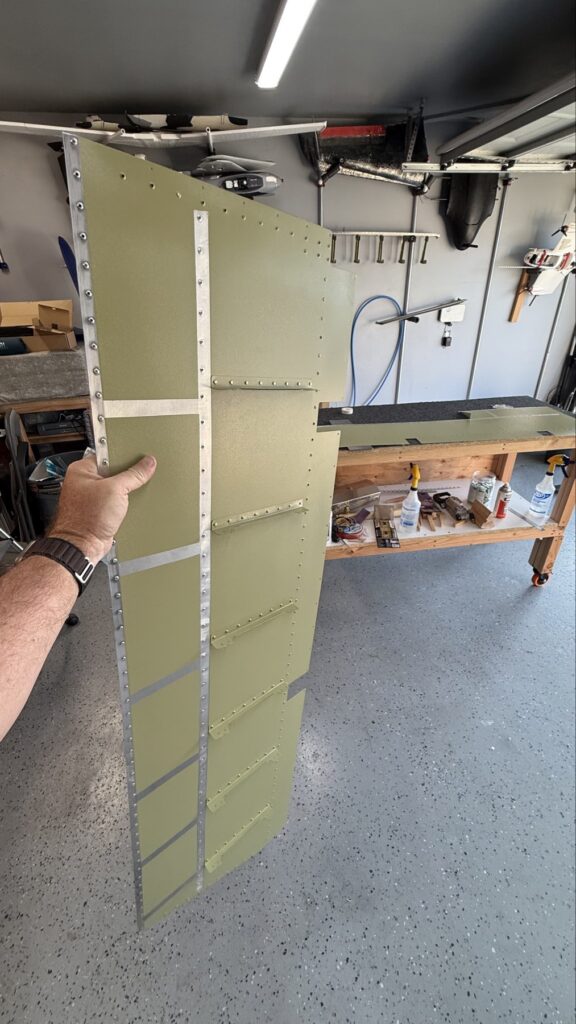
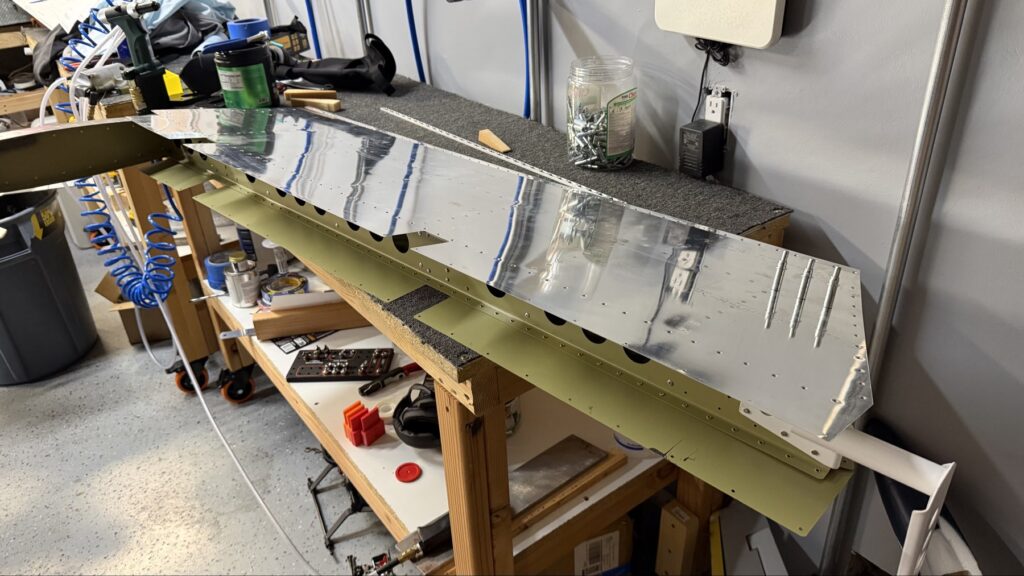
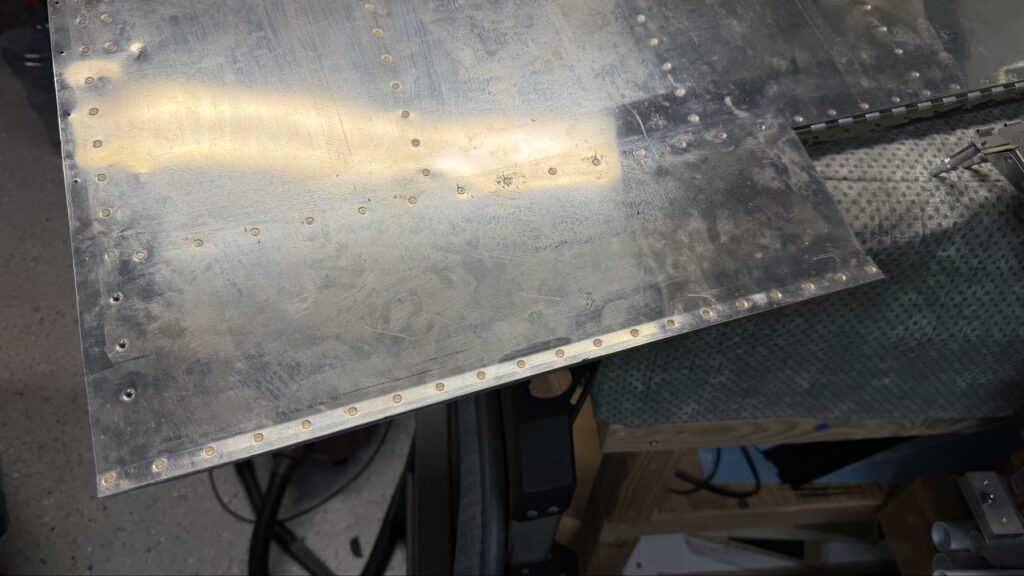
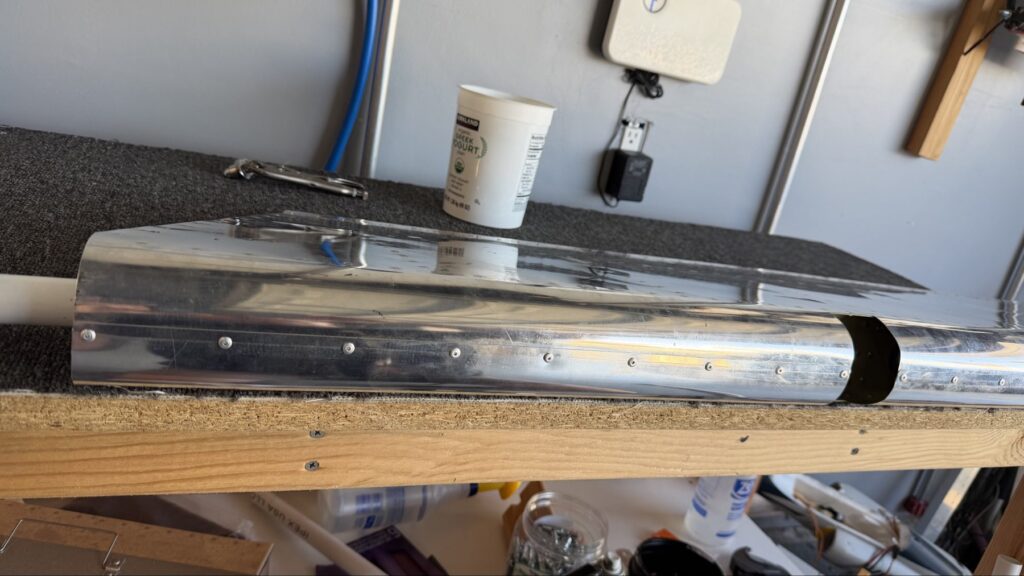
Here is a picture of the left elevator. That section that is missing is where the elevator trim tab will go. It connects via piano hinge and is controlled by a servo motor that hides in the elevator. That servo motor will be wired to the Autopilot’s pitch servo and can be controlled electronically either via the autopilot or the control stick.
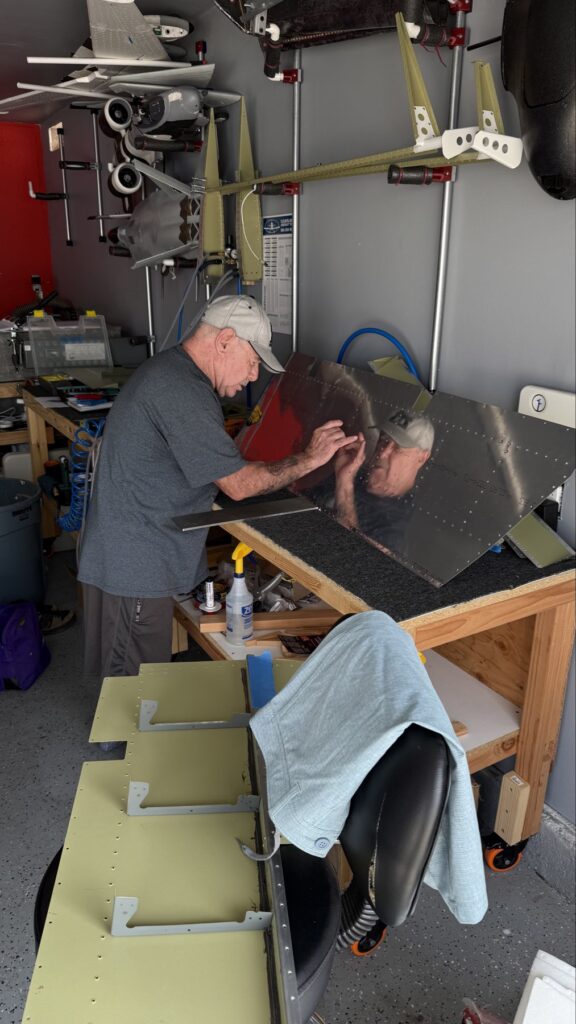
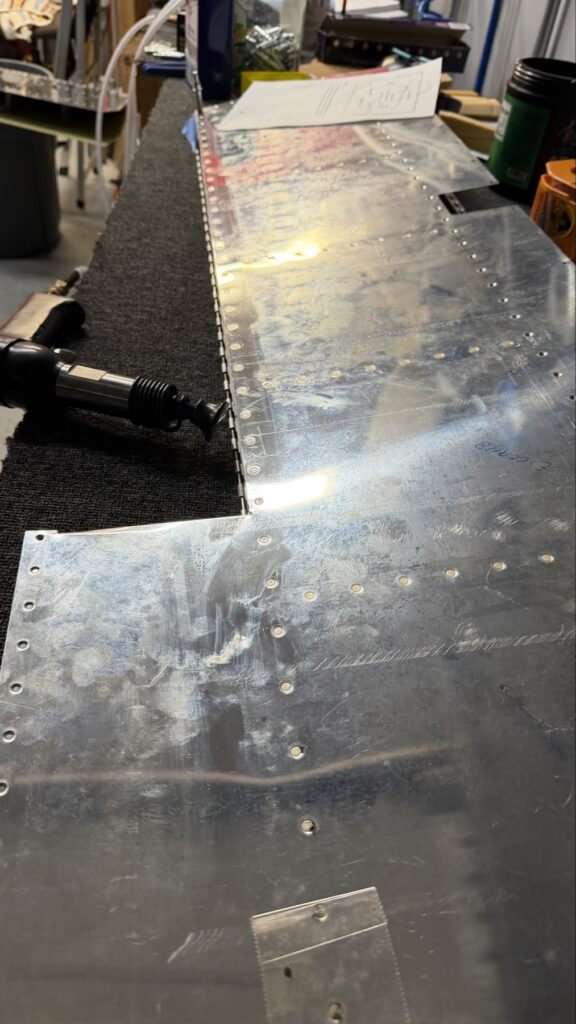
Not learning my lesson yet, I am riveting these skins ahead of priming, which really does a number on my scotchbrite pads
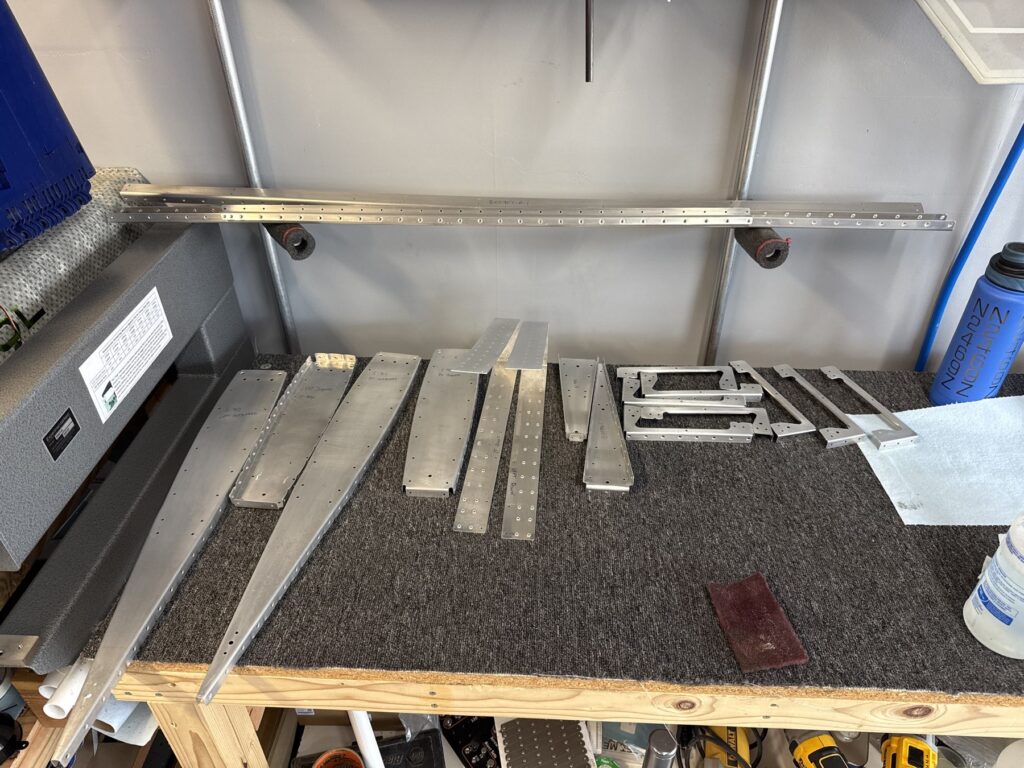
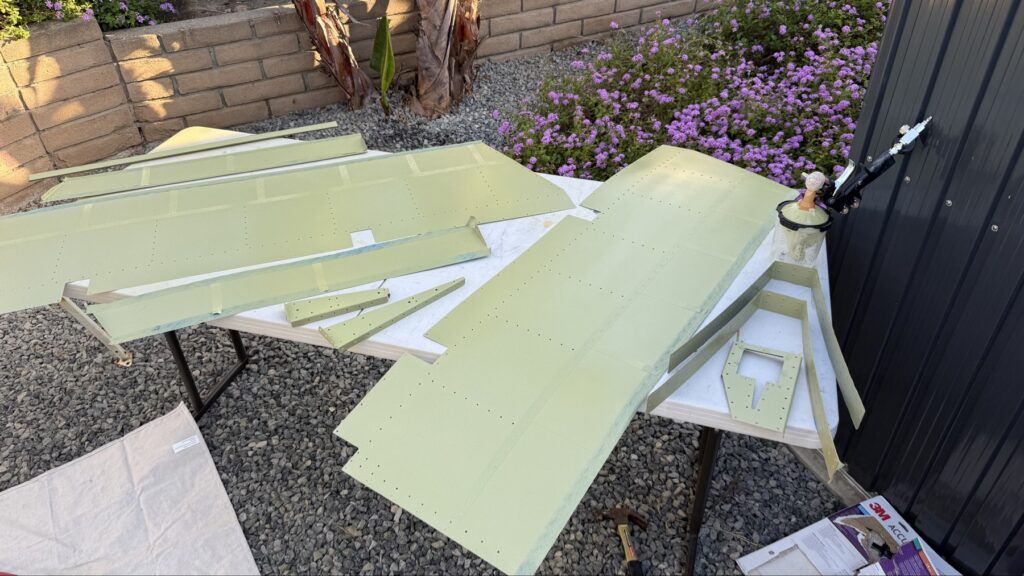
I then did some more shaping and started the process of primer-prep. Yay primer prep.
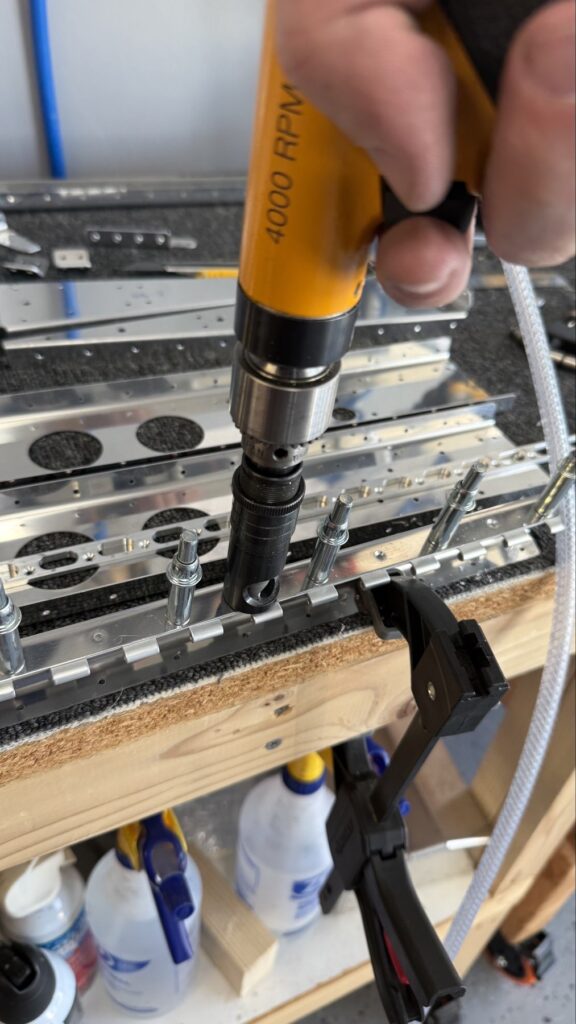
Sanding done. Ready for tank sealant. Or priming.CountersinkingLet the dimpling beginDimpled all internal parts
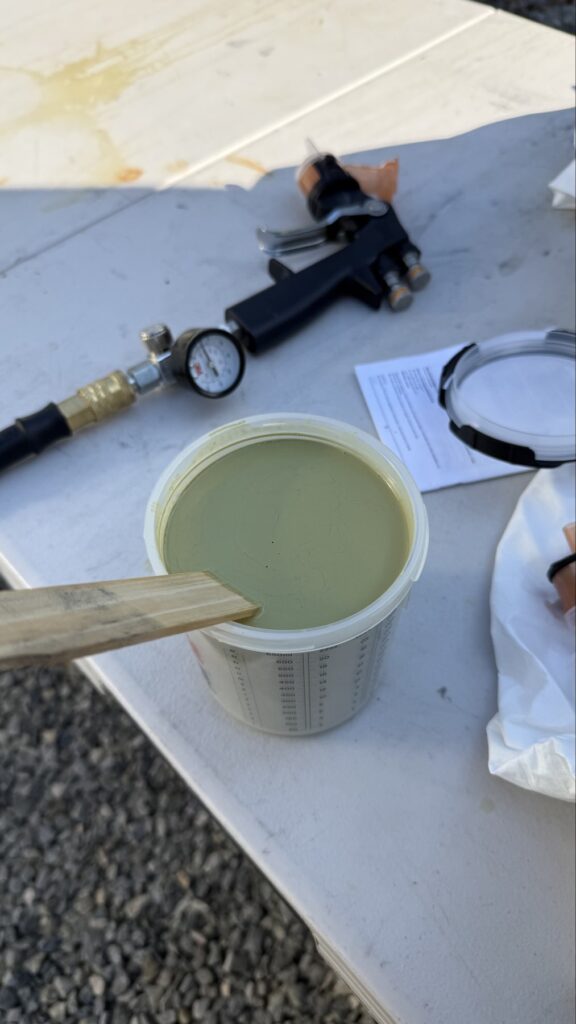
Finally came primer day!
Got my 2-part mixed up, and it’s going to be a full one!I just barely ran out of primer, so I decided to use some rattle-can primer with similar-but-not-as-good properties to finish the other side of these pieces.
With the primer session done, it was time to start assembling!
This is the rear spar of one side, riveted in place with some ribs that will join up to the skinOne control horn riveted on forever and ever
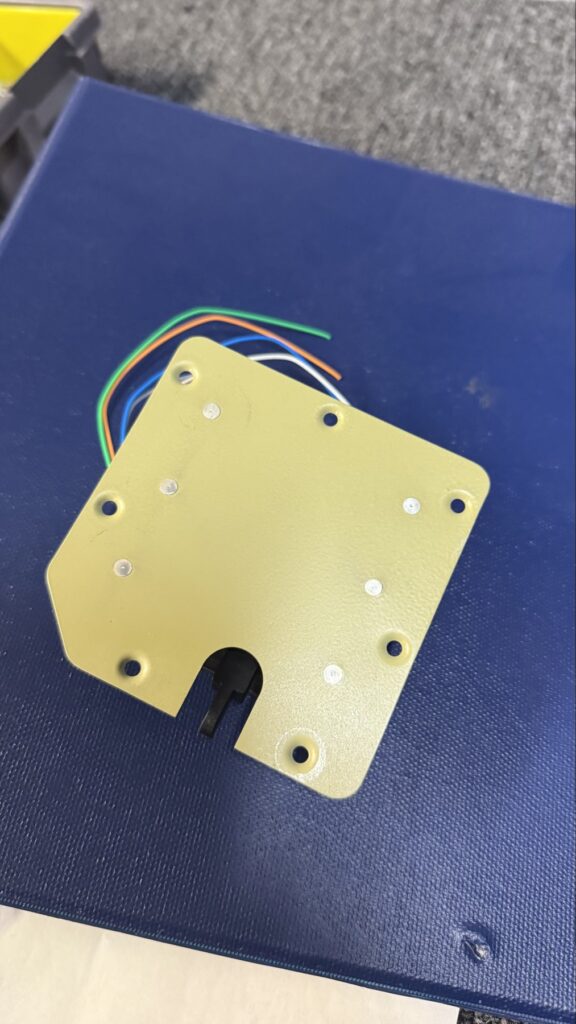
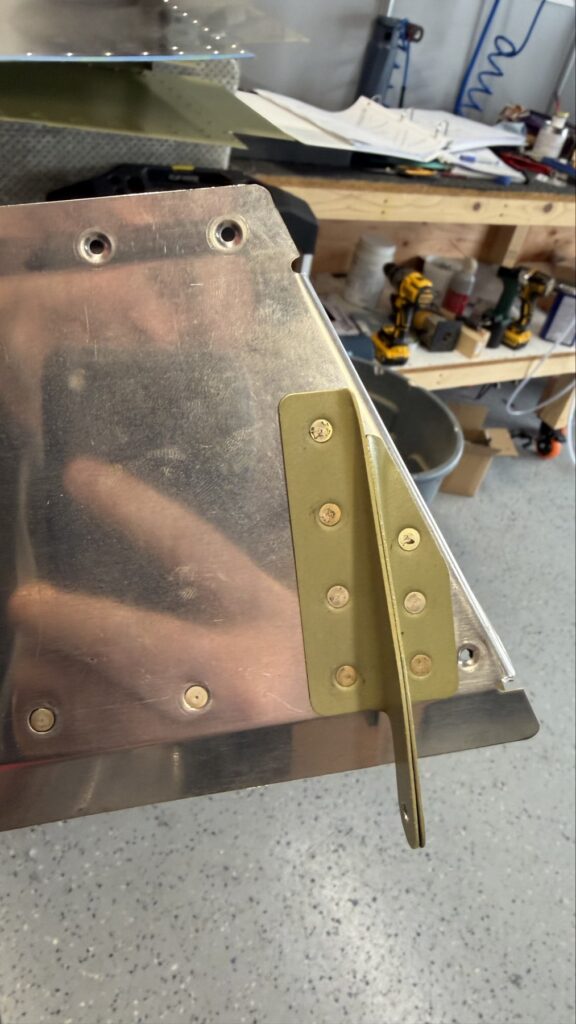
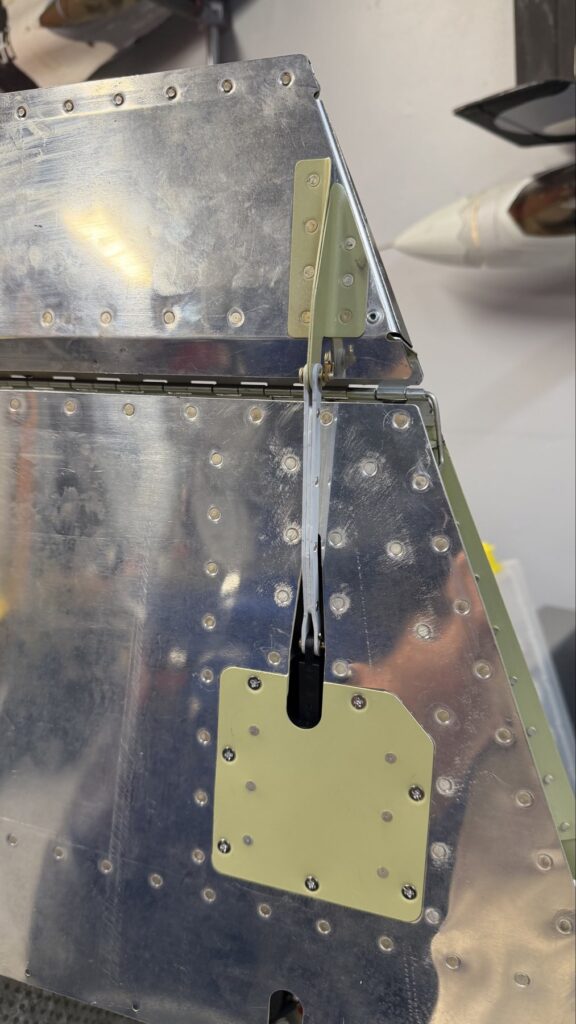
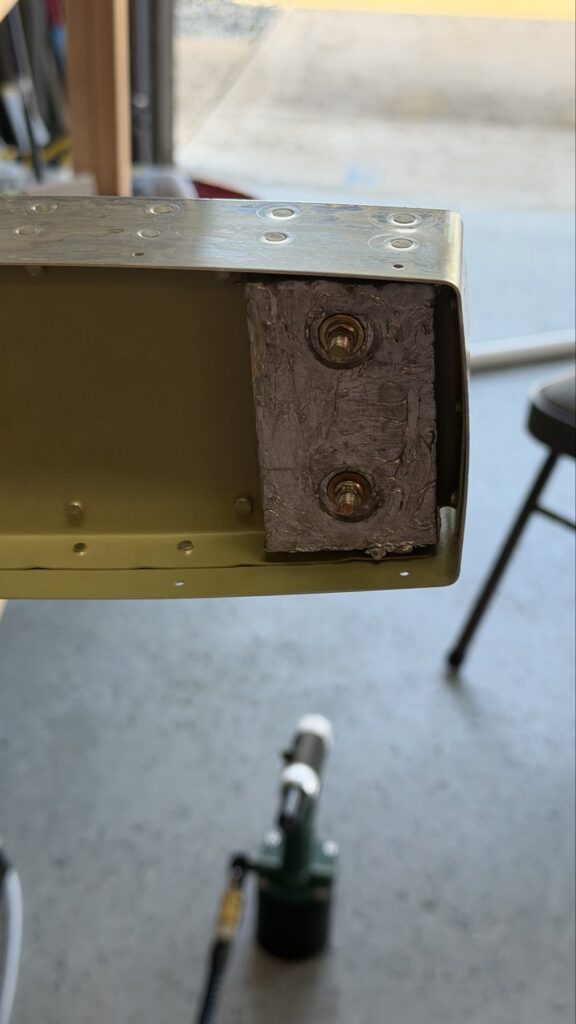
In this next series of pictures I’ll build the trim servo assembly that ultimately gets screwed in to the bottom of that left elevator. The serviceability is pretty cool; if anything ever happens to this, I can remove this assembly, service/replace, and just reinstall.
Back to the main elevators
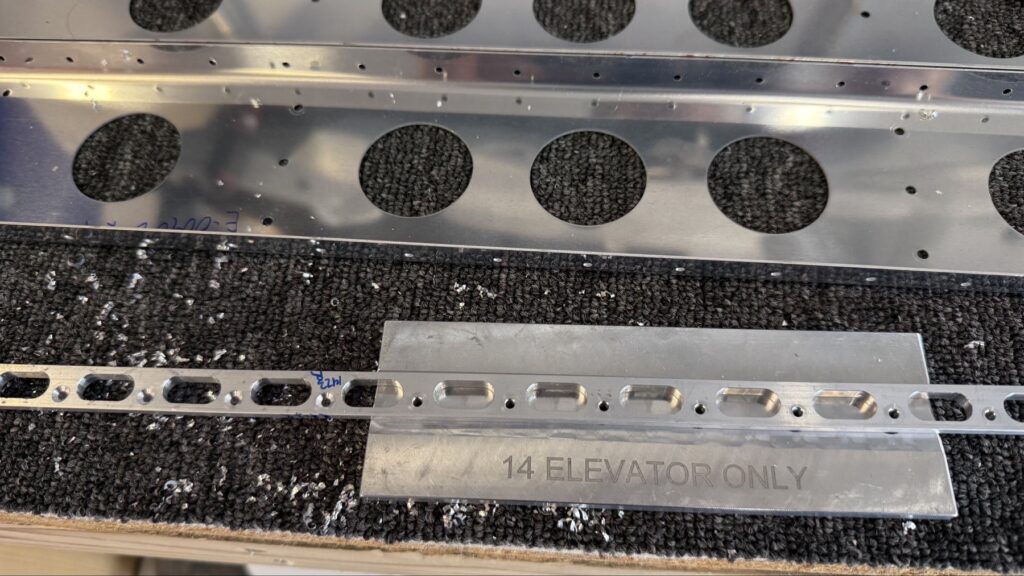
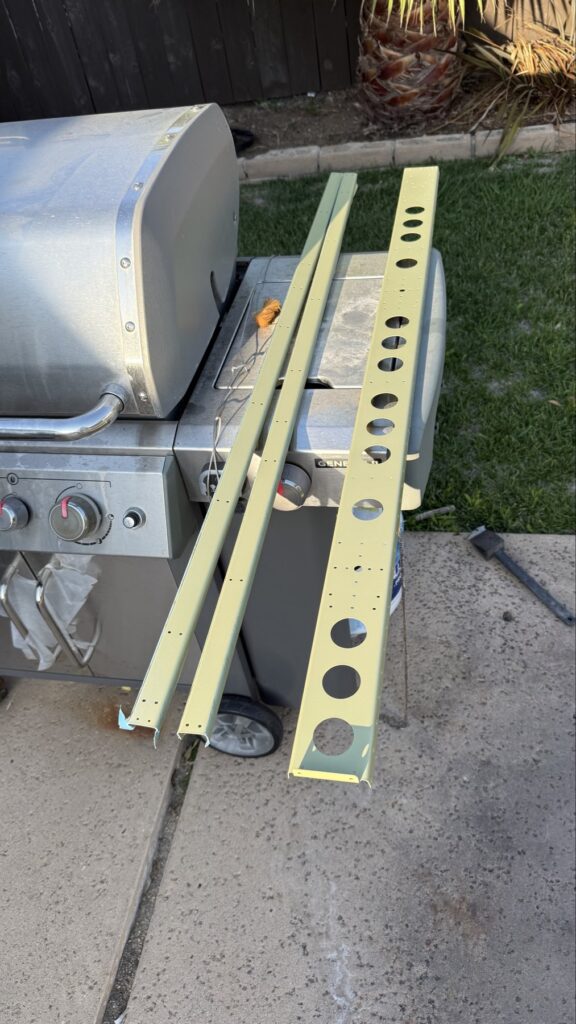
You may be wondering why these lines in some of these skins were masked off.. you’ll see soon why
Around this time in the build, family started showing up for my birthday party so I made sure to get some pics of them building, also so I could get entries in the build log with their names on them.
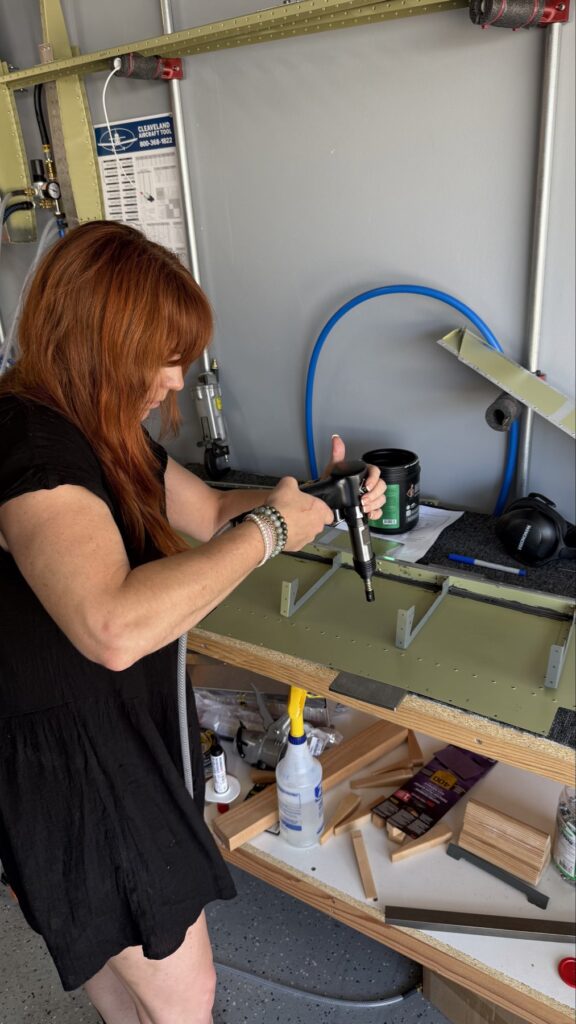
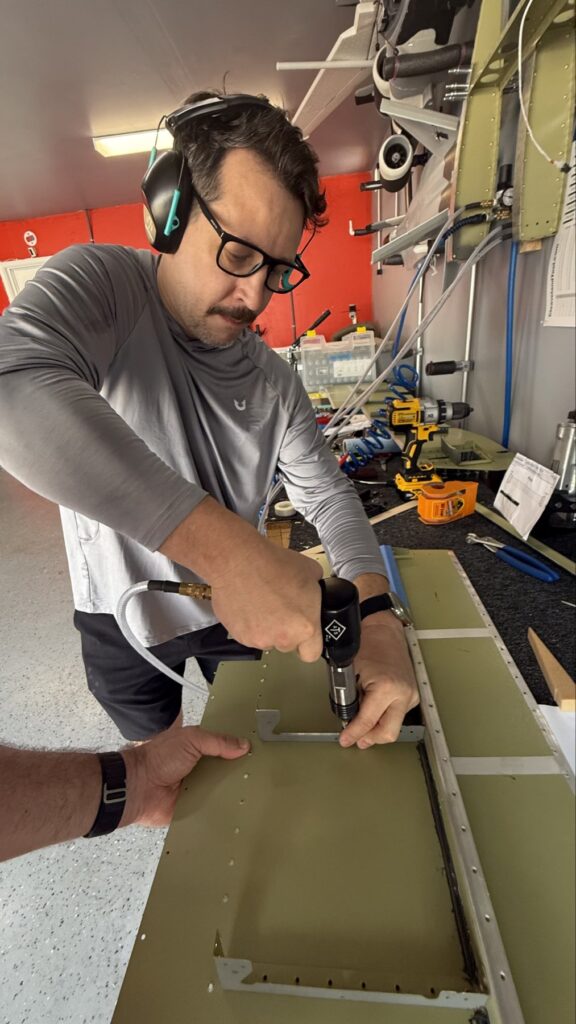
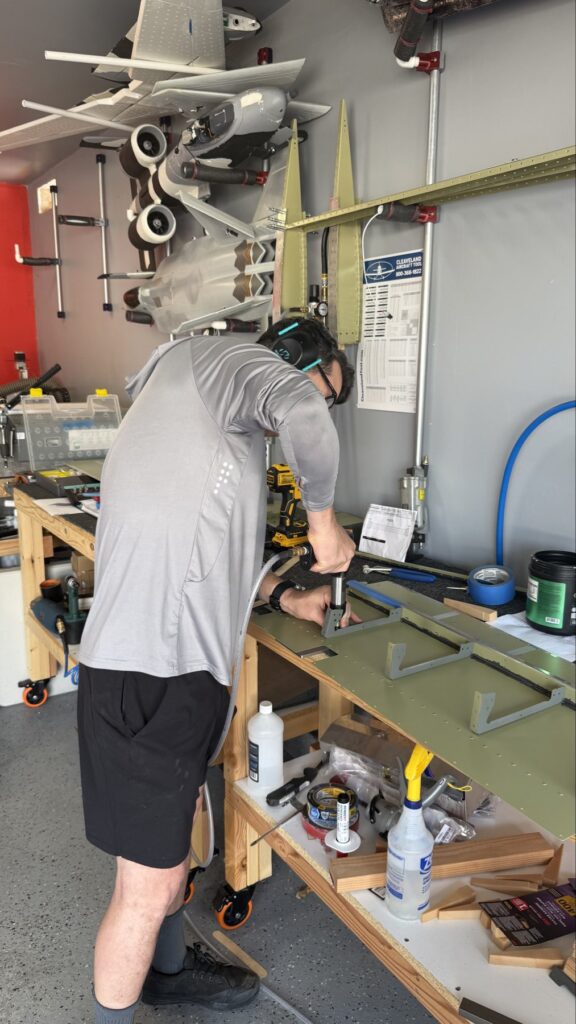
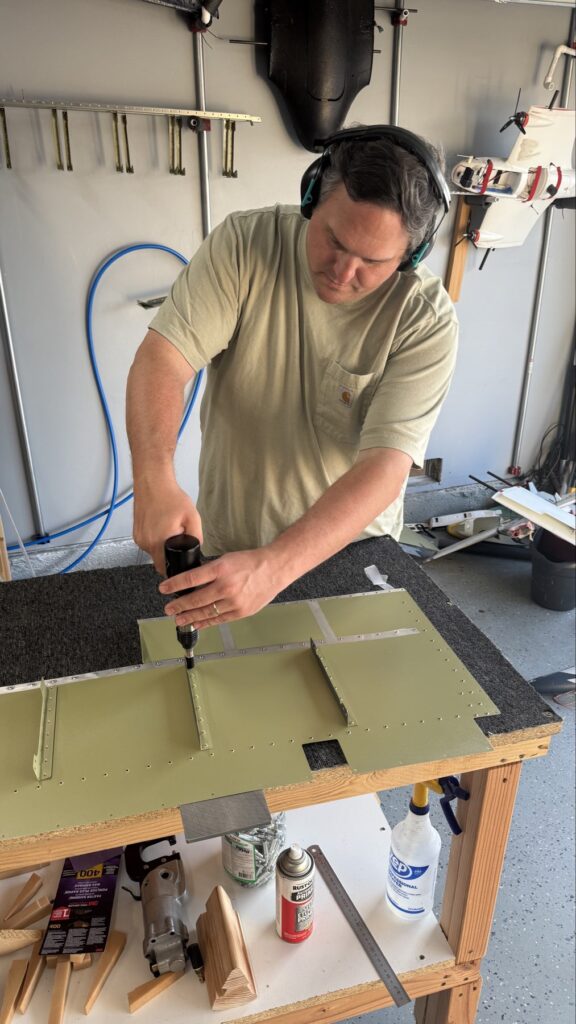
Summer is setting some rivets for back rivetingSummer about to lay the hammer downDavid dropping some back-riveting loveScotty doing some back riveting. This particular builder’s log entry was important to me, and had to happen before the bday party could even think of starting.Jeff reminding me how it’s done
With the party over and some work travel complete, my inner Mike Patey was screaming, “Back to work!”
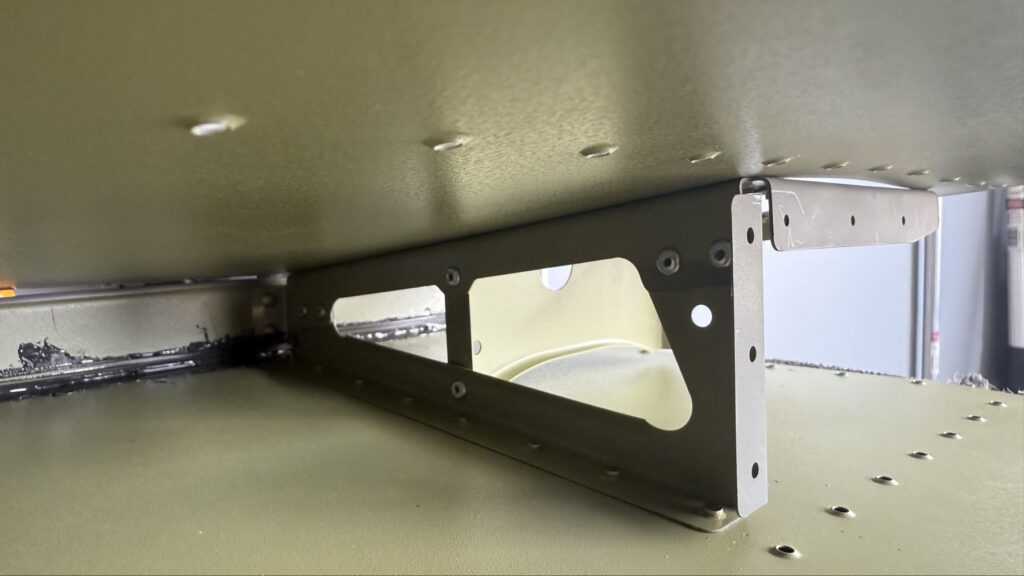
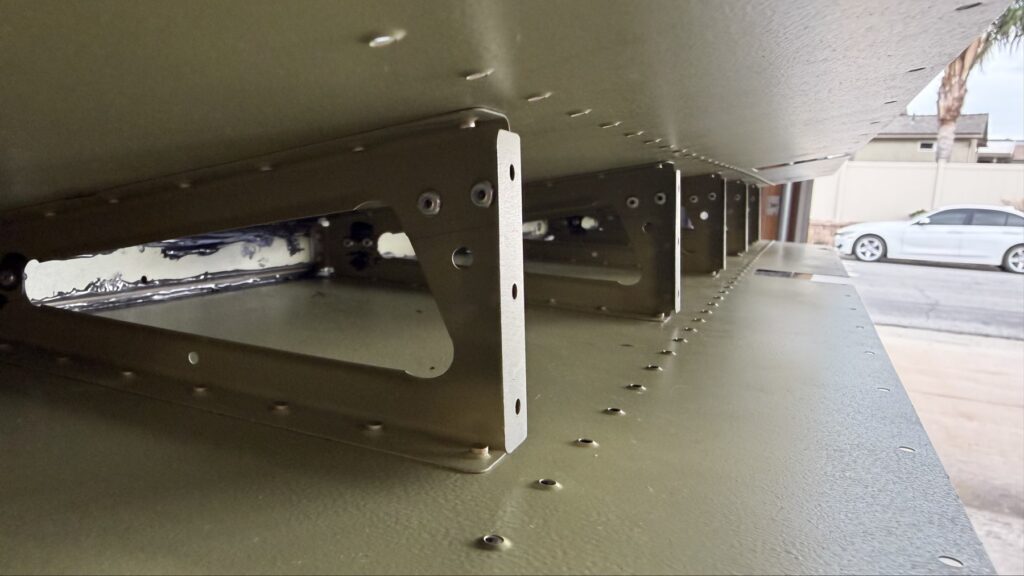
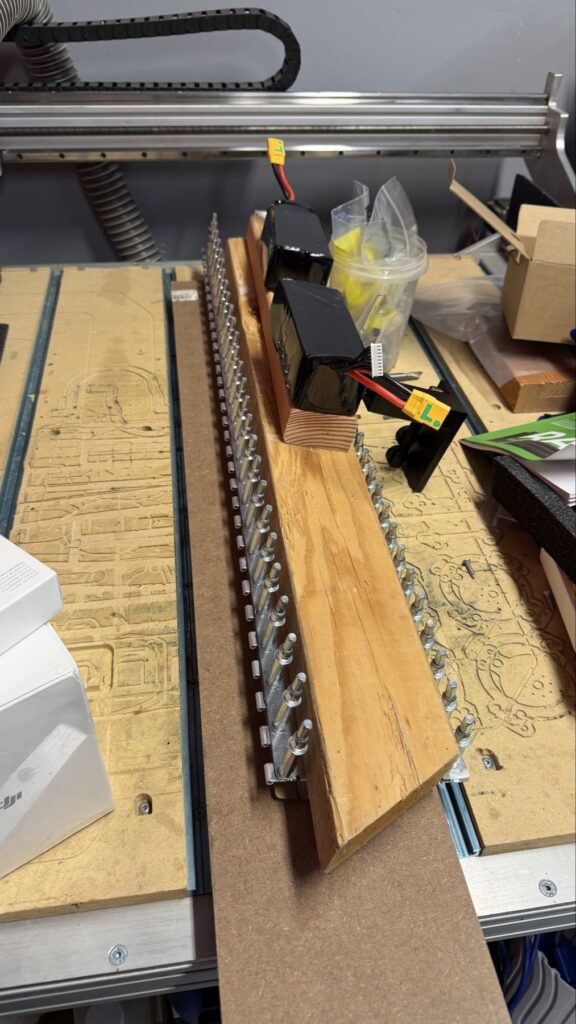
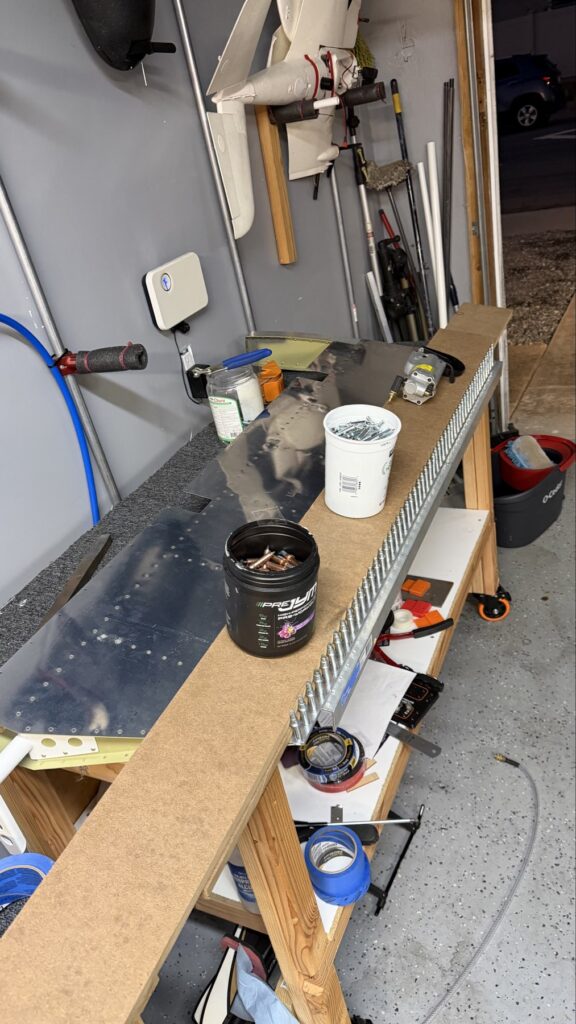
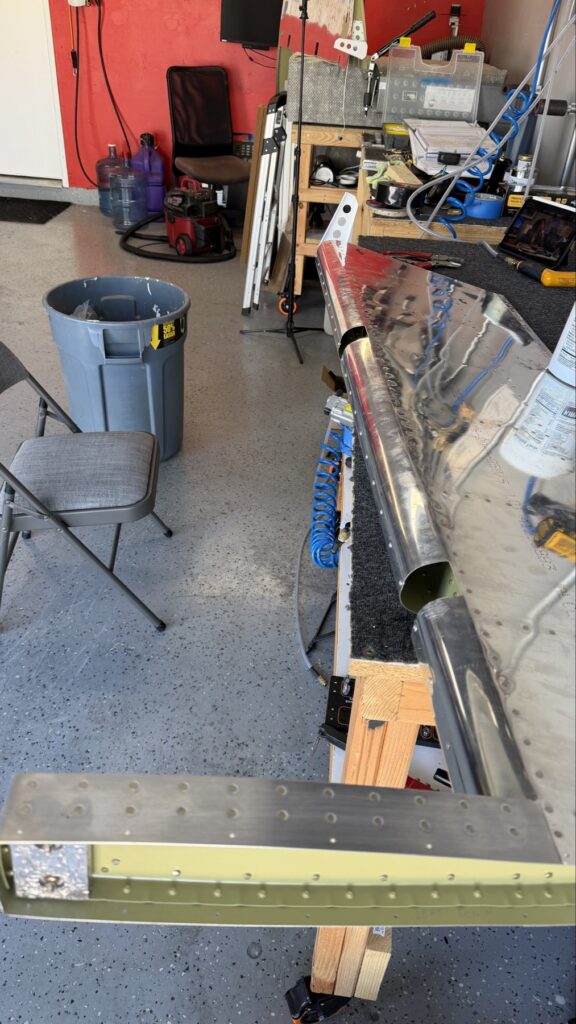
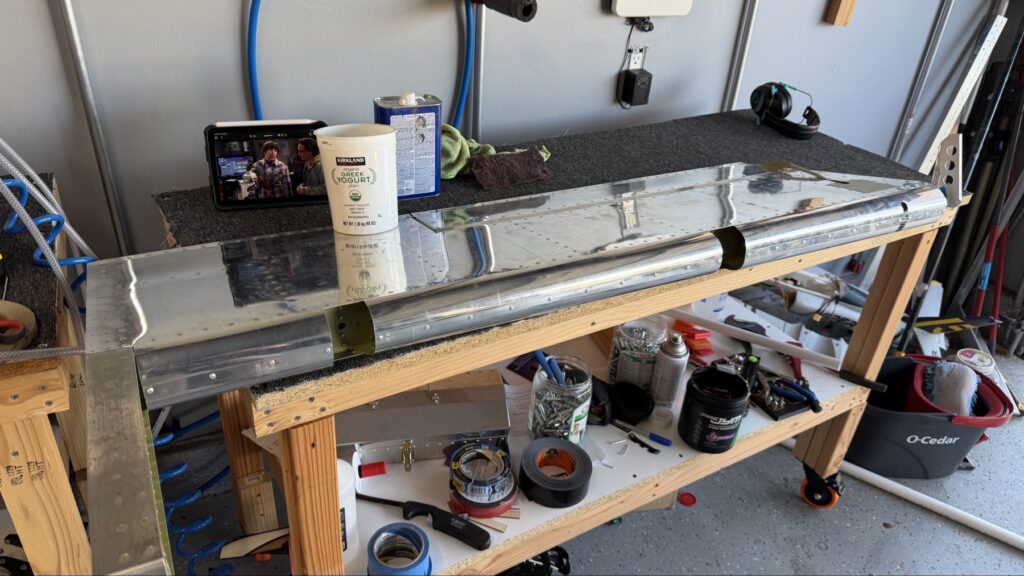
This is a really good shot showing how the rear spar, the top skin with its rib, and the bottom skin with its rib all come together. You can also see the proseal in the background. Those un-primed spots got proseal as a glue to go between the skins and that rear spar as a part of a service bulletin from Vans Aircraft. Proseal is messy shit. Thankfully Bruce and Jeff were able to help me learn how to apply it and make sure I comply with the SB.There is that piano hinge getting installed for the trim tab connection.Oops. Guess I didn’t need to prime these parts. The primer I use is an interior primer. These will need to be prepped down later and had exterior primer applied. This is not the only time I make this particular mistake.The forward spar is riveted in to the ribs inside the structure, and now I’ll start prepping to rivet the skins themselves to the spar. All this riveting of this lightweight aluminum in all these different connections is what makes these parts so incredibly strongThis is that trim tab. The foam ribs have been prosealed in and every hole is clecod and the whole thing is weighed down where it will sit for a couple days. If you look closely enough at the trailing edge, one of those aluminum pieces is between the skins to try and ensure a nice straight trailing edge line. That super thin tape is in for this step as well, and is also curing. Spoiler alert, these all came out perfectly straight!More prosealing of foam ribs again. You really want to make sure the proseal is in contact with both surfaces of the foam ribs as well as their mating surfaces on the skin so you don’t get stupid flutter when flying. I’m happier with the result here than I thought I was going to be.Certain moms reading this post may recognize something in this picture that belongs to them.Linking the trim tab to the main elevator is really as easy as it looks in this picture.. pull that wire, match the hinges, push the wire back in and bend a lock in at the end.Nice smooth straight trailing edgeCounterbalances installed into each ElevatorHooray for rolling some leading edges!
And with that, the Elevators are done and set aside. Later when the whole Empennage is built, I’ll also have some fiberglass work to do on the elevators, vertical stab, horizontal stab, and rudder to install the tips on to each of these pieces. I have them, they’re just in storage now. On to the rear half of the fuselage!