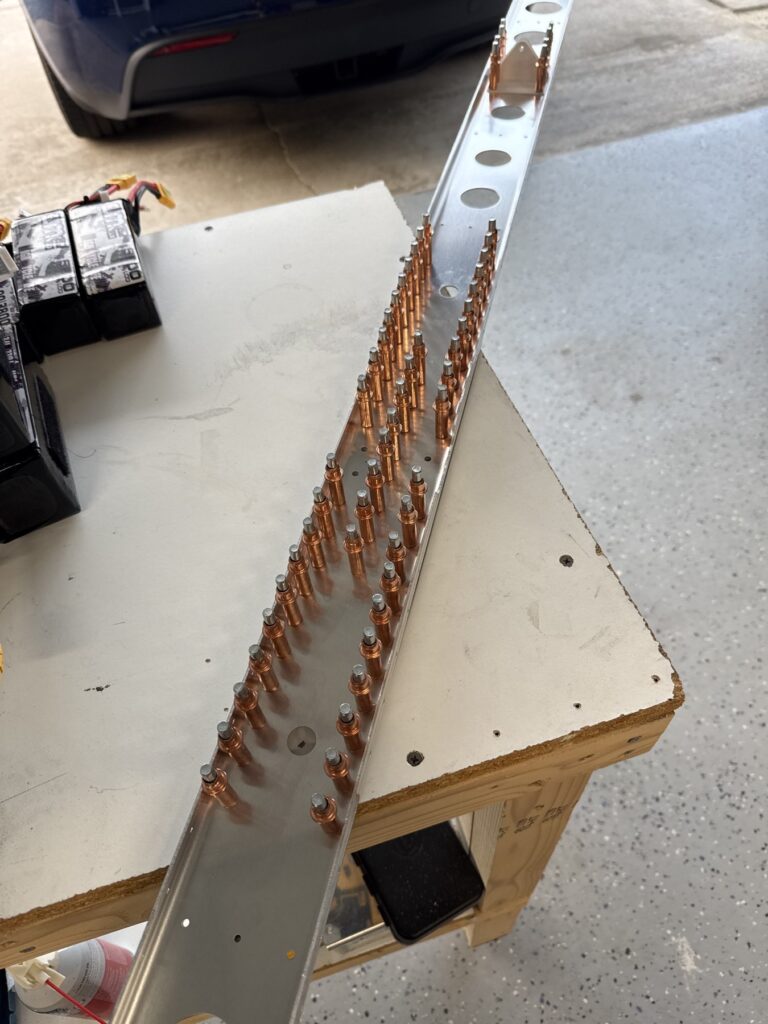
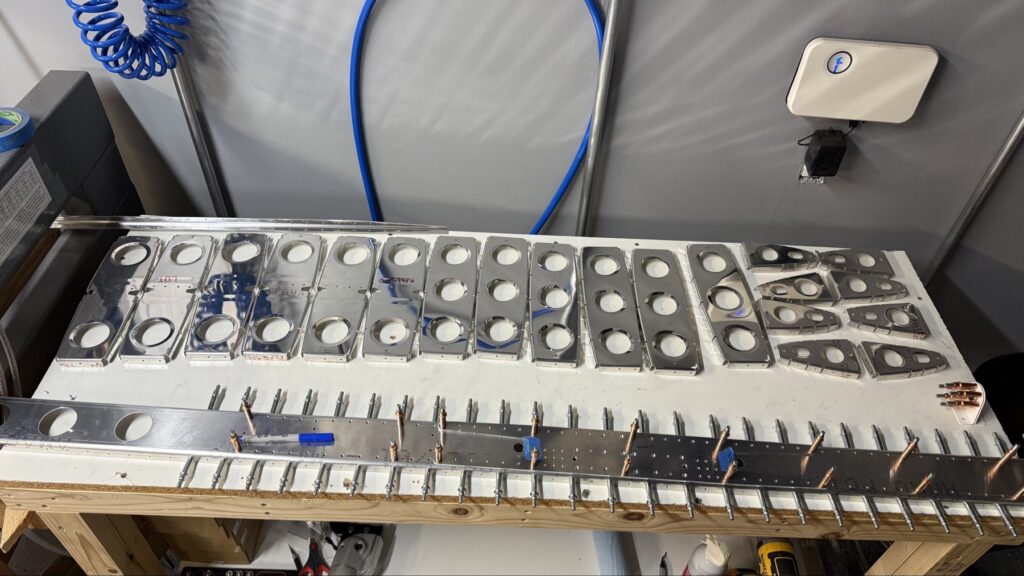
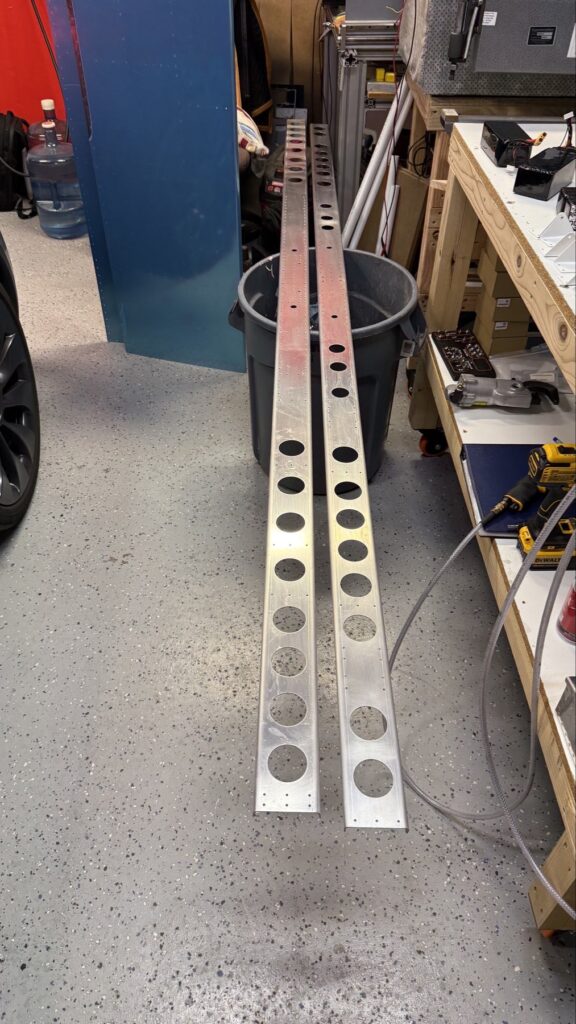
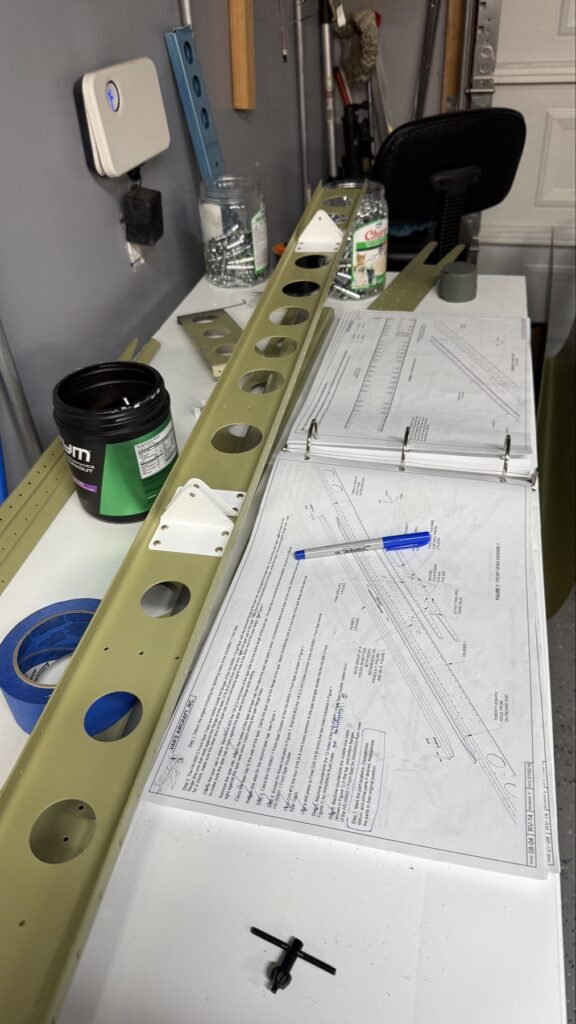
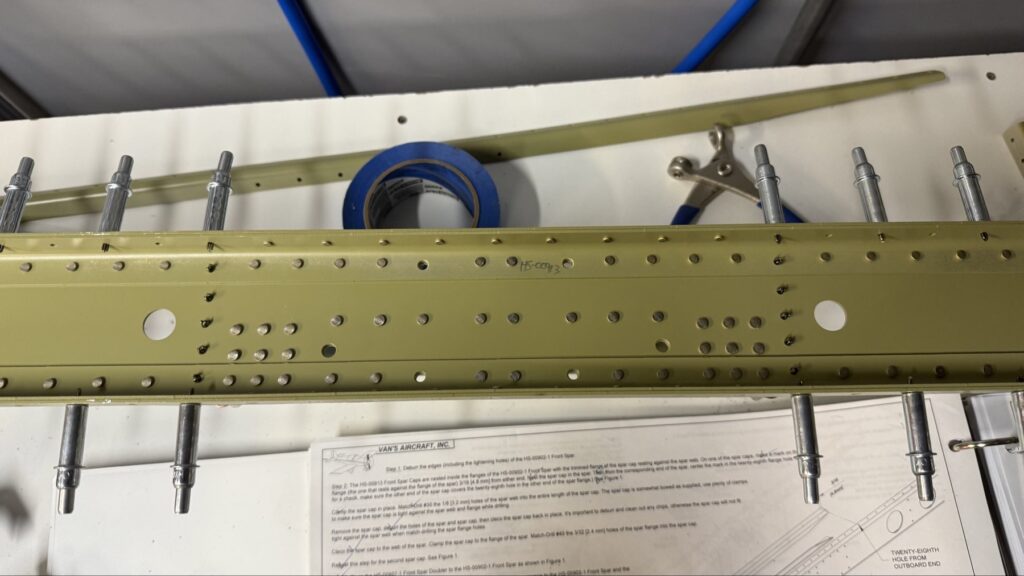
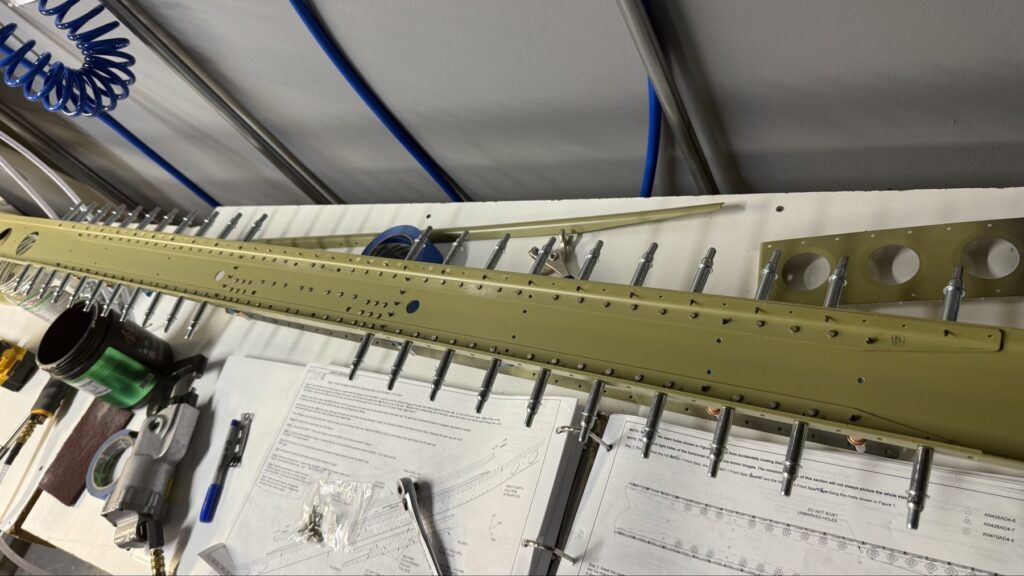
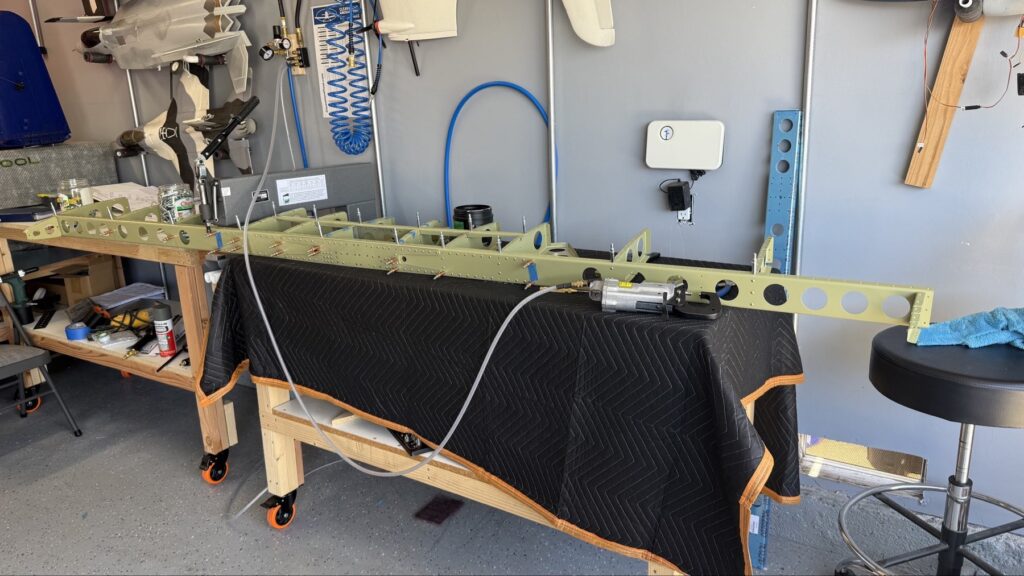
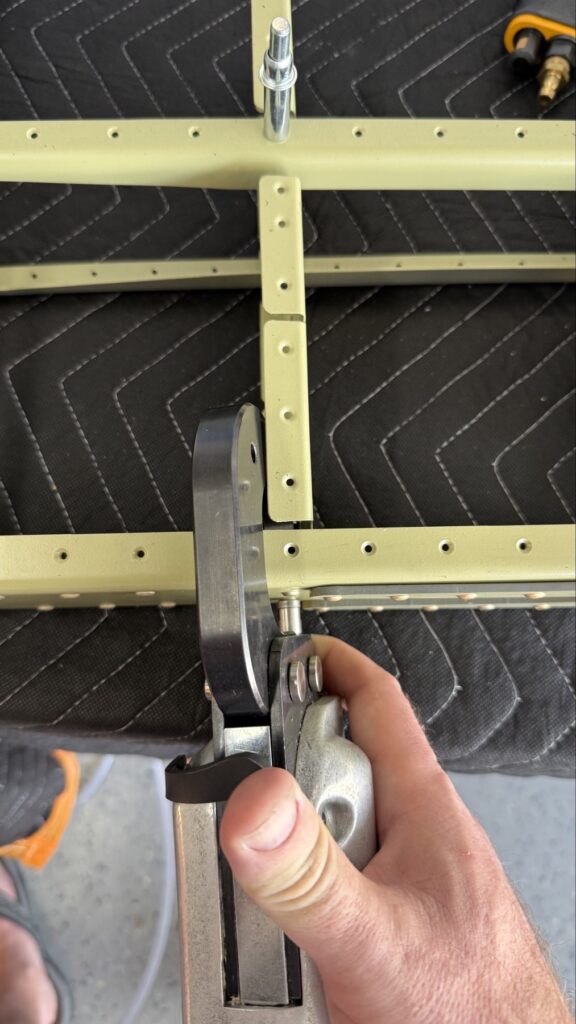
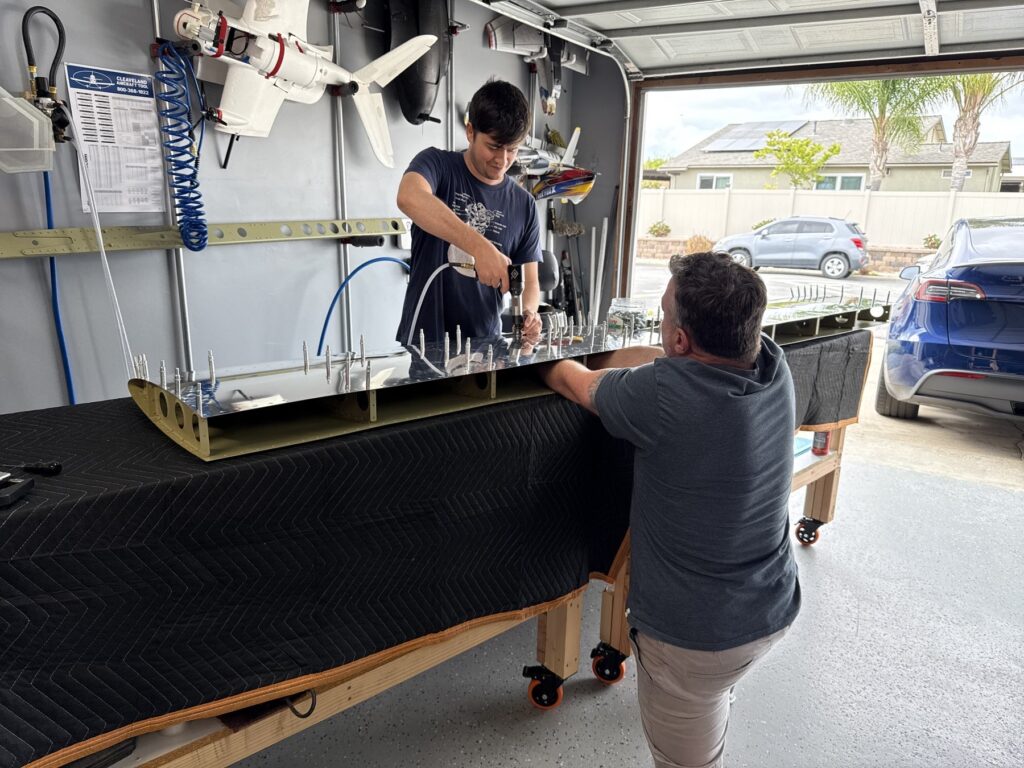
The first thing I worked on here was some match drilling of doublers to the spars for the Horizontal Stab.
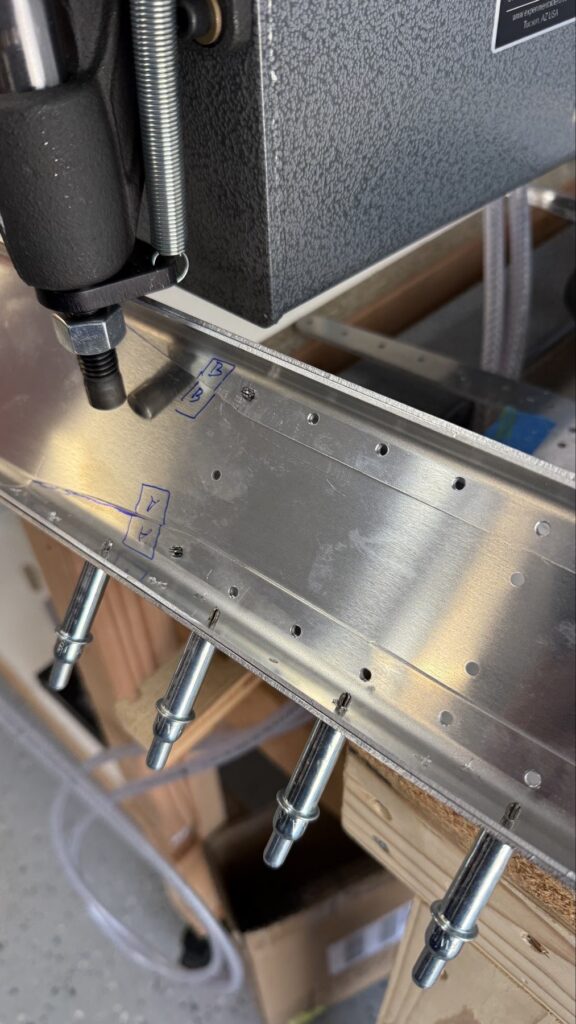
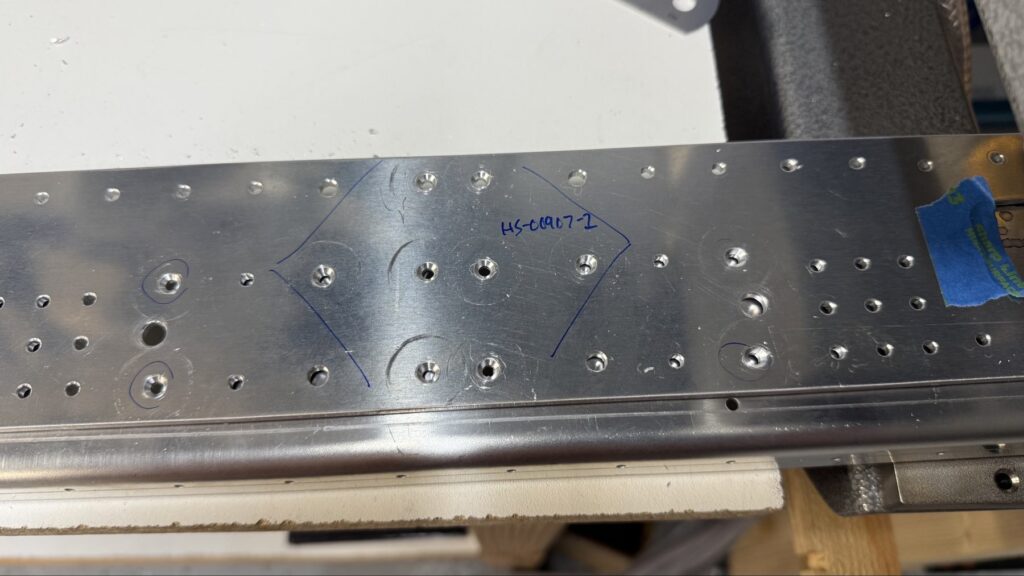
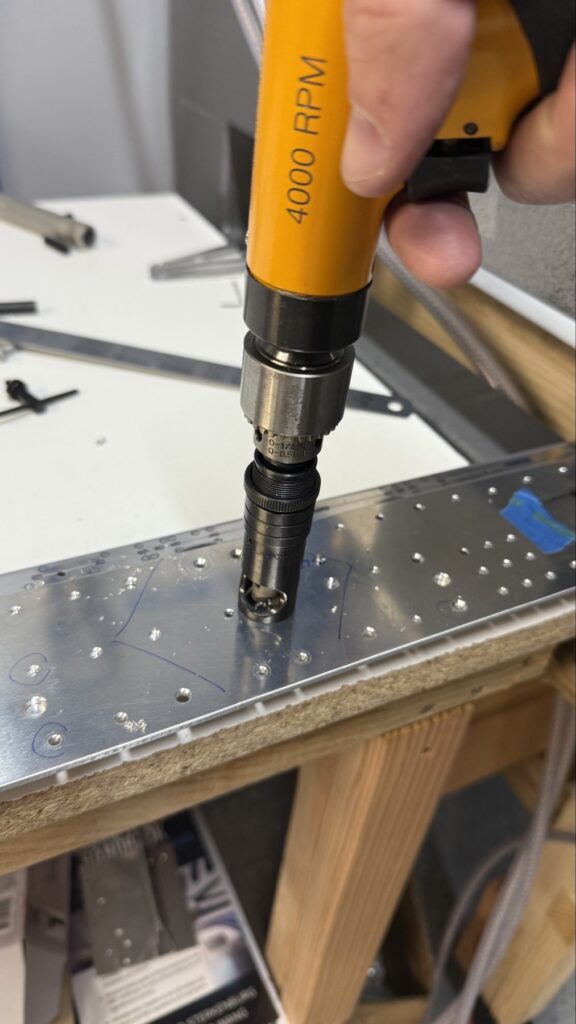
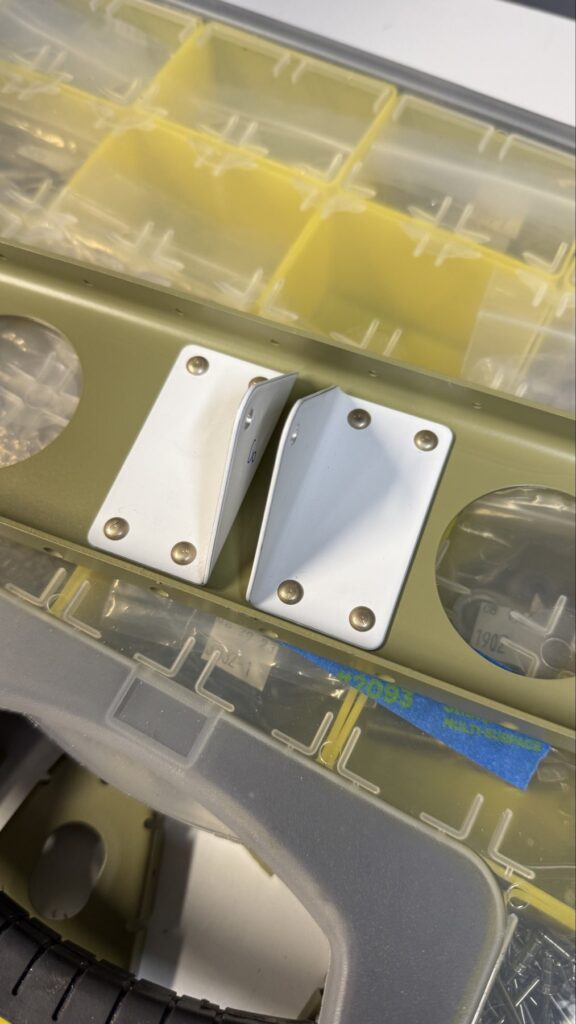
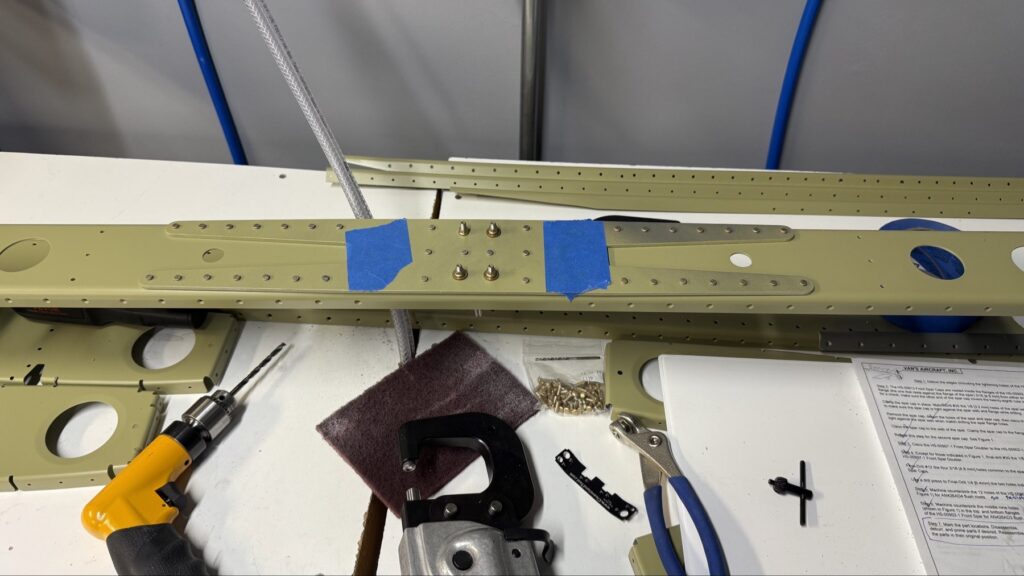
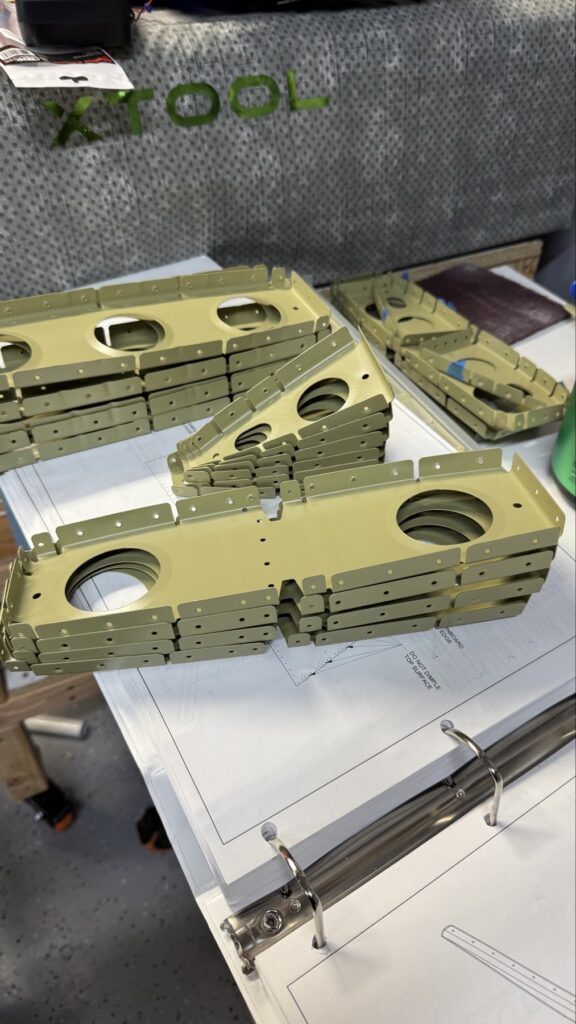
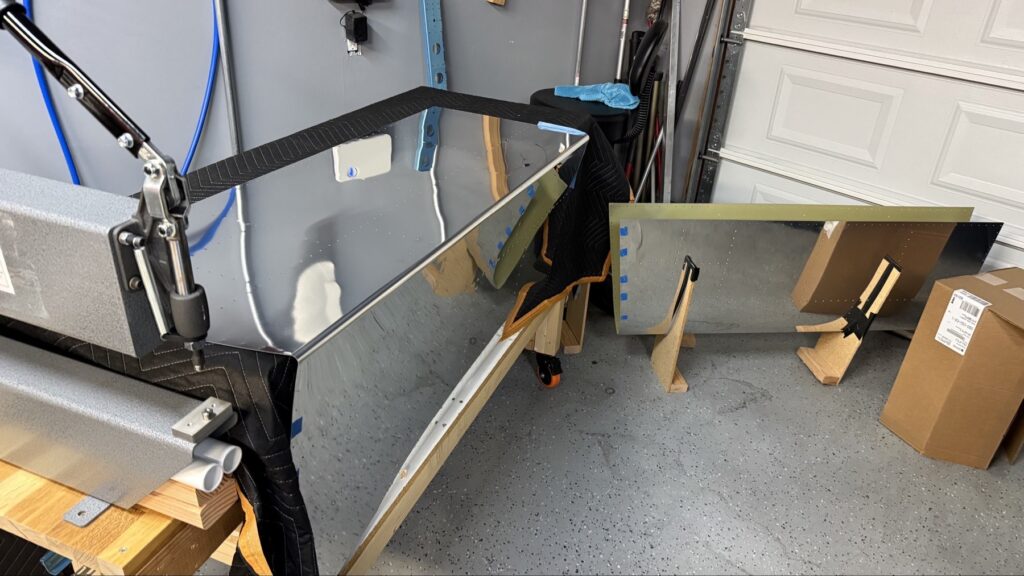
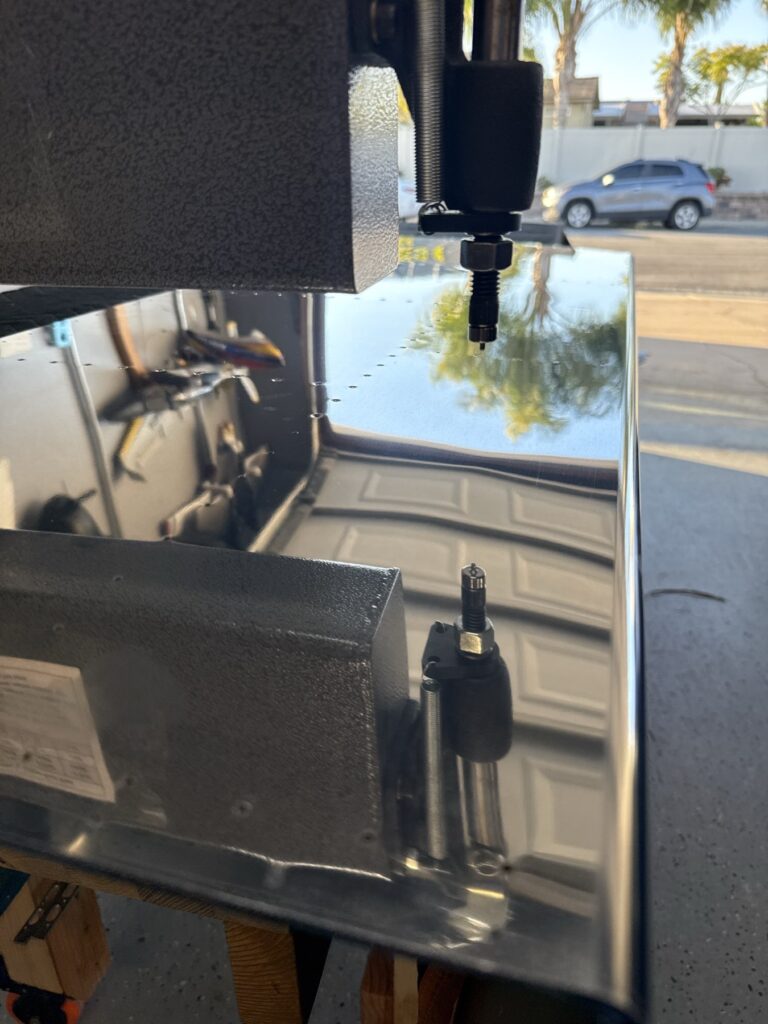
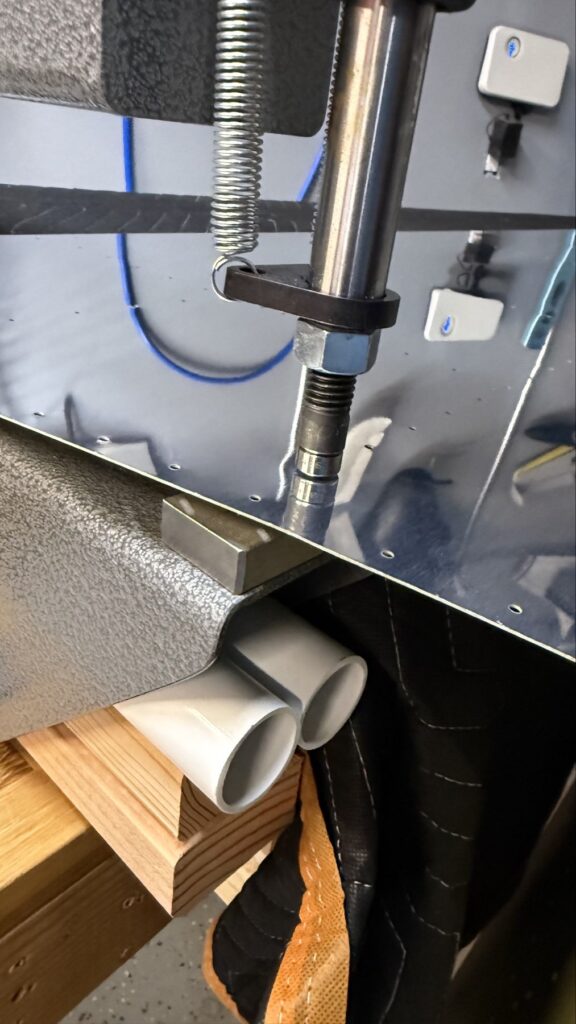
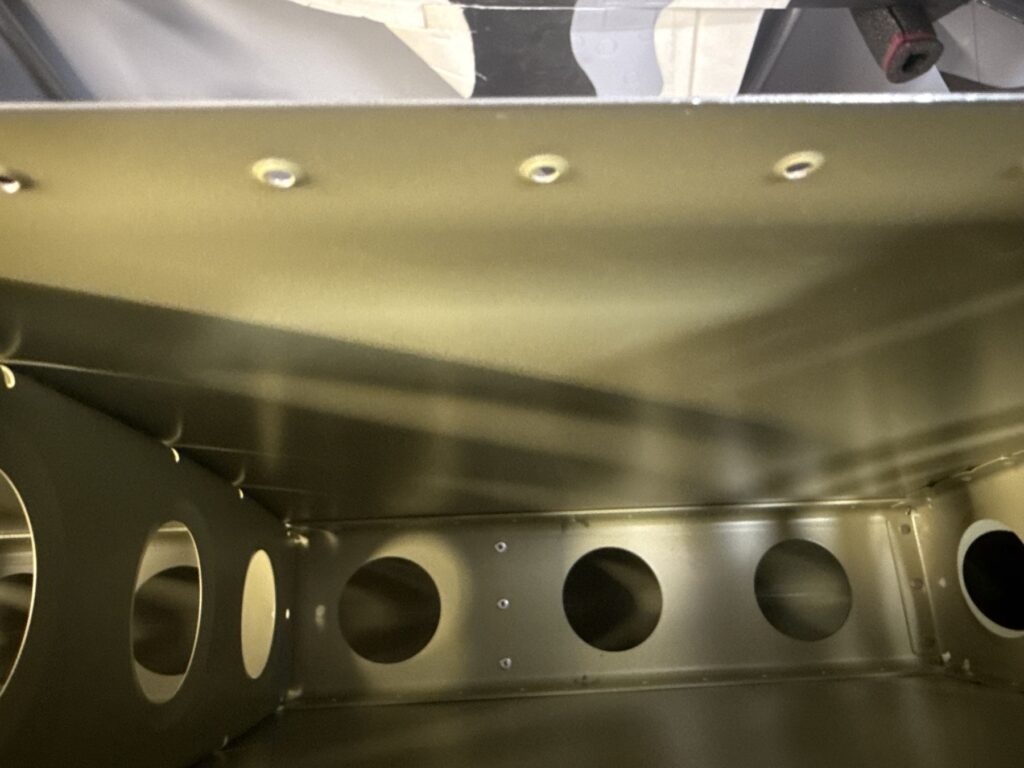
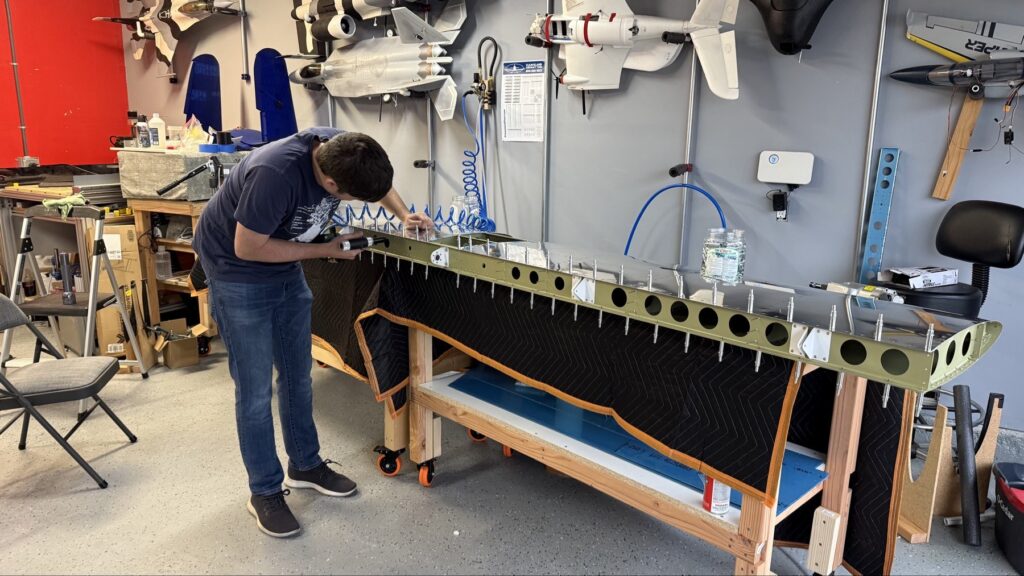
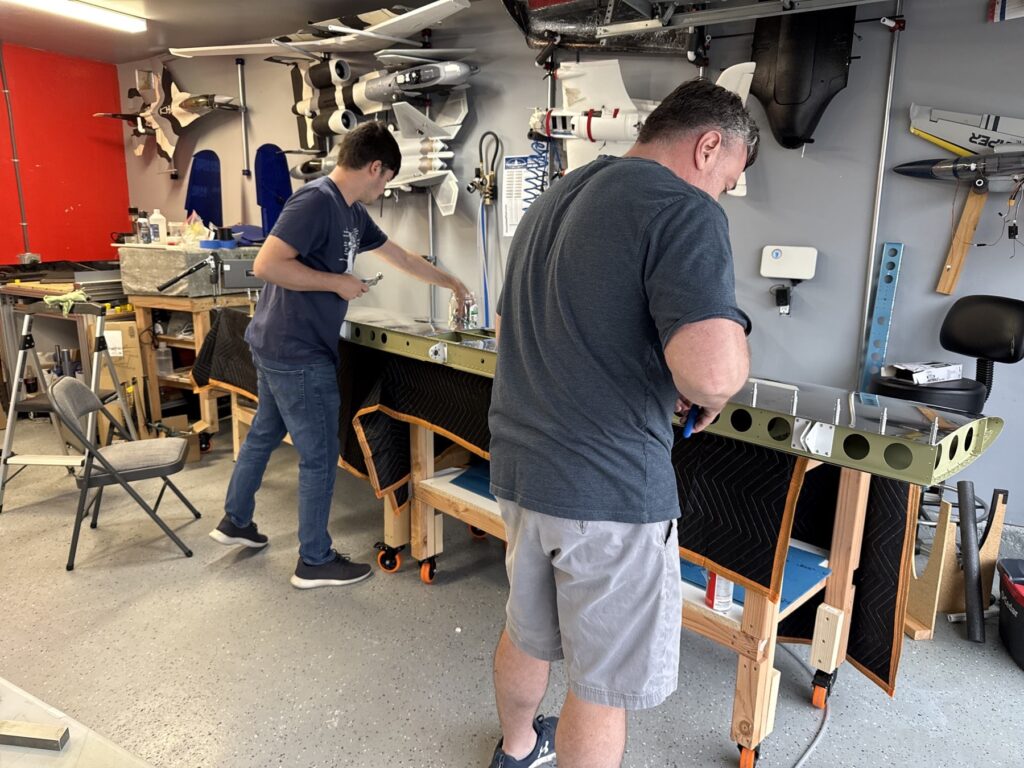
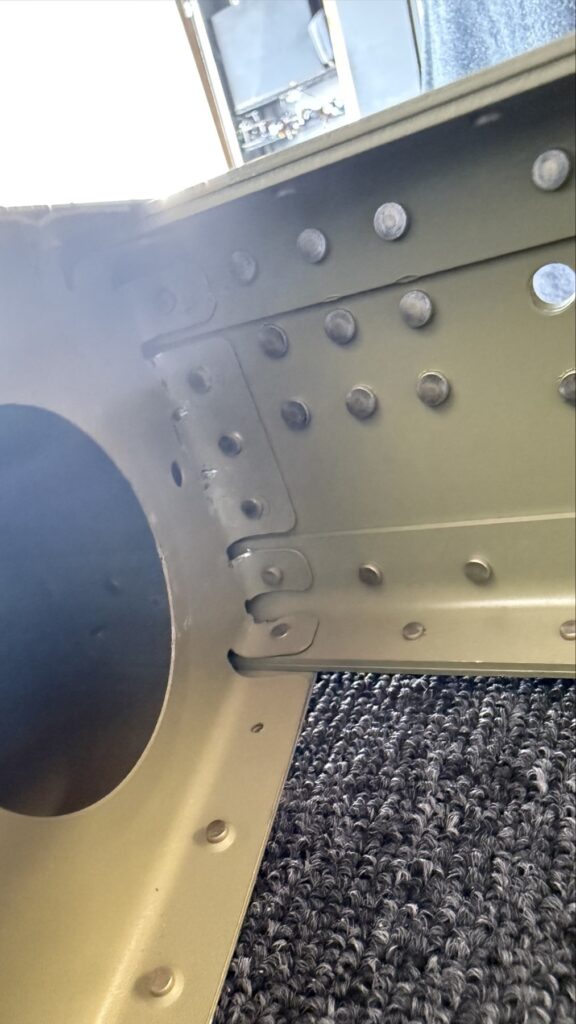
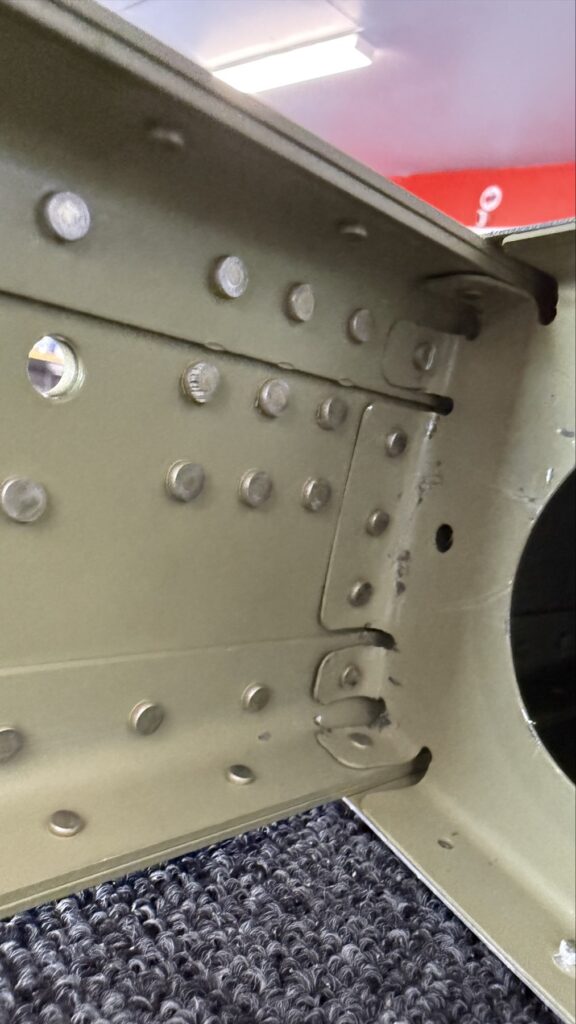
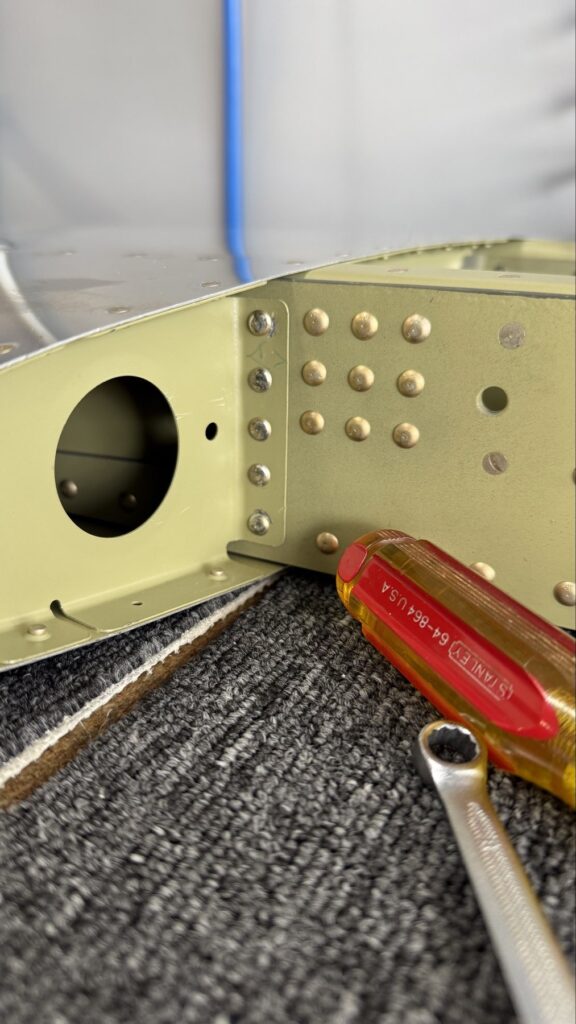
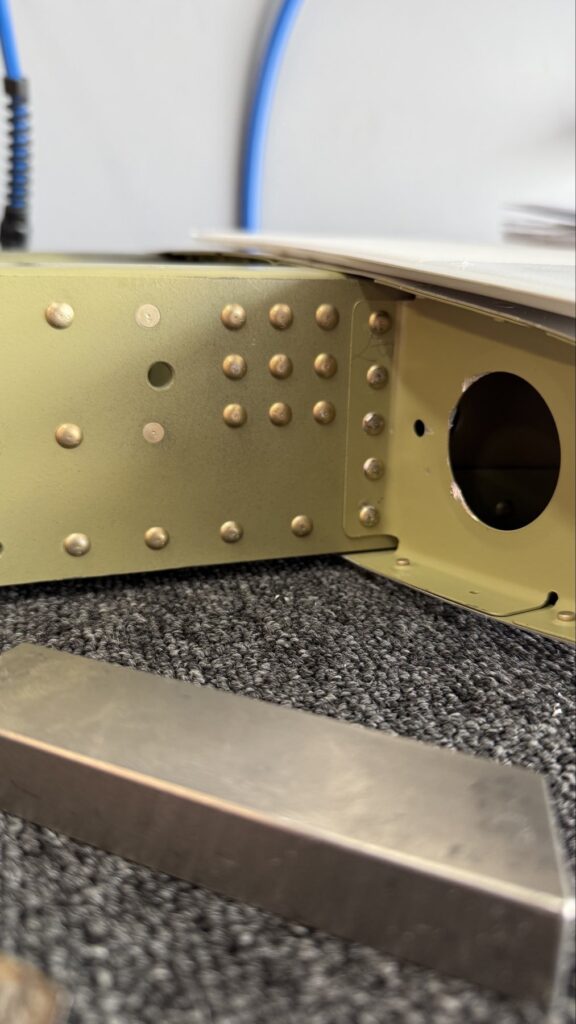
Using the clamps to make sure these pieces are in as tight as they can be prior to match drilling to the sparLabel them here so that after priming (the blue ink shows nicely through the primer) I make sure to get the piece back to their corresponding edgeThis face gets flush riveted to the inside of the spar so I had to countersink this surface of this piece accordinglyAll this countersinking is done with the cutter, in the cage to verify uniform depth as well as the countersink being perpendicular to the face of the pieceAll these ribs have to get attached to the sparI made these cradle pieces to help stand everything up while getting the ribs clecod to the spar. It really starts to show the size nowTest-fitting the skins
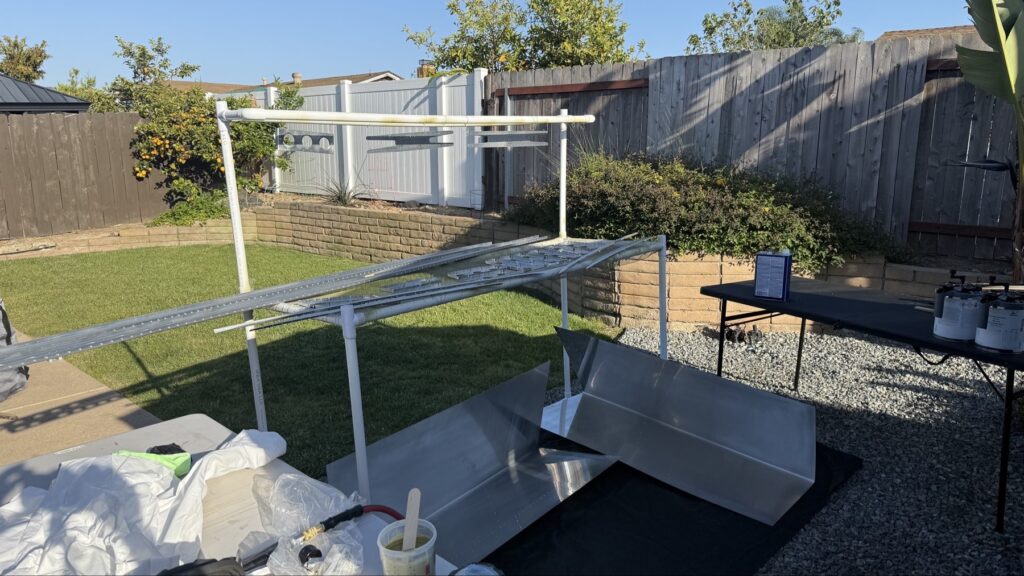
Let the primer-prep begin!
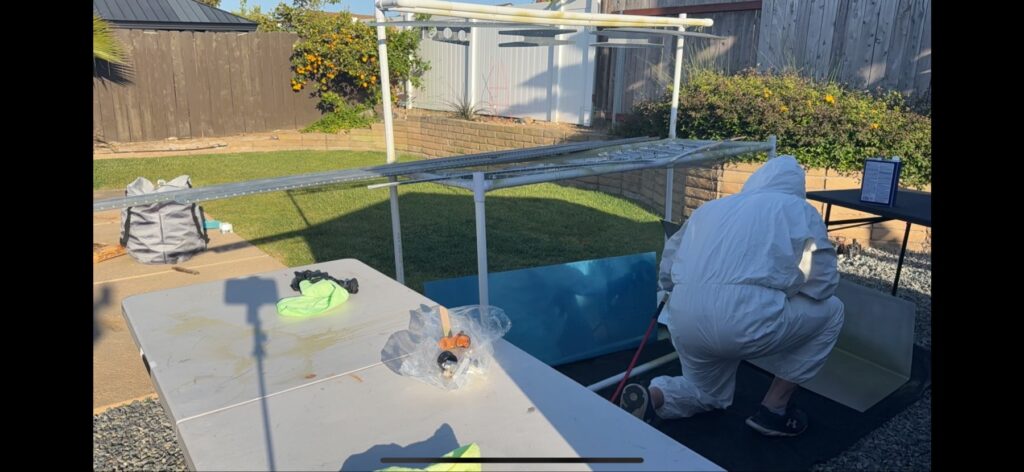
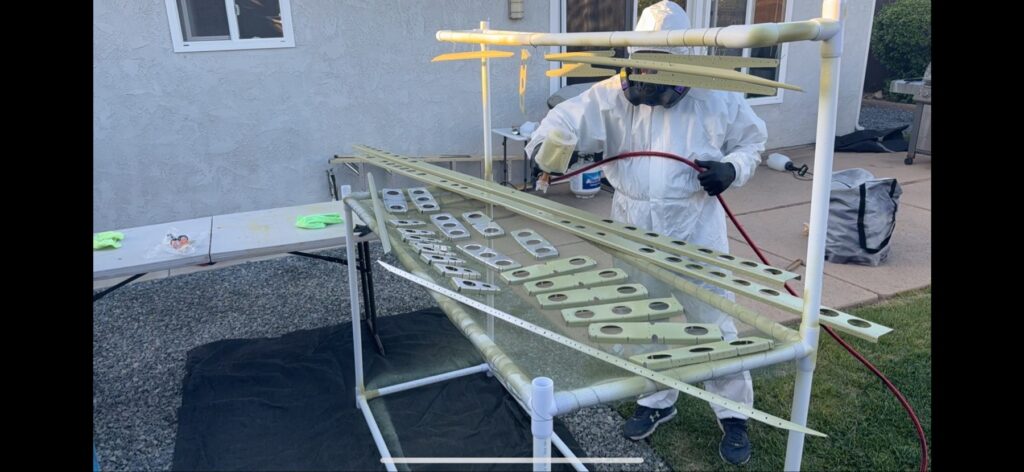
Time to prime!
With priming complete, time to start assembly
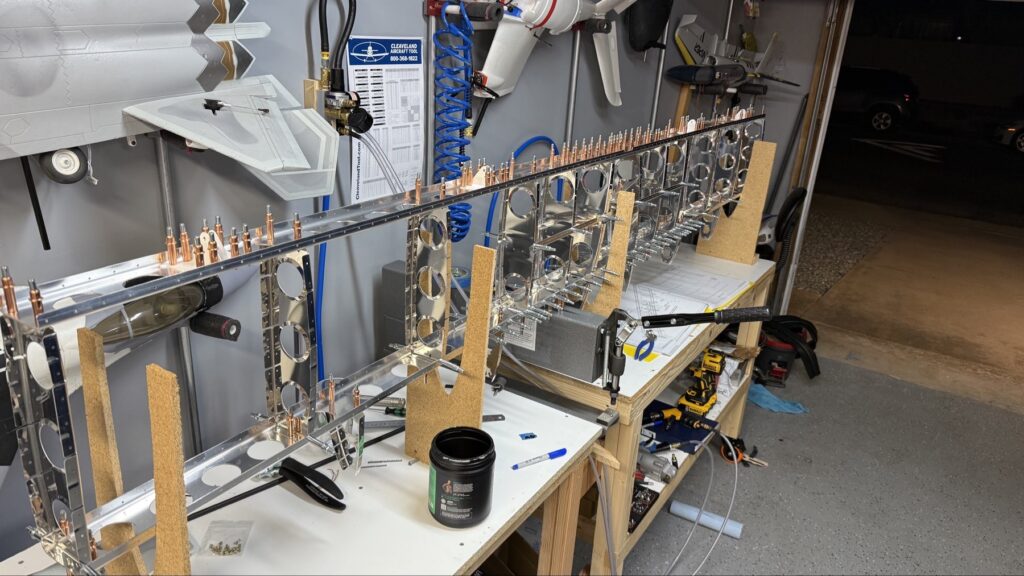
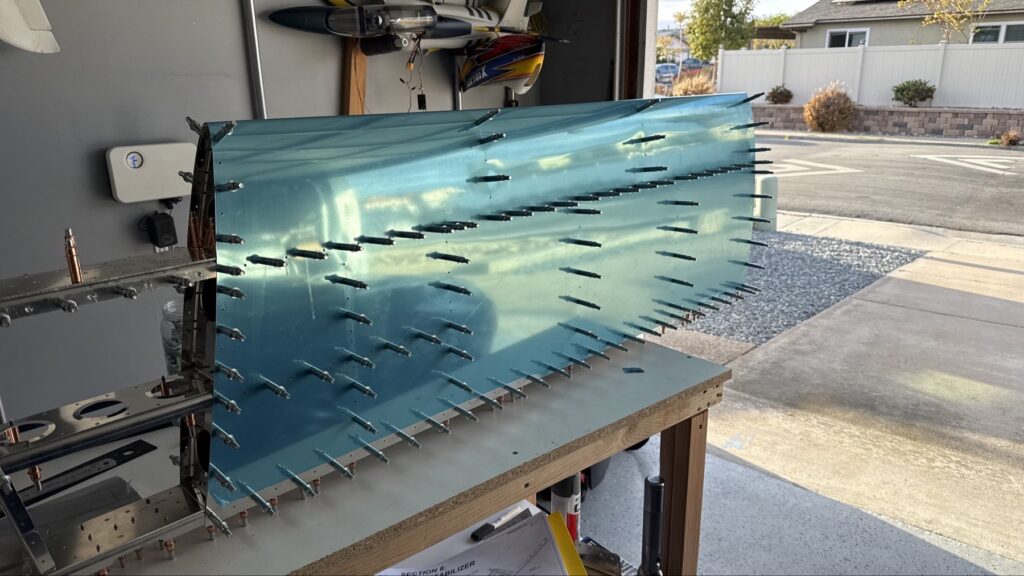
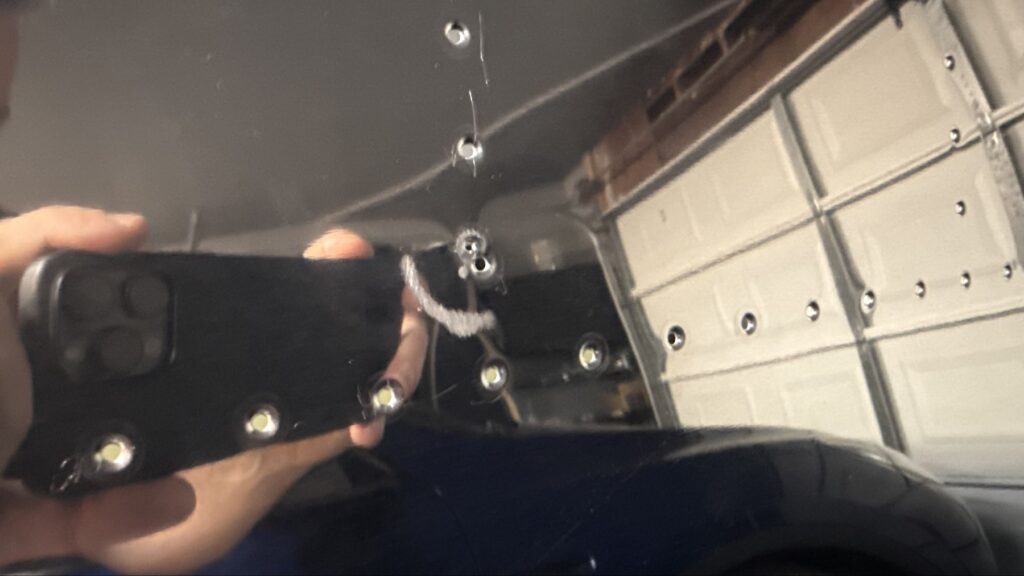
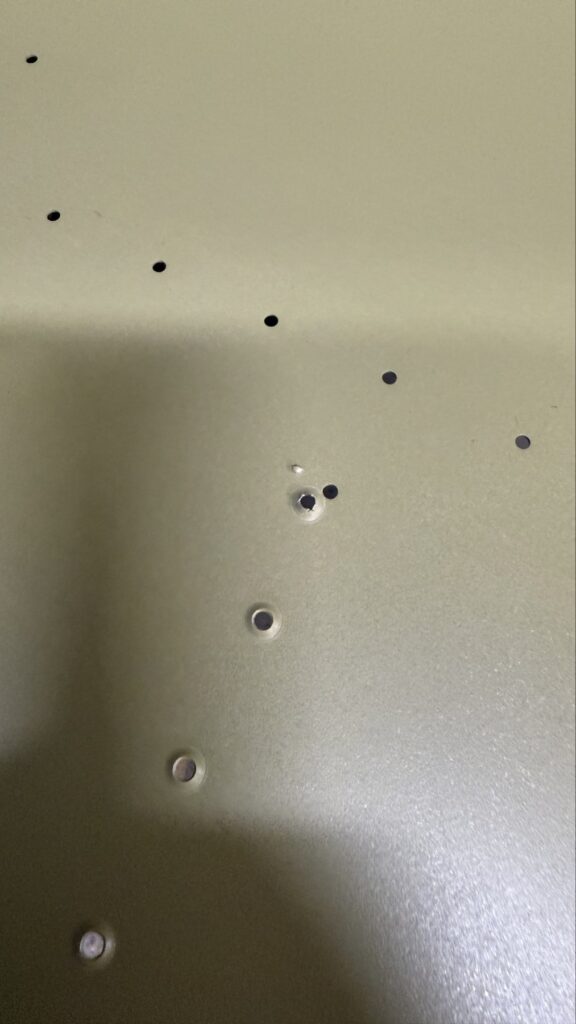
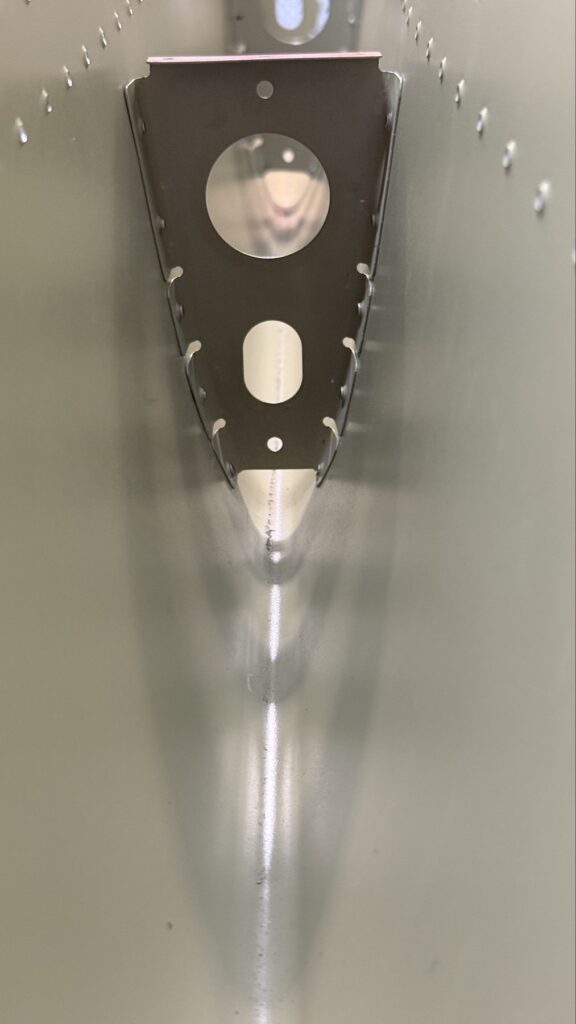
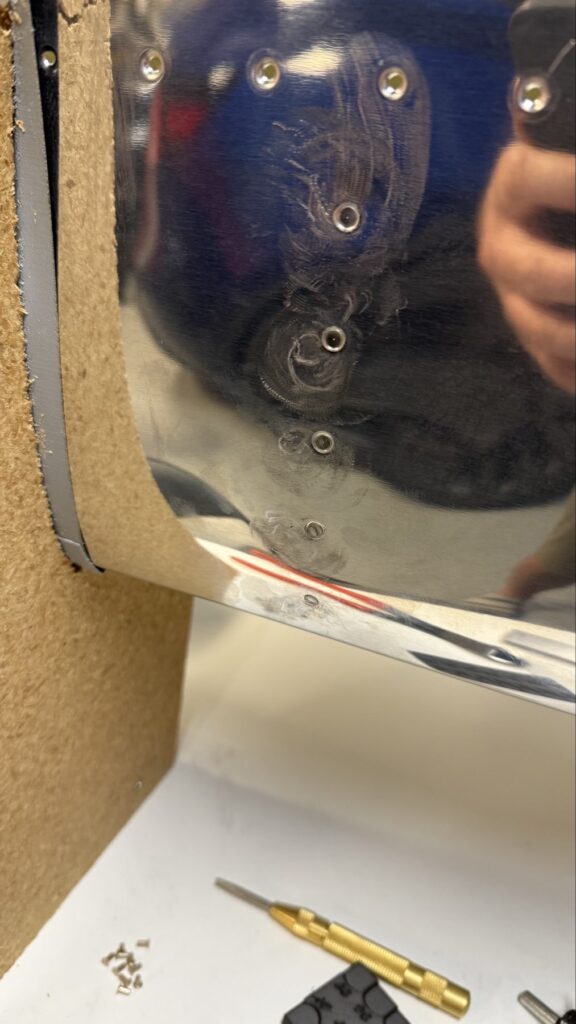
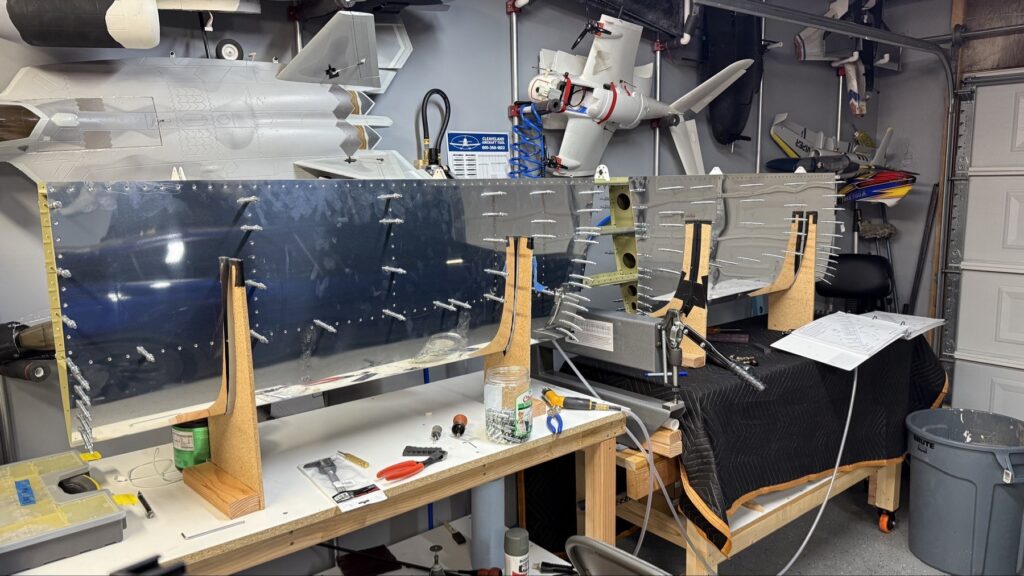
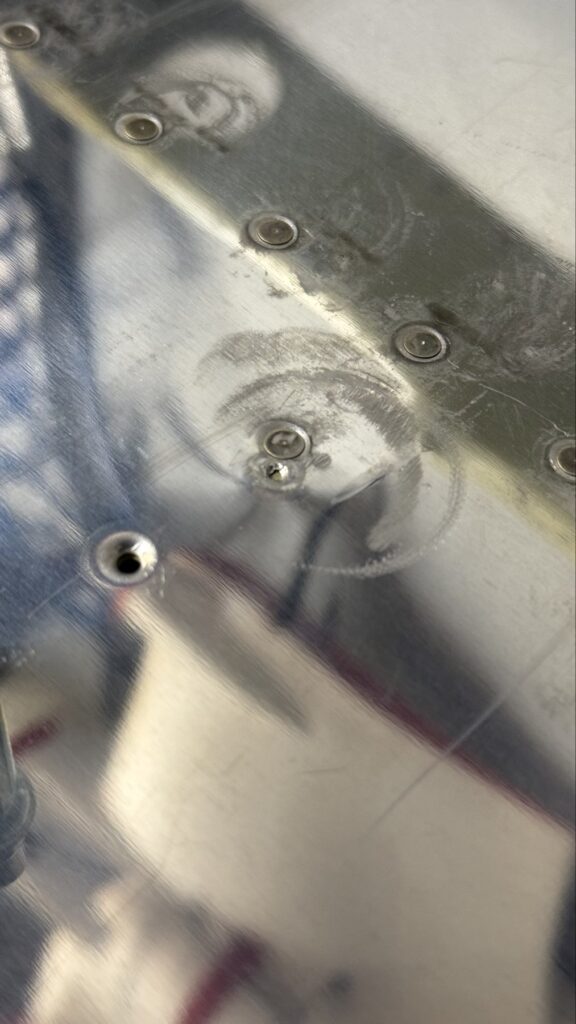
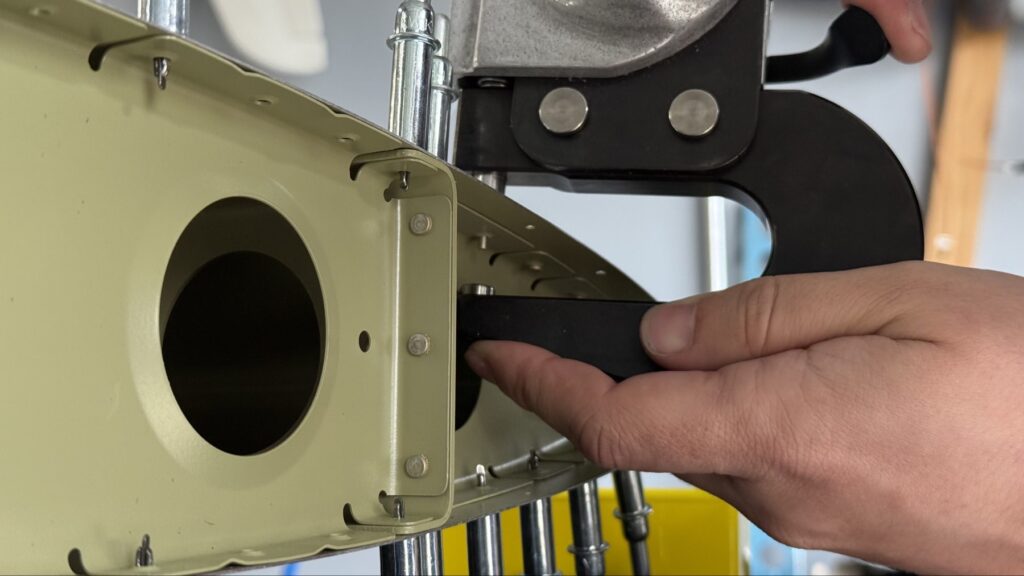
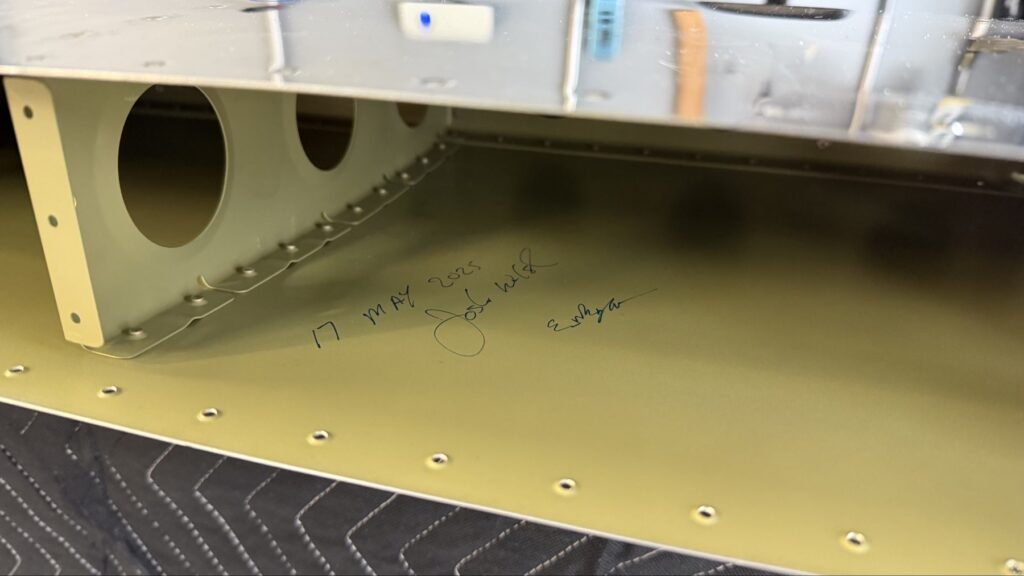
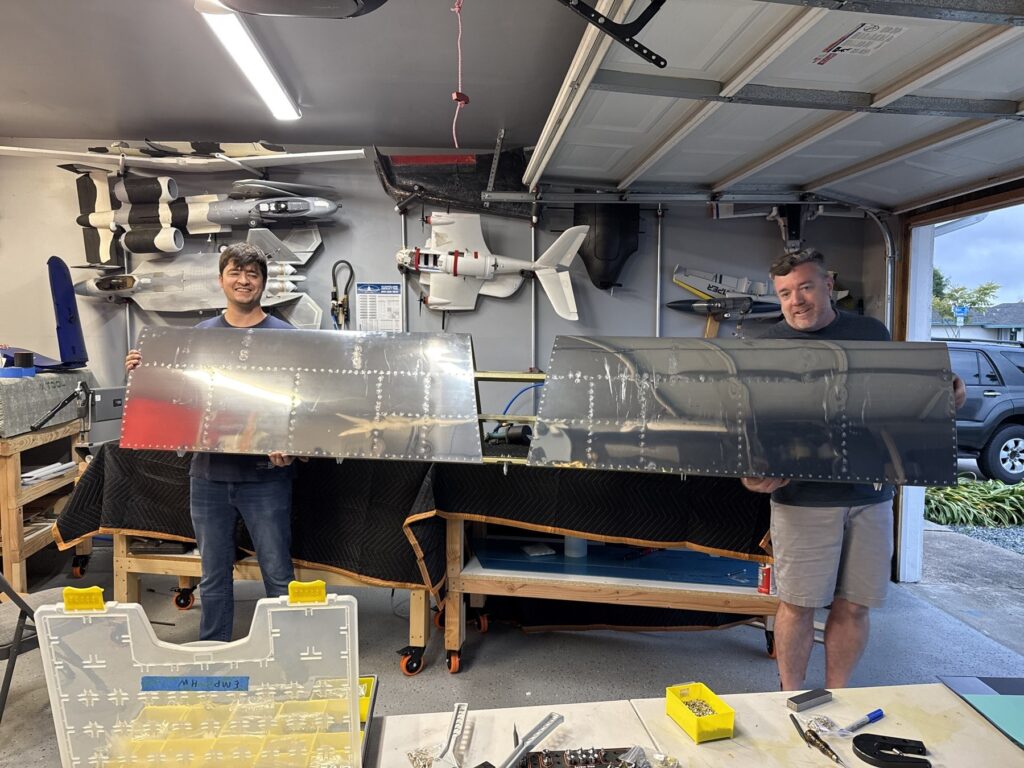
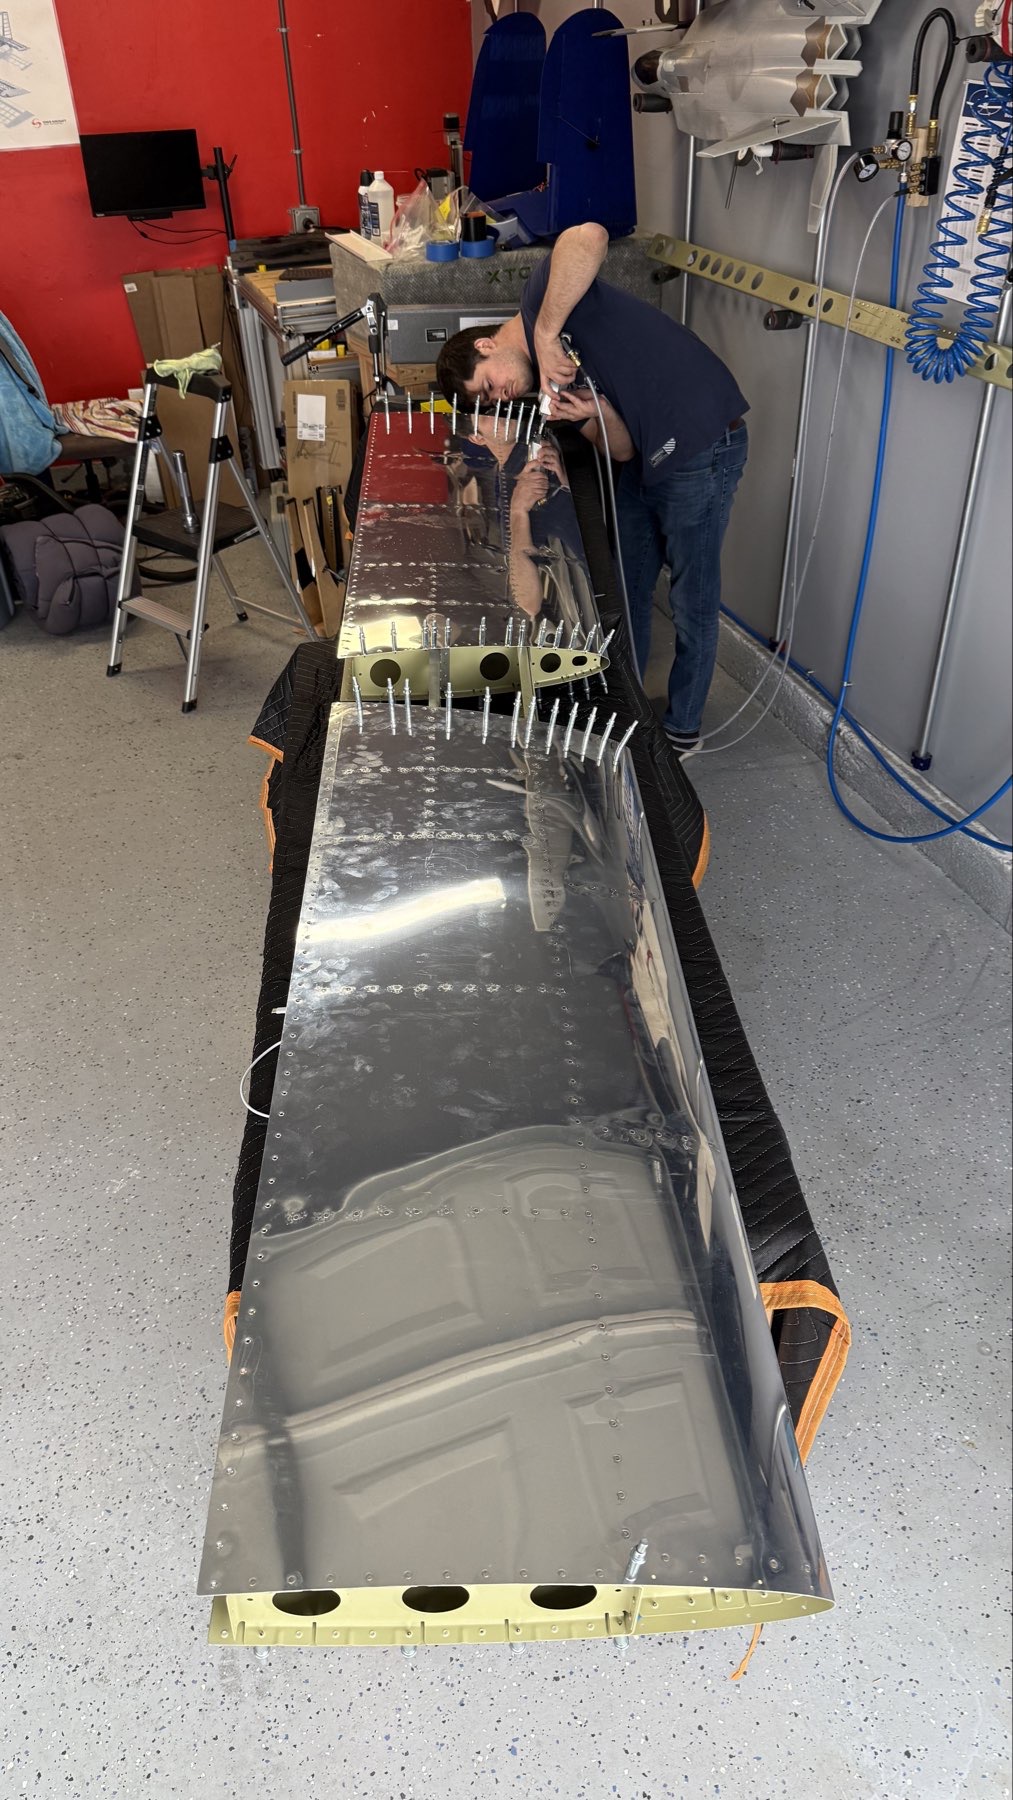
My first (and hopefully only) bonus hole! This happened while dimpling the skin.. the skin shifted (100% my fault) off the dimpling set right as I brought the lever down and instead of dimpling the hole, it created a new hole and dimpled that. I consulted with the online community as well as Vans and my EAA Tech Counselor and got a resounding, “Build on!” so I flattened it, dimpled the correct hole, and moved on. This will be an easy repair with epoxy and micro balloons later, before priming the outside. No structural concerns as long as I plug it.This is the other side of that same mistakeThis is the dimpling set up. I use this tool on the left called a DRDT2 that brings the force of everything down on to that metal with whatever tool is in it (in this case, a dimpling die) and it doesn’t even flinch. It just forms the aluminum.Turning these over was amazing!Got the skeleton structure all setThis tool is called a pneumatic squeezer. Same concept as the DRDT2 except hand-held and air powered. It provides over 3000psi of force, so, you really want to keep your fingies clearAhead of setting the skeleton in, these nose ribs have to be set in first. This is an example of one of those from the inside. I found that it is very easy to “over cook” these rivets with the rivet gun, and I’ll have some filling to do on the stabilizer ahead of painting, as there are some areas where I created little dimples. No biggy. Build on!I wish the mushroom head didn’t make these so dirty/marred but it’s whatever.Front spar assembly Cleco’d in. Fuck yeah!! It’s happening.Bonus hole flattened out pretty well. Body filler and some minor shaping and it’ll be like it was never there.Here is one area with the skeleton riveted in. That part down there is the front spar of the stabilizer, and then these on the sides are each rib. At the end, the rear spar gets set, attaching to both these ribs and the skin, resulting in a very strong structure.Called in some reinforcementsSo. Many. Rivets.Have to sign before closing, always!DONE! Well, mostly.. I had a couple tricky rivets that I address the next day..