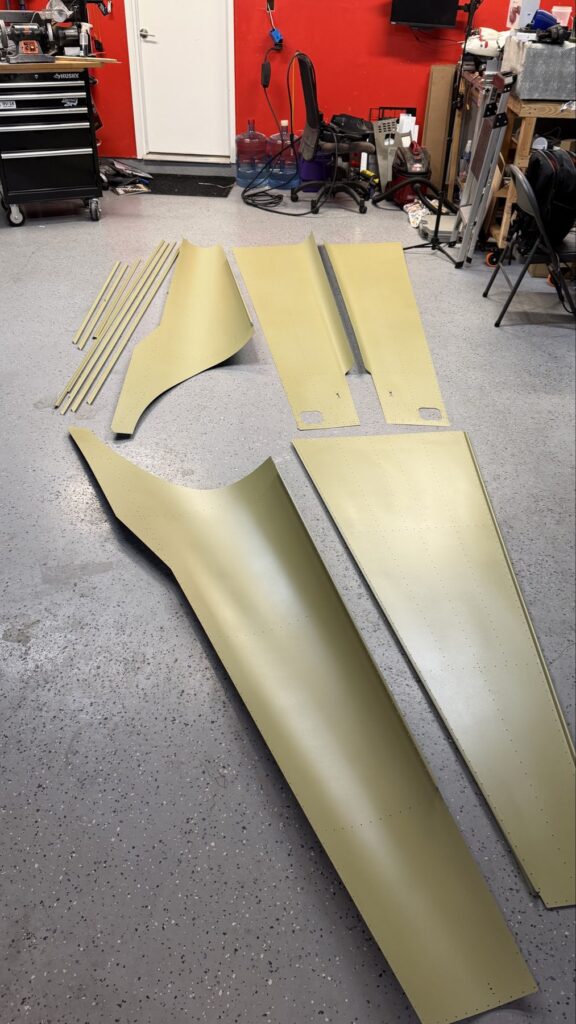
This is easily the biggest part of the kit so far, and felt the most accomplished as I finished it. There weren’t as many small pieces to deal with, everything was larger and even though the number of hours I spent for this section was on par with other chapters, it felt like I accomplished more since all the parts (especially the skins) are so much bigger.
With that, let’s get to it:
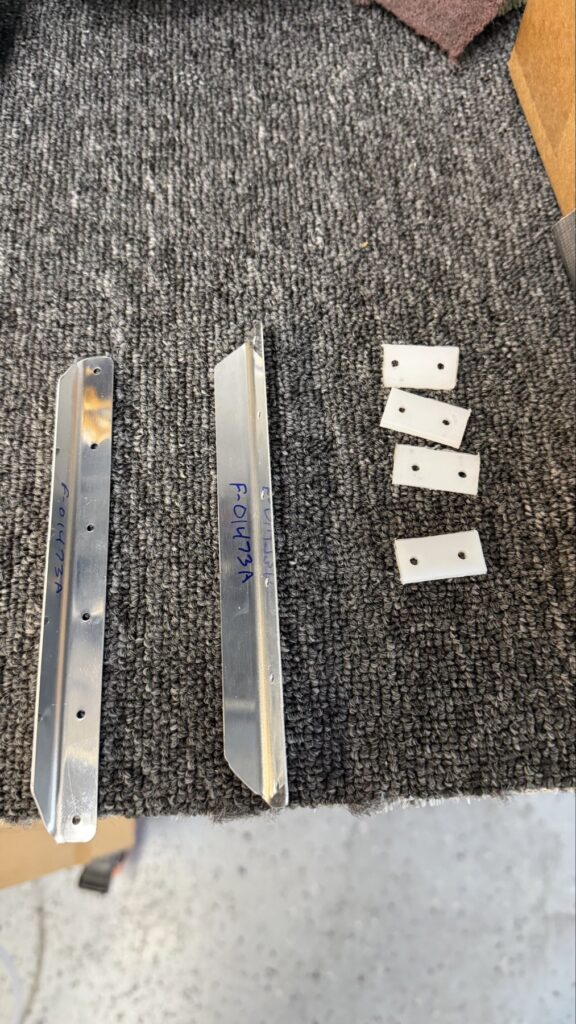
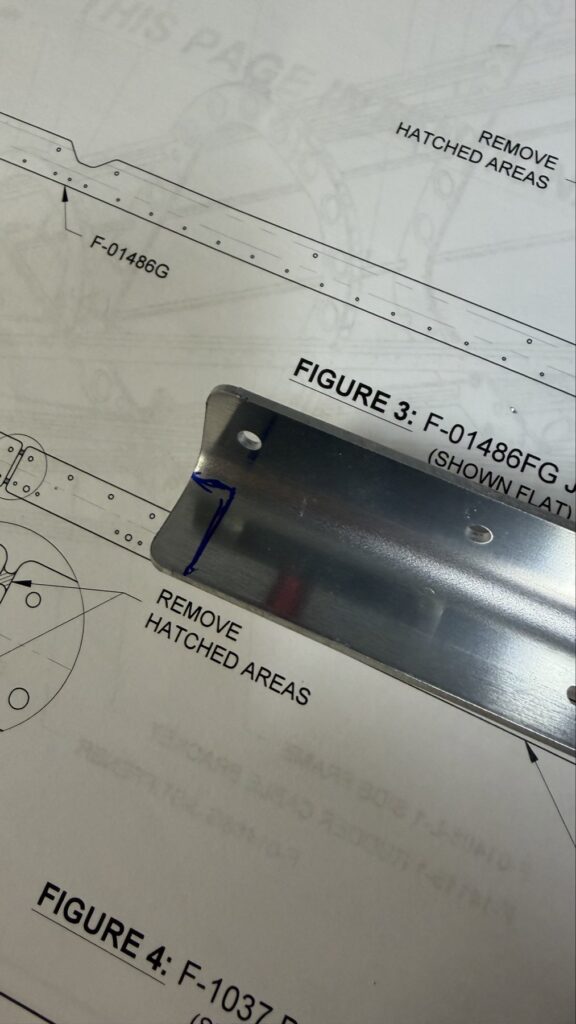
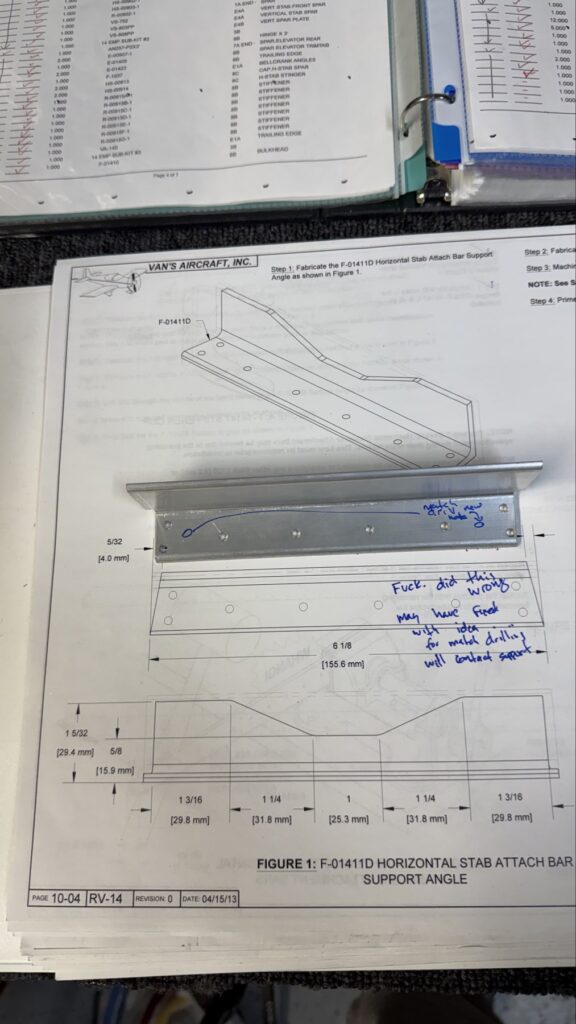
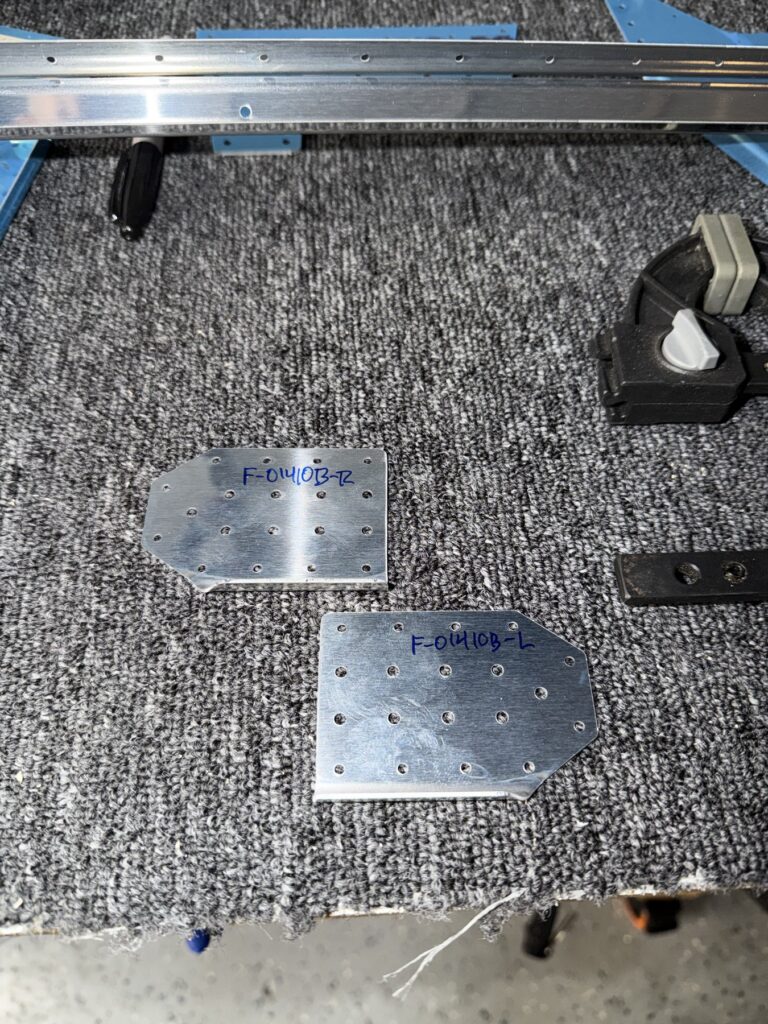
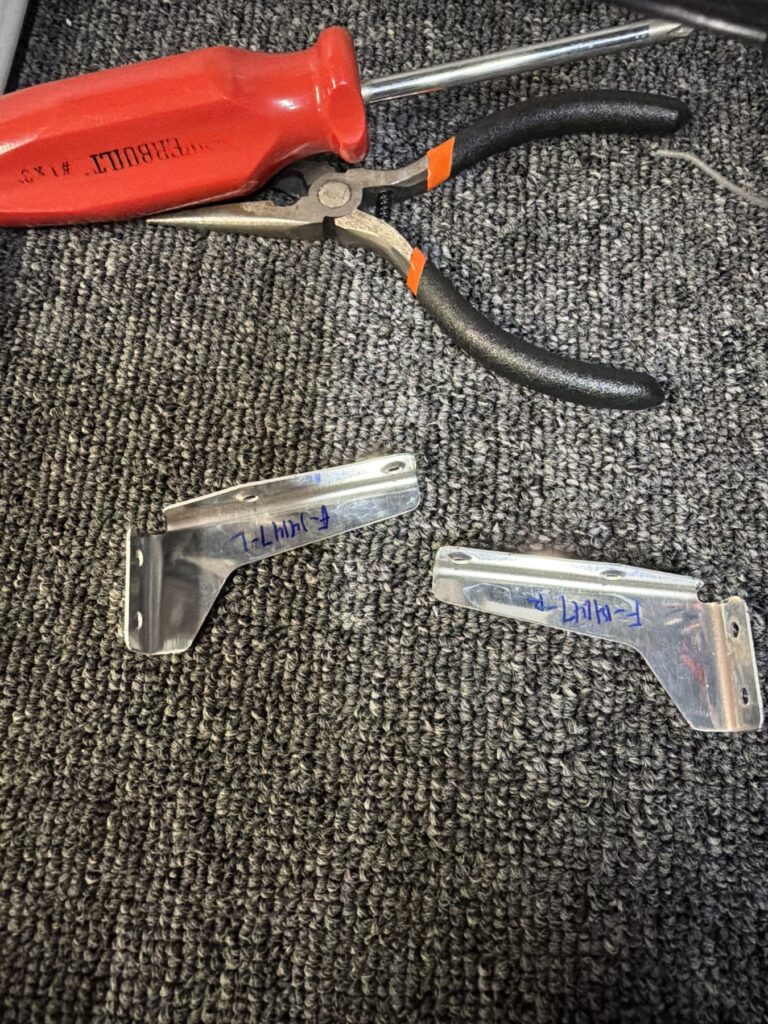
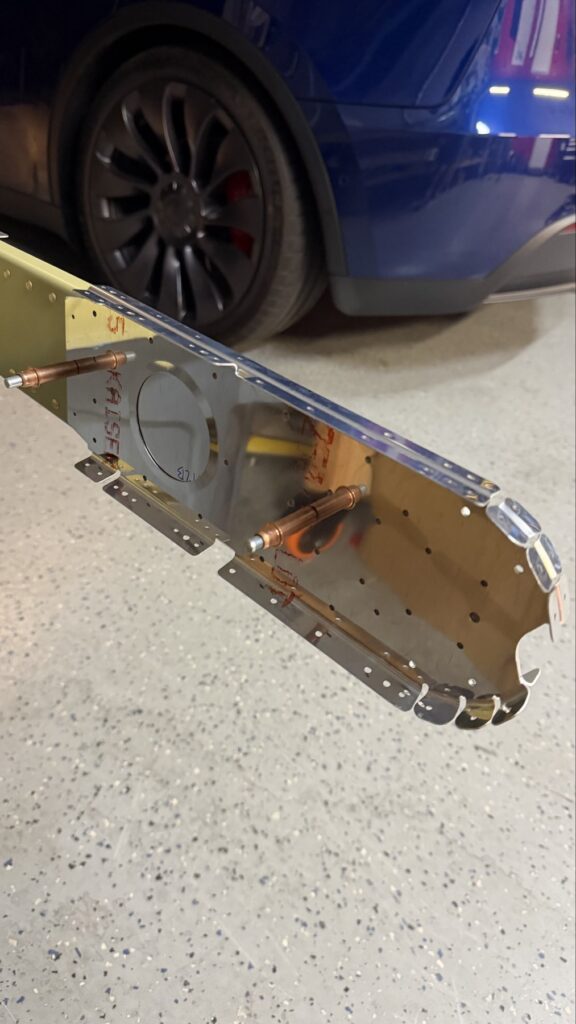
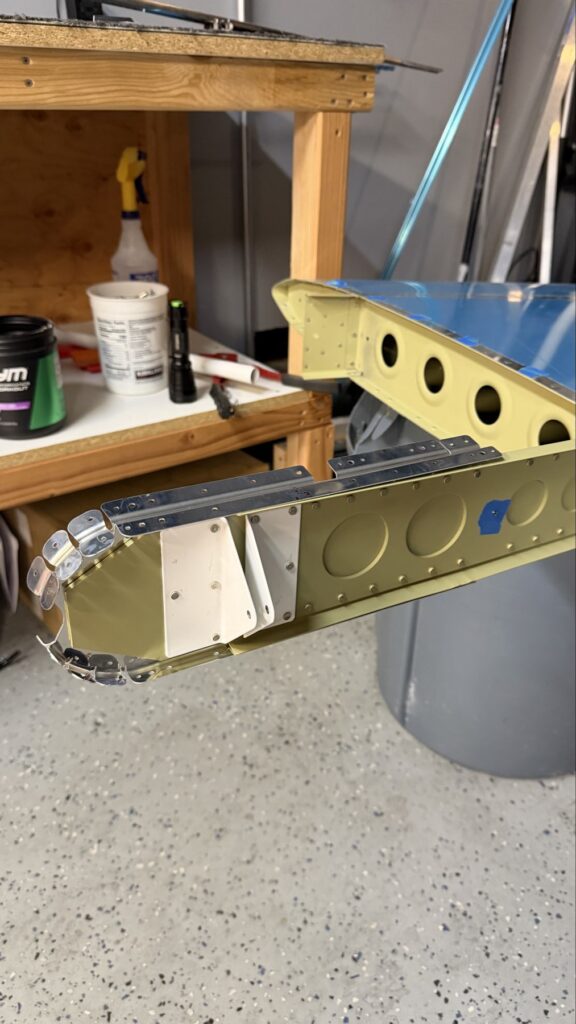
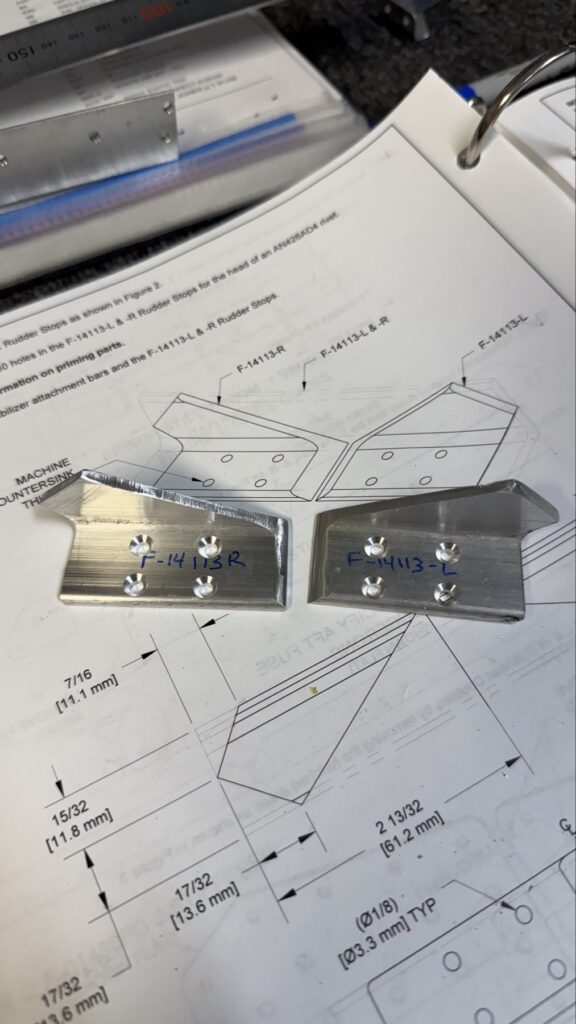
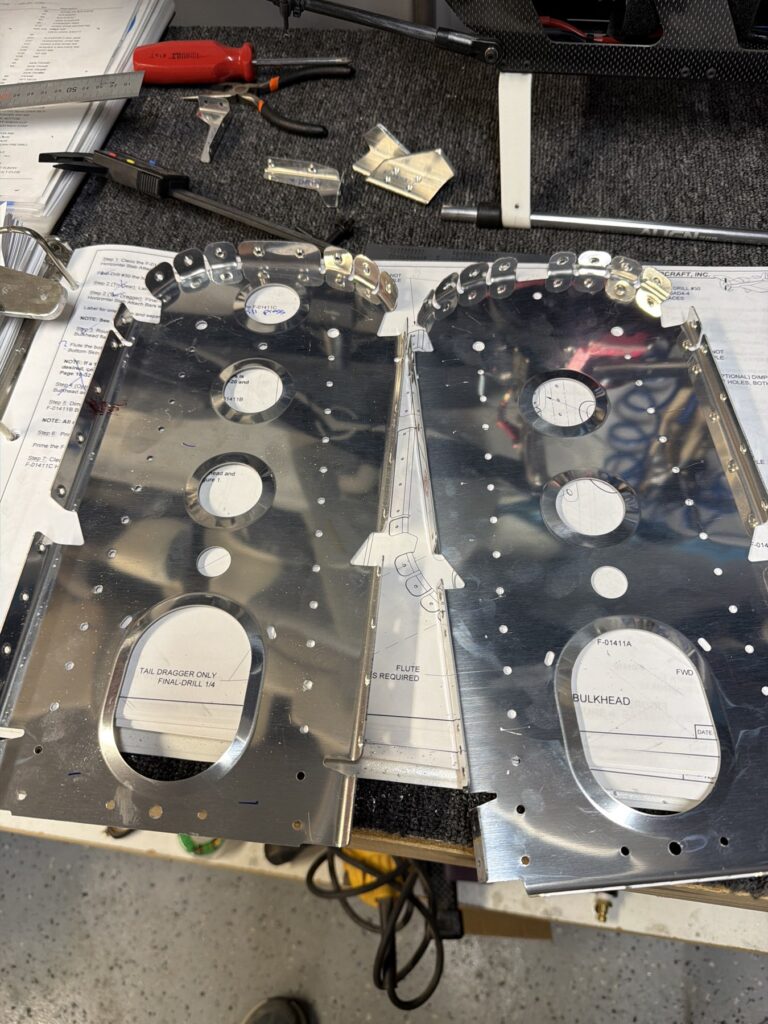
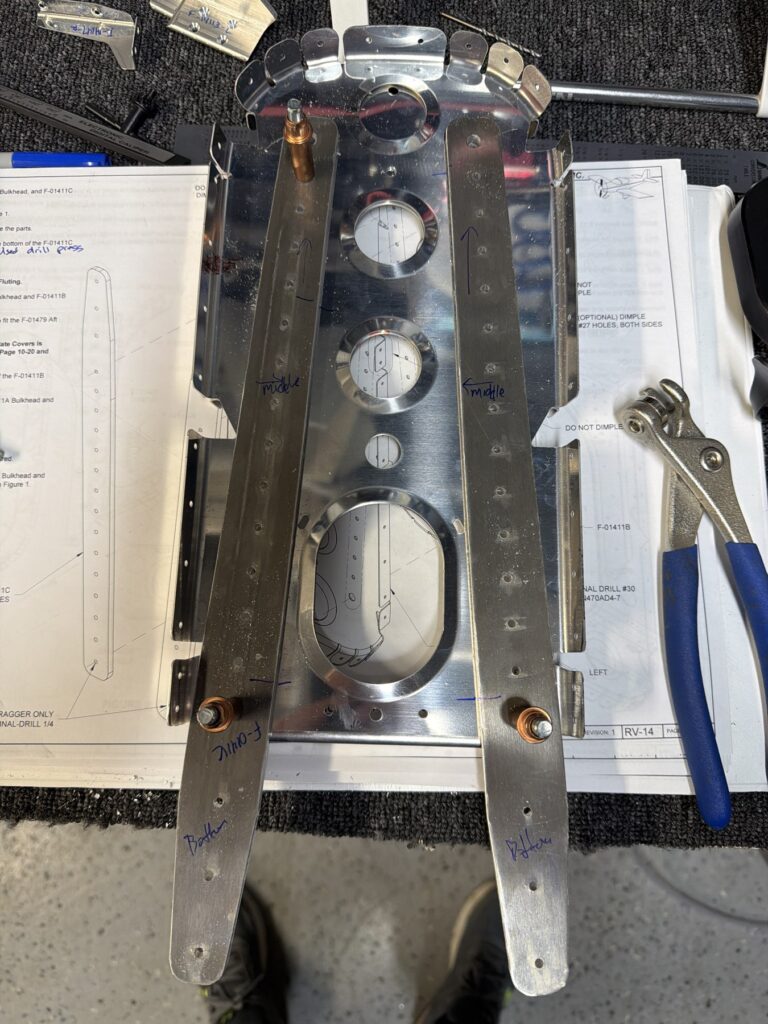
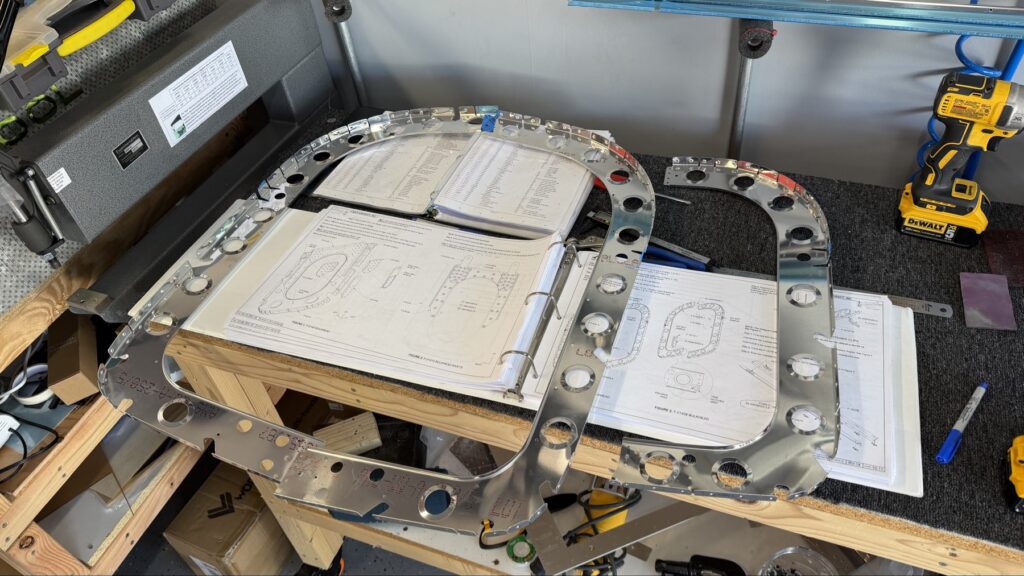
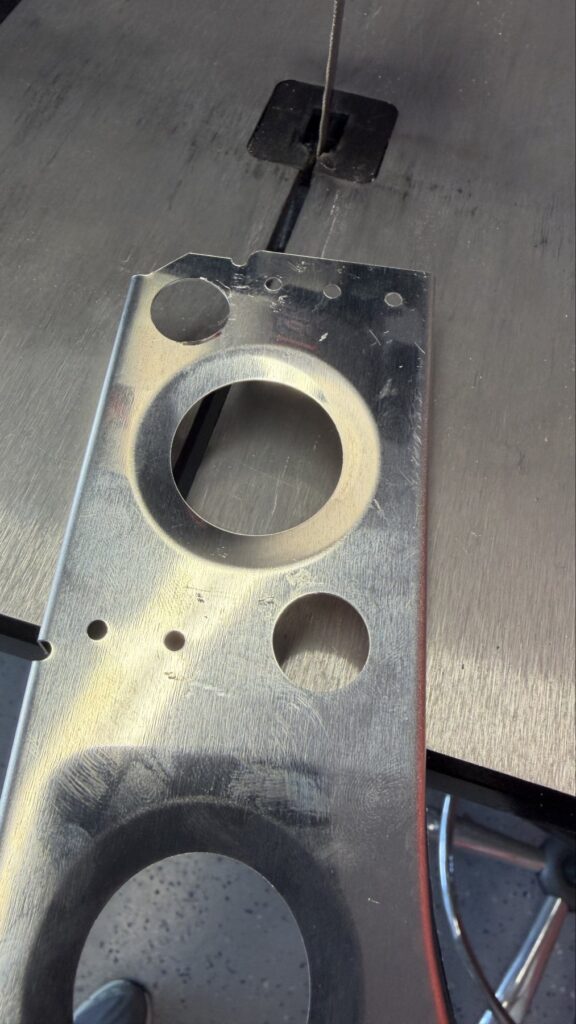
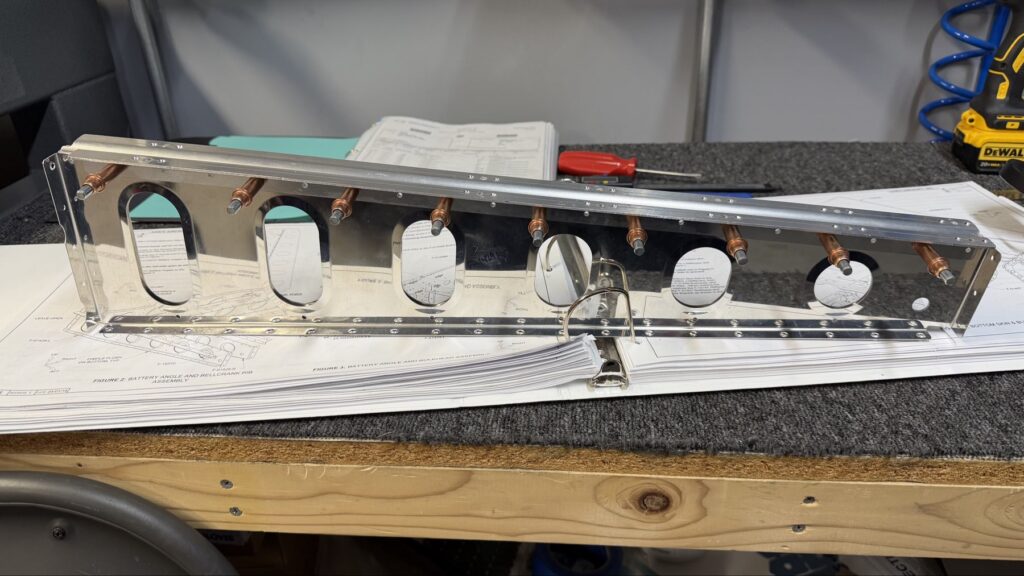
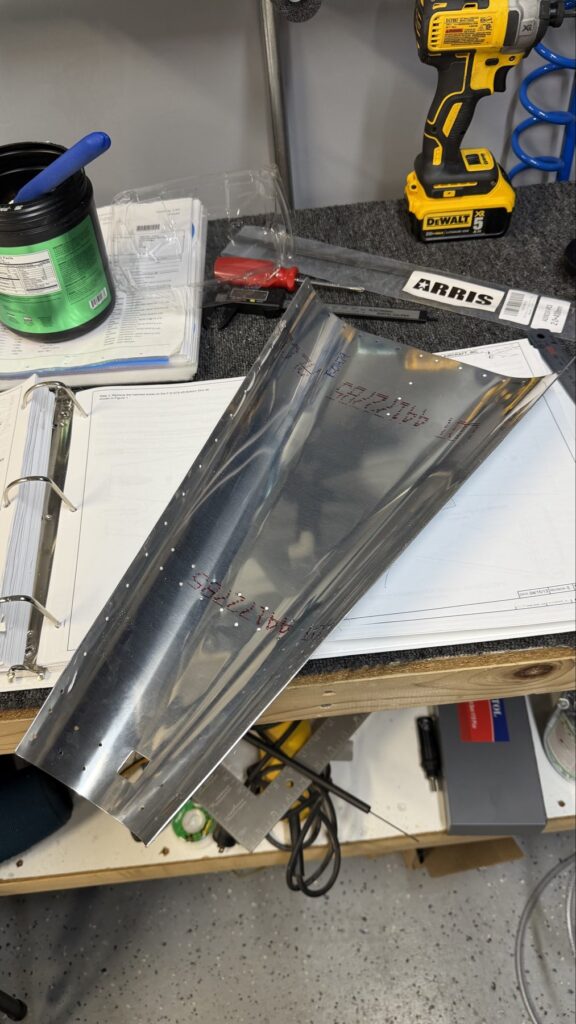
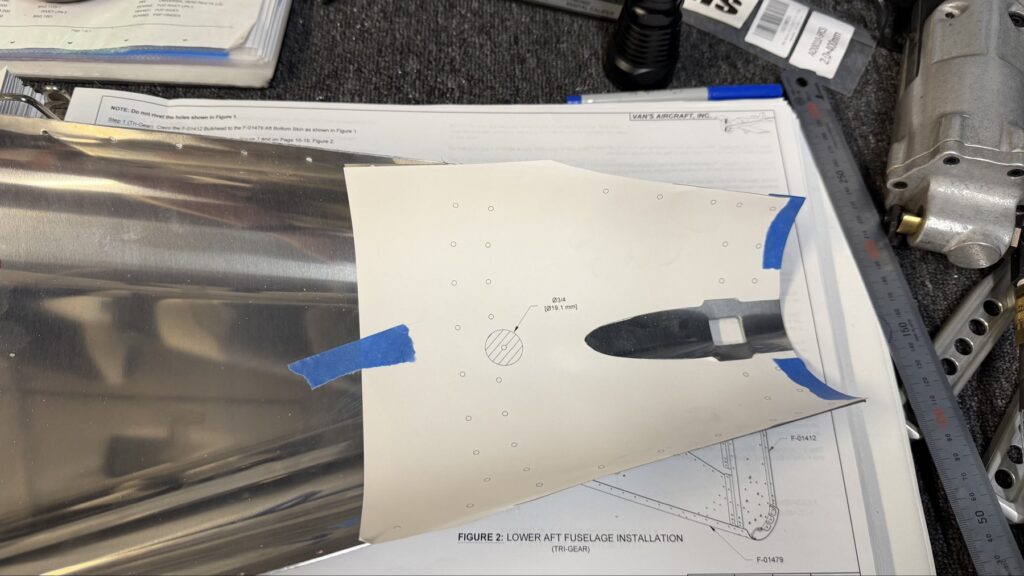
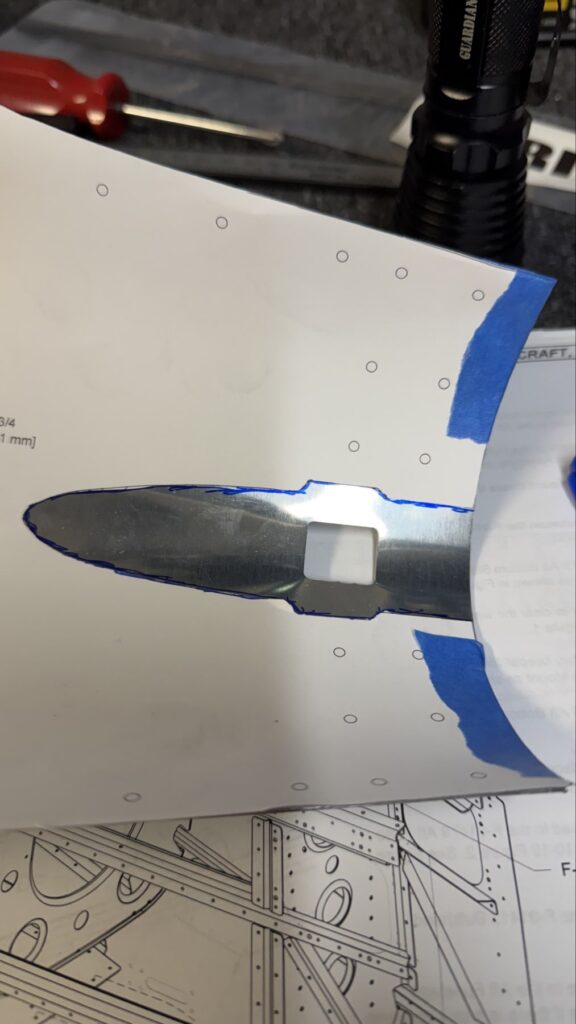
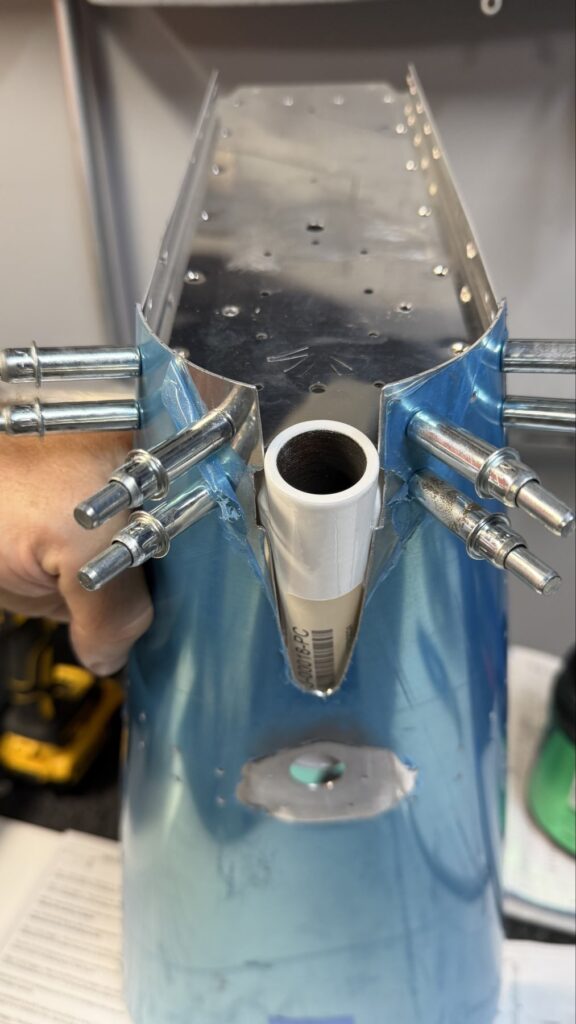
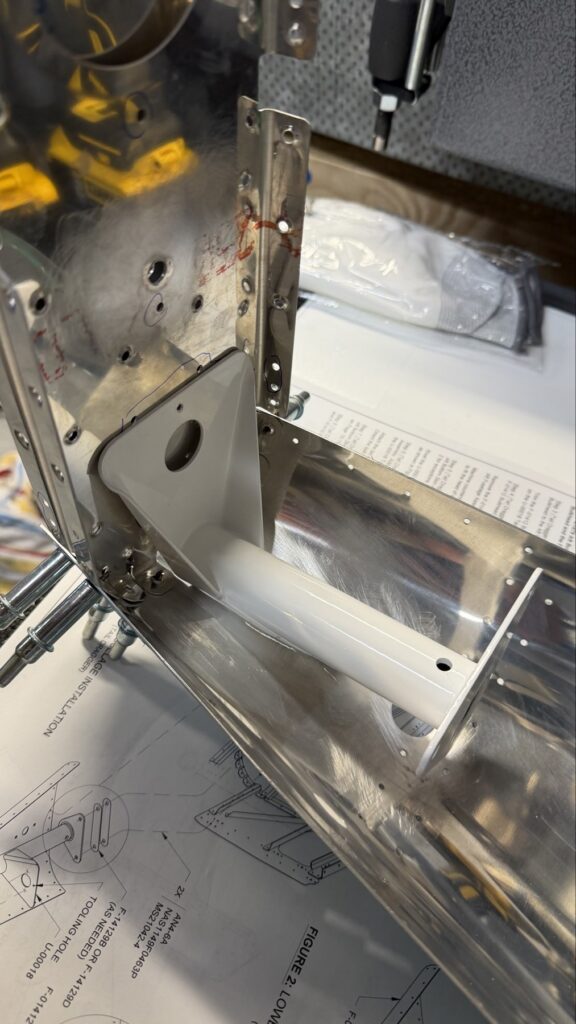
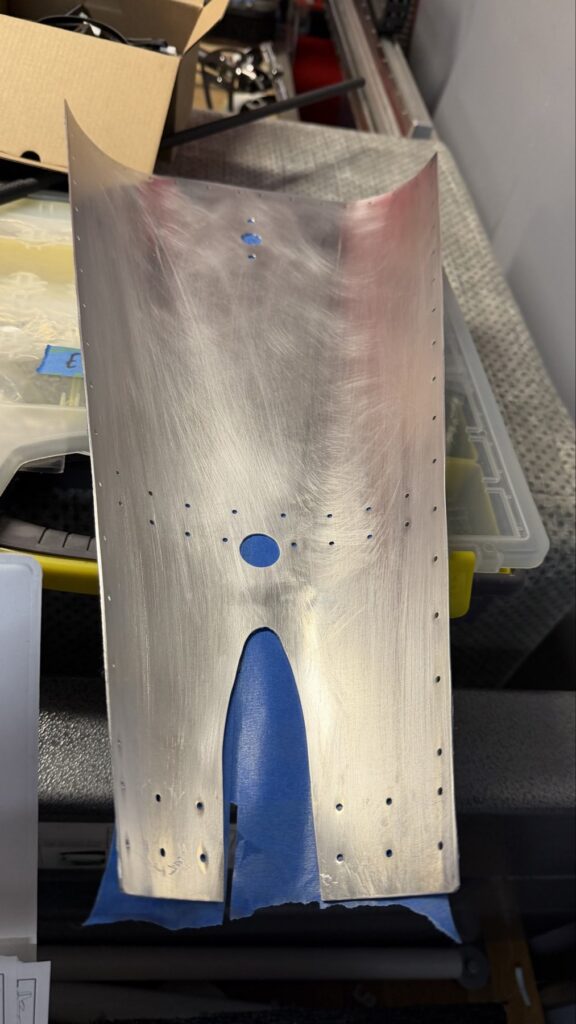
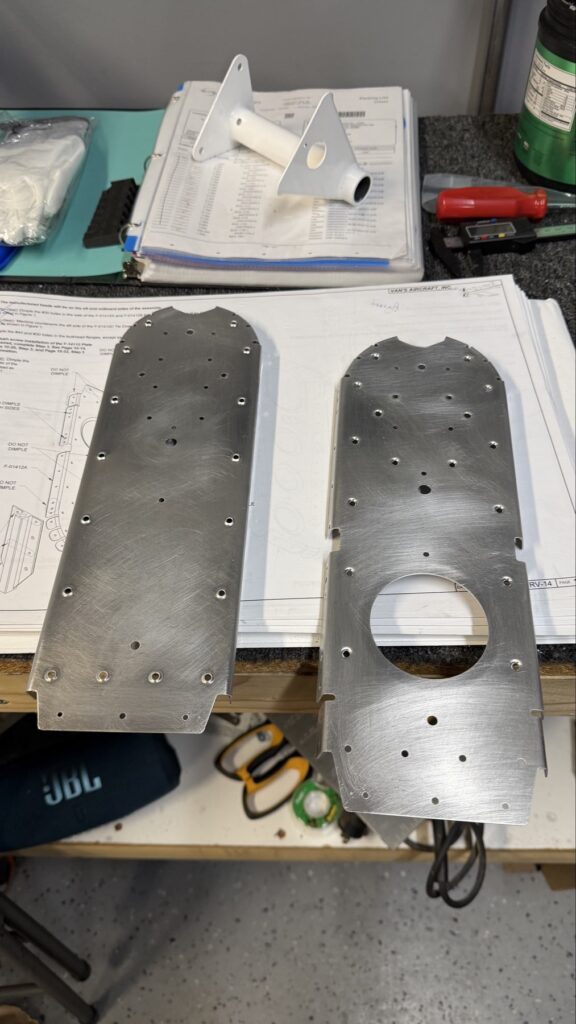
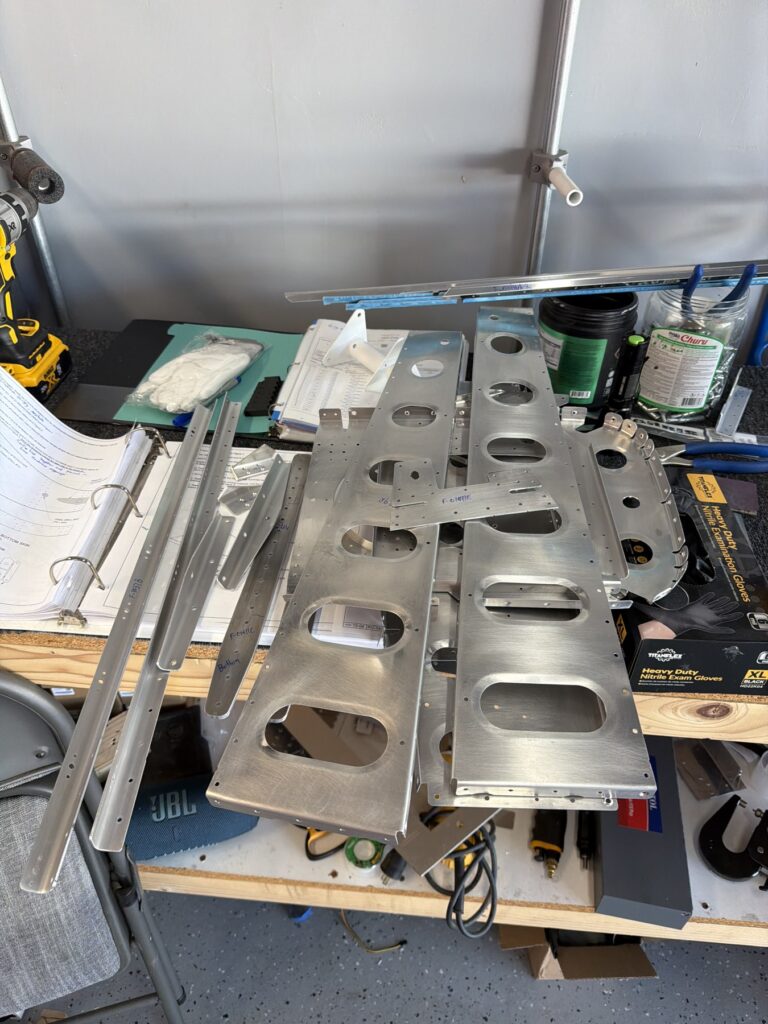
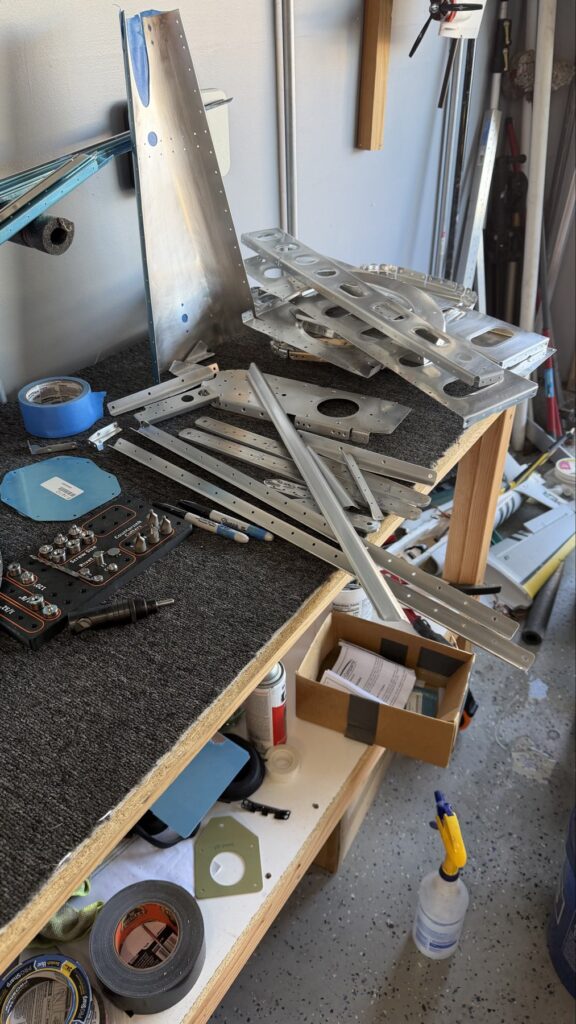
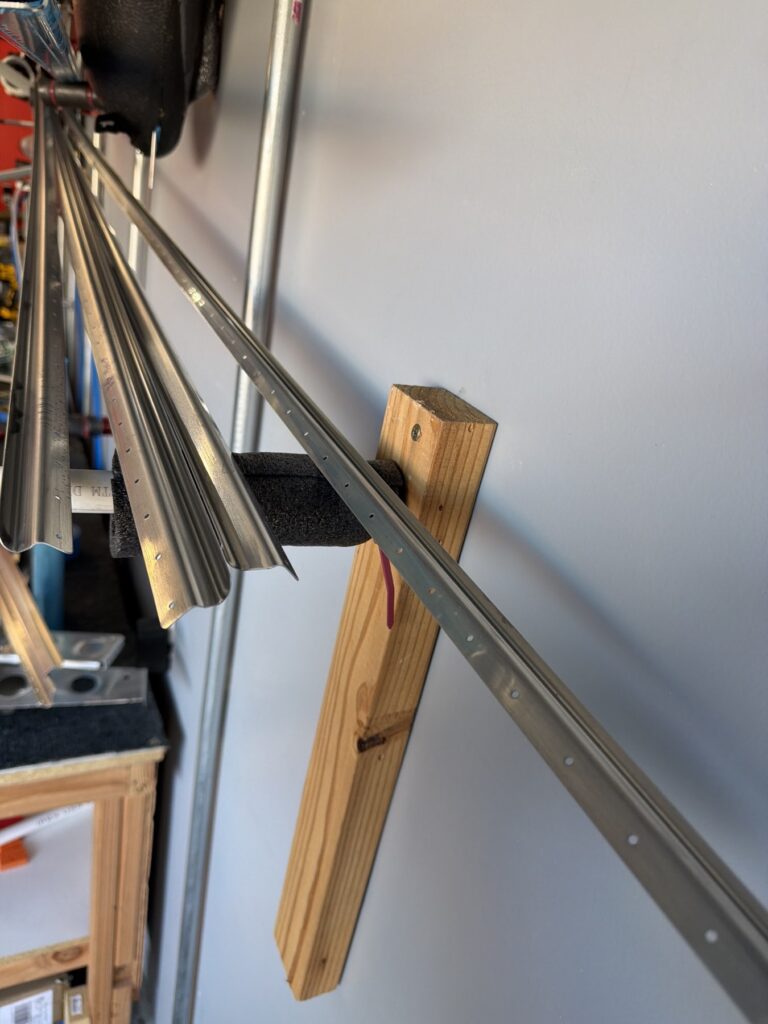
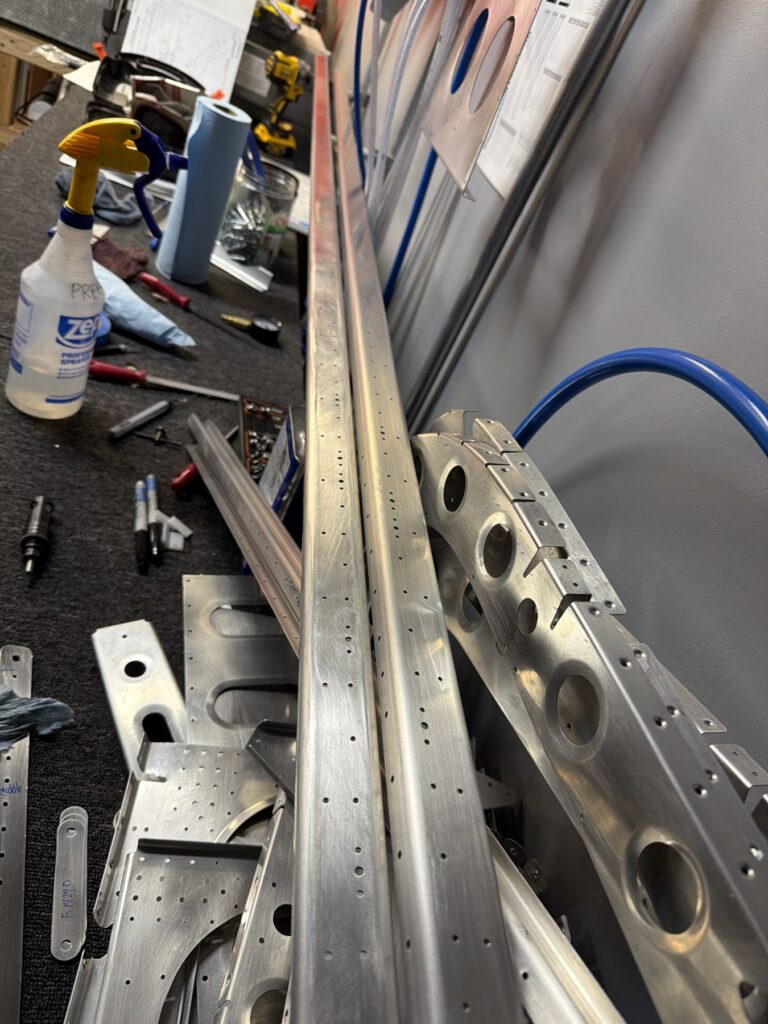
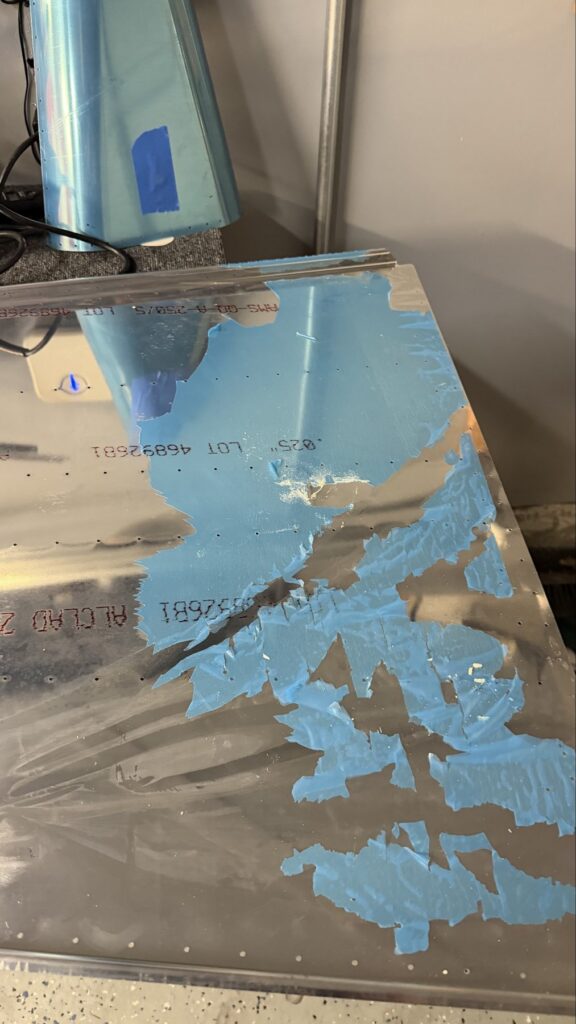
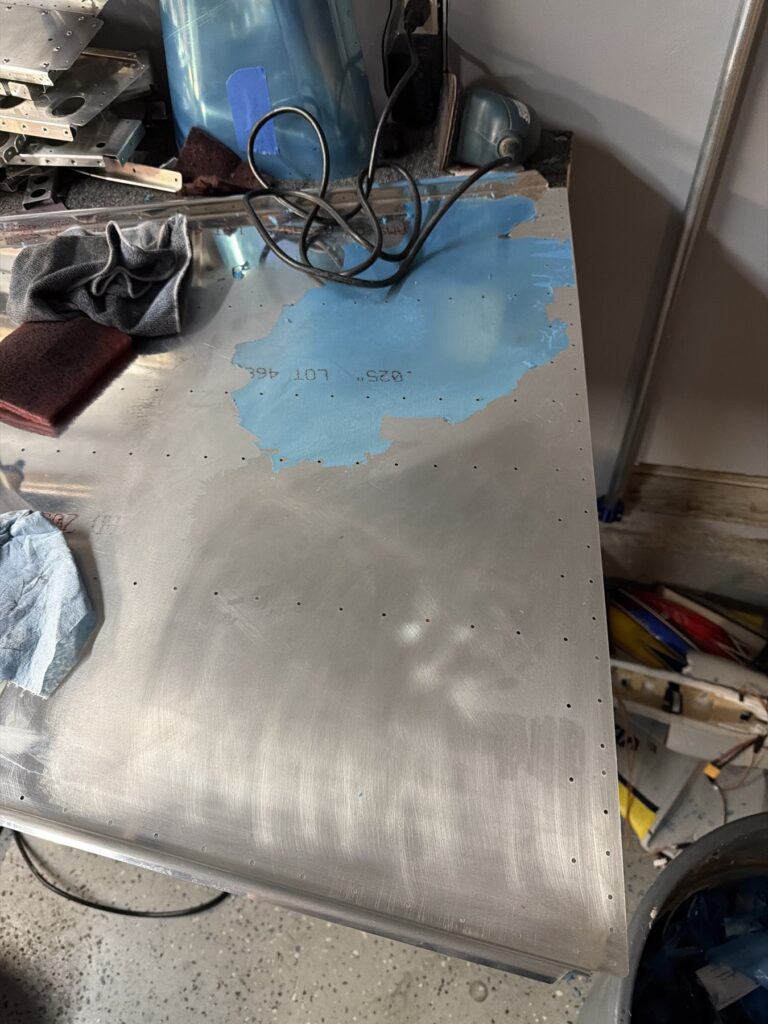
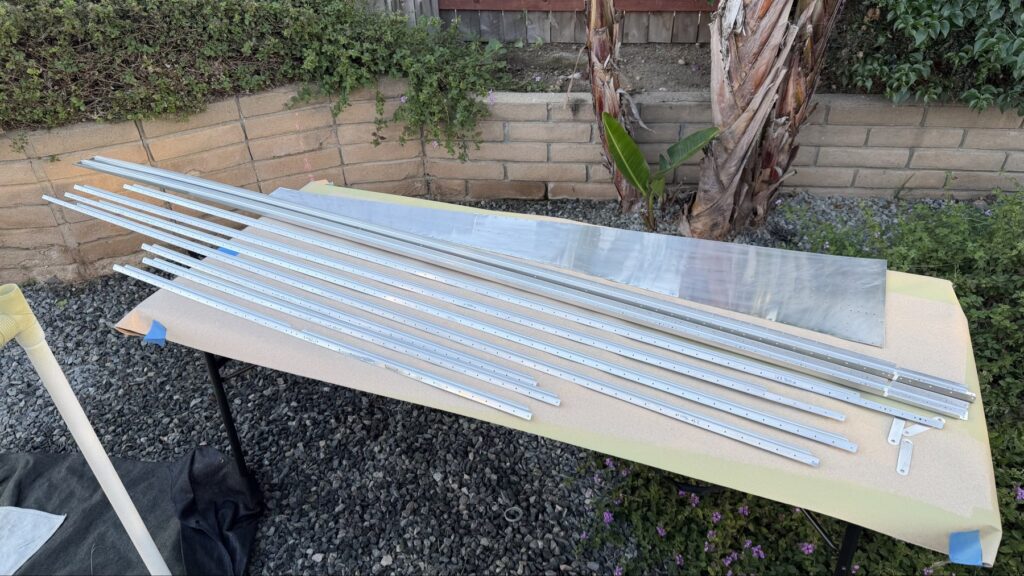
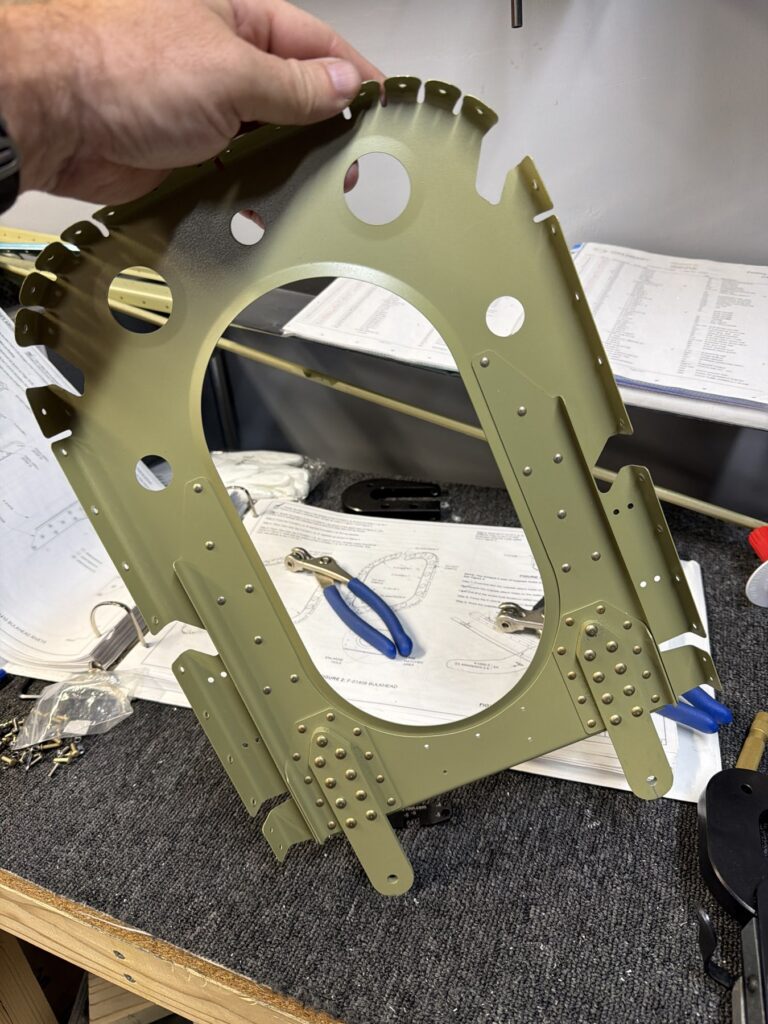
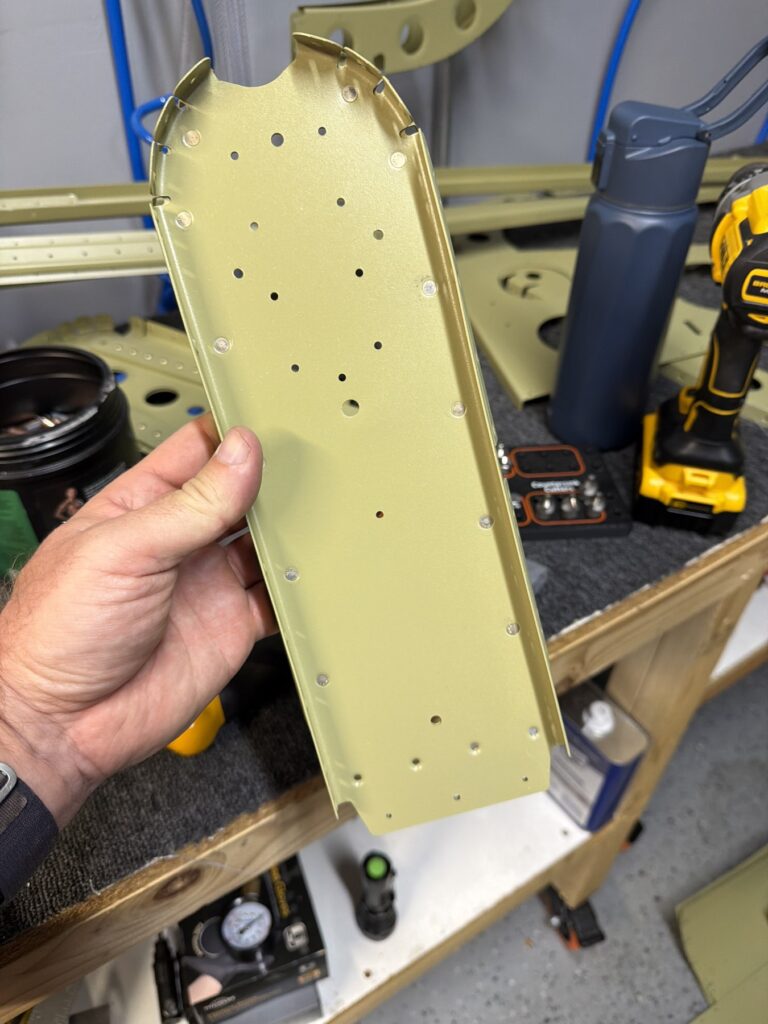
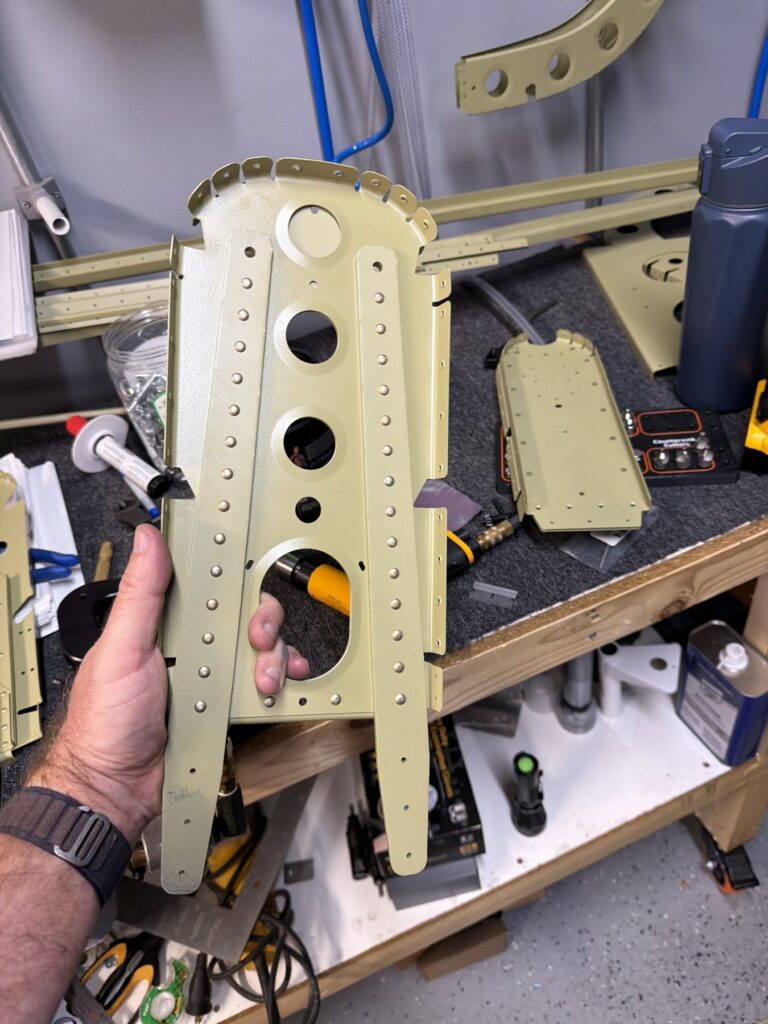
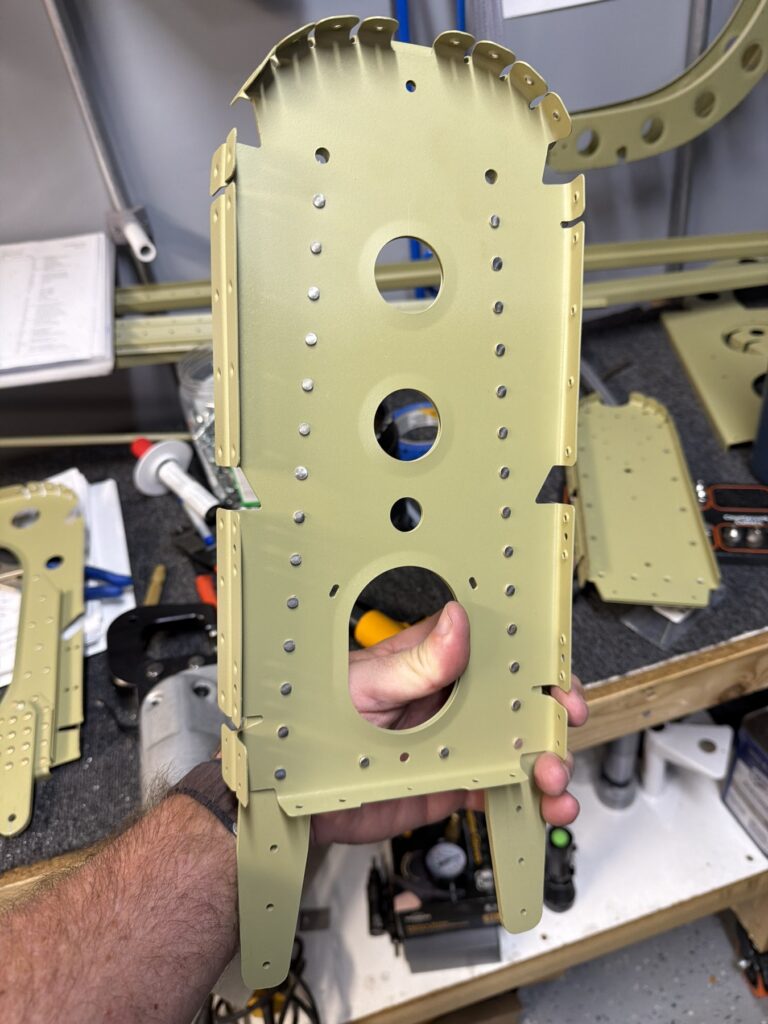
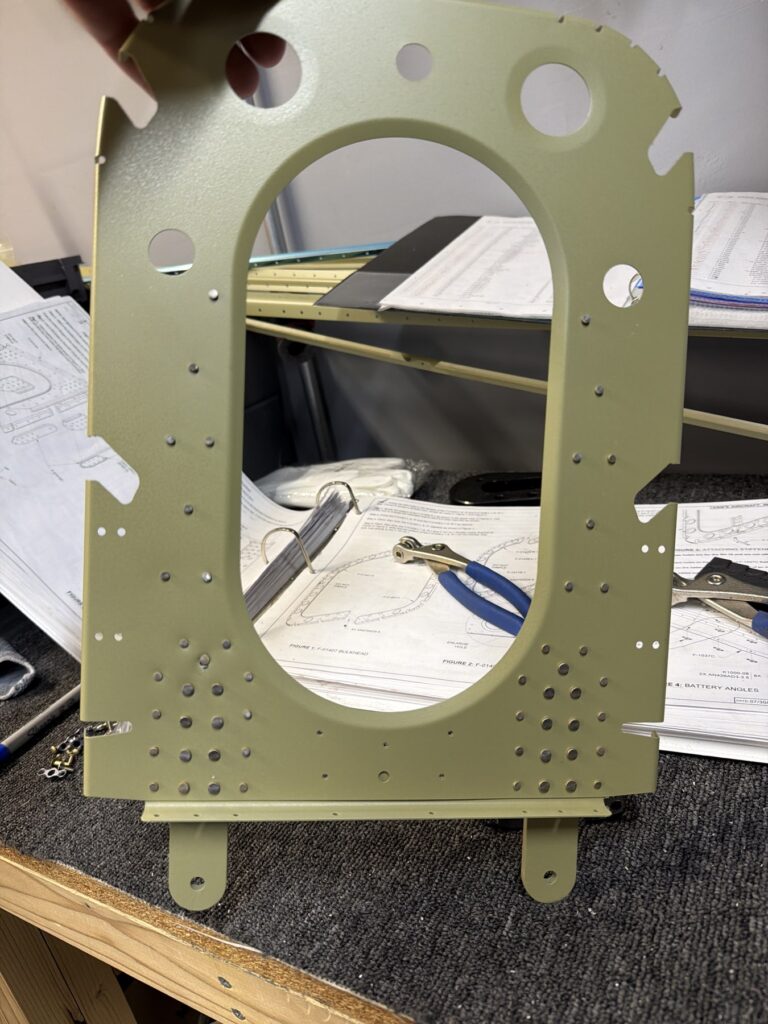
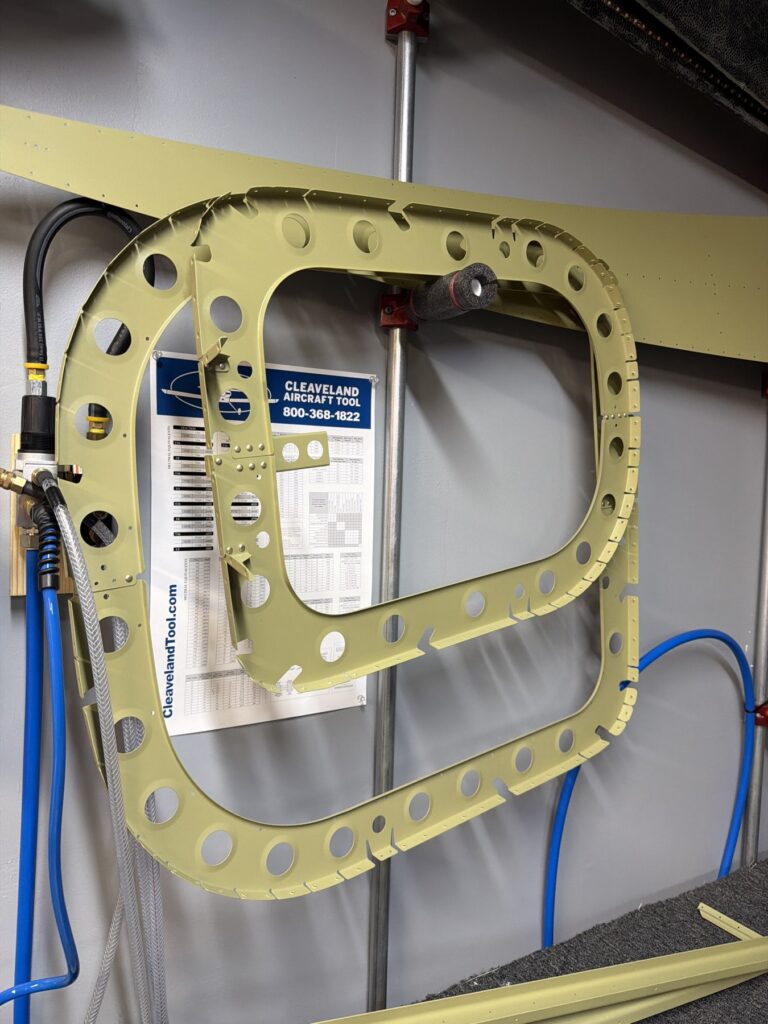
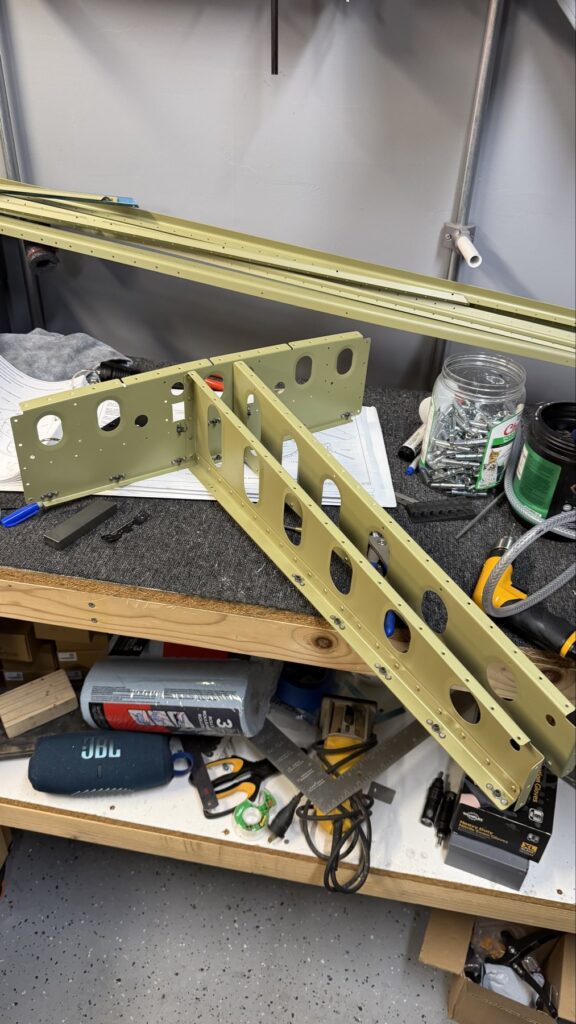
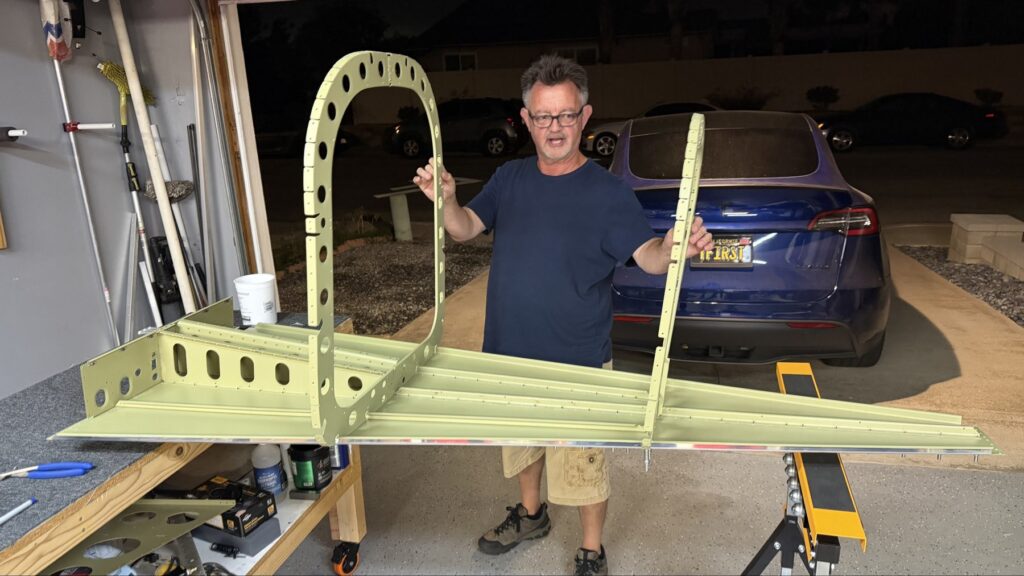
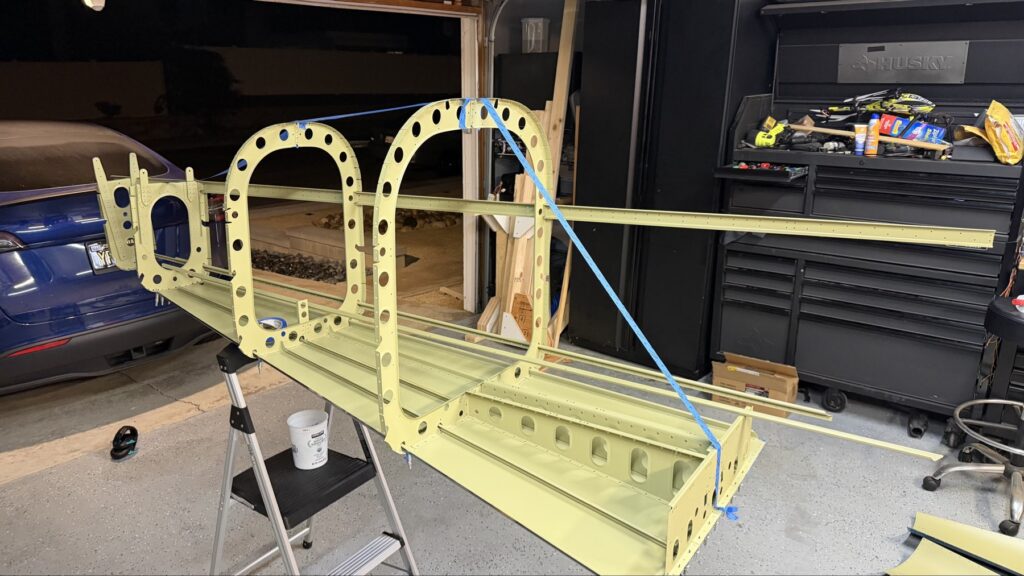
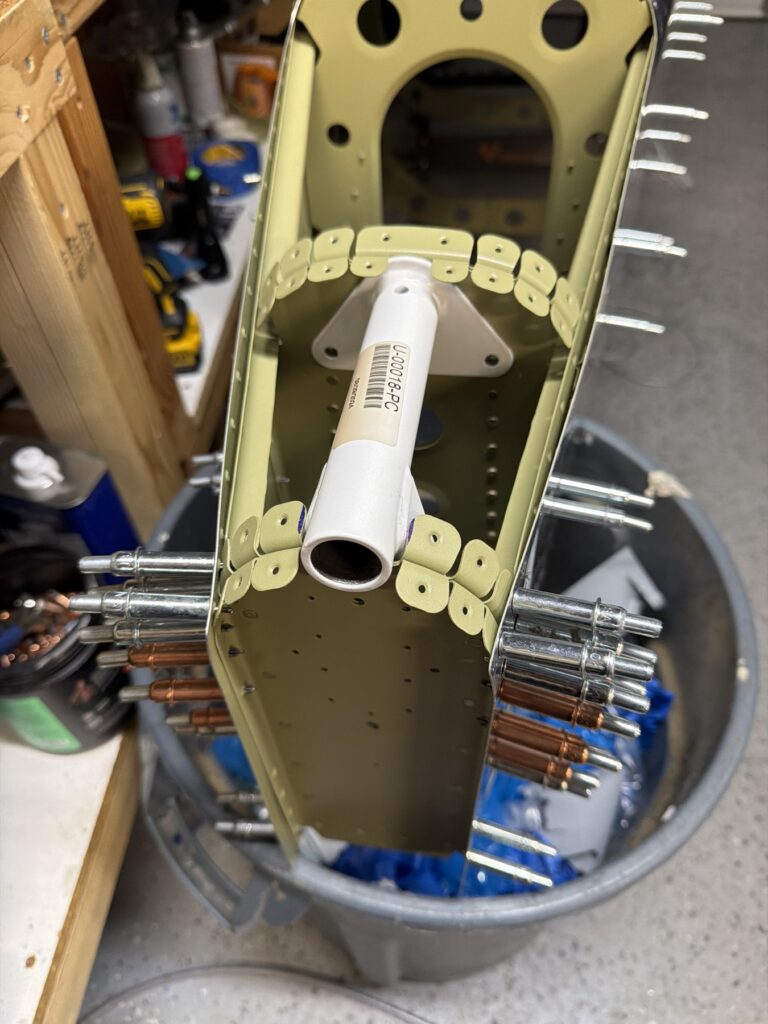
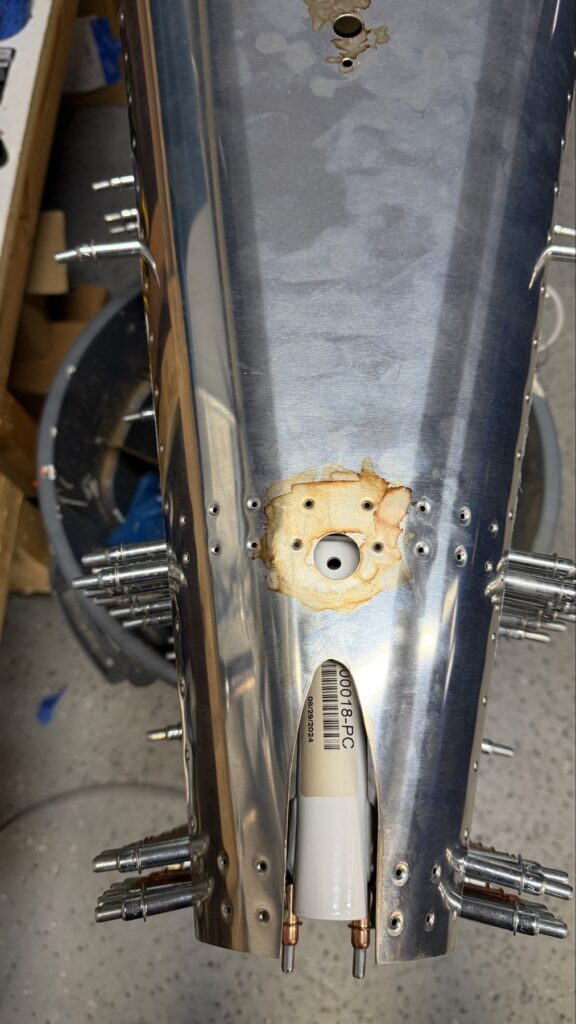
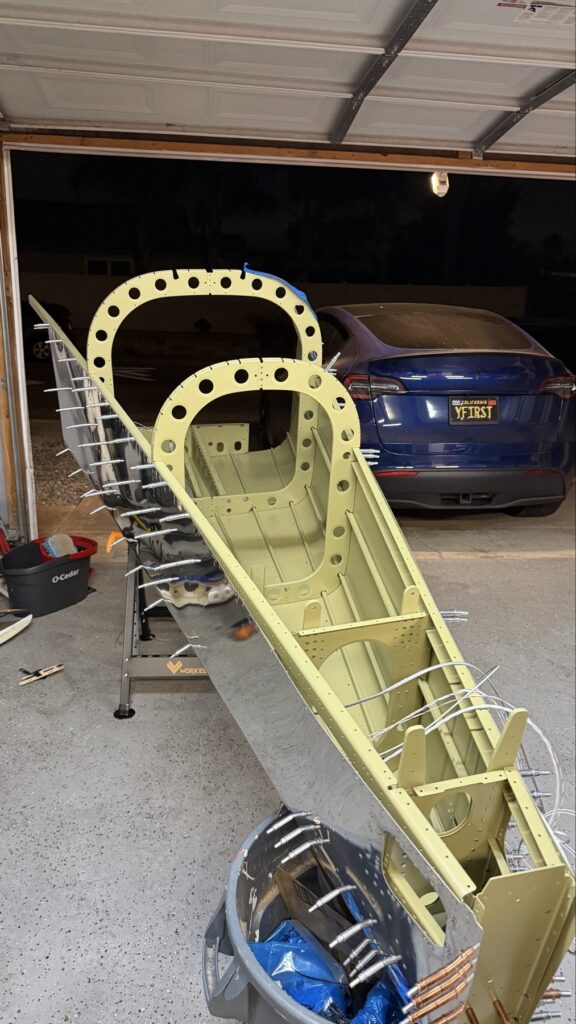
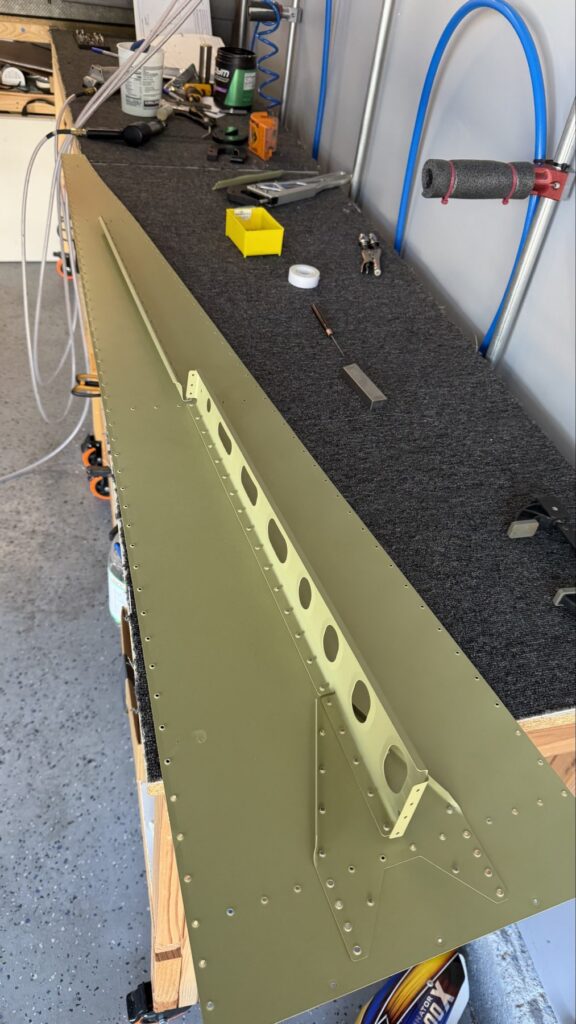
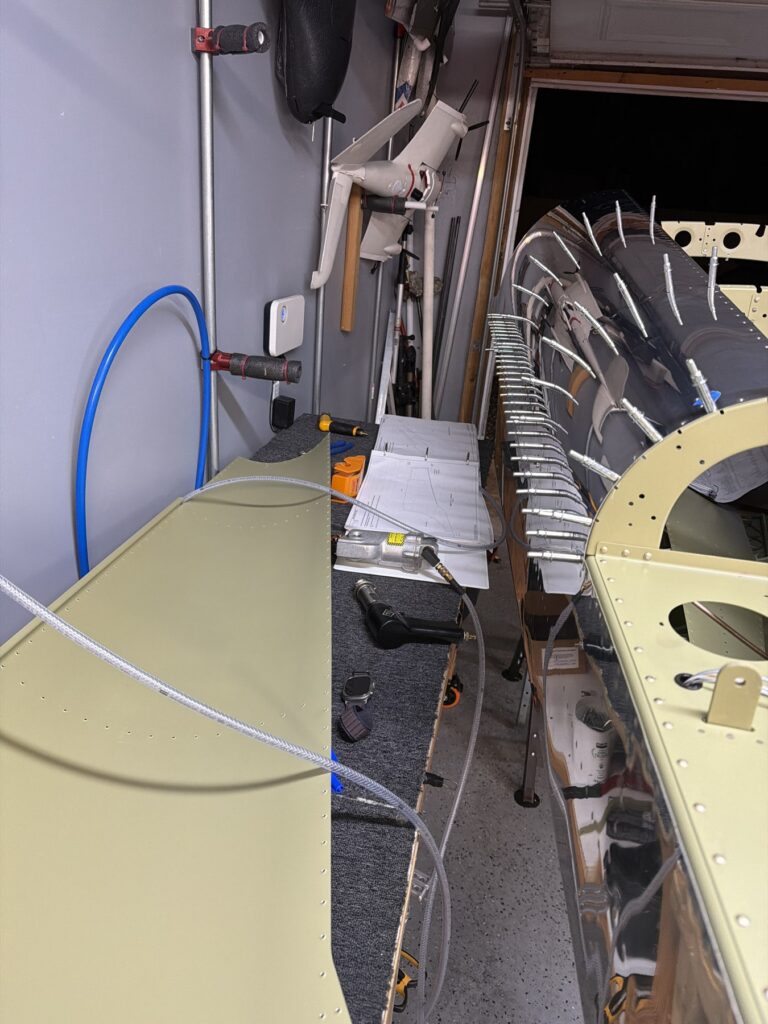
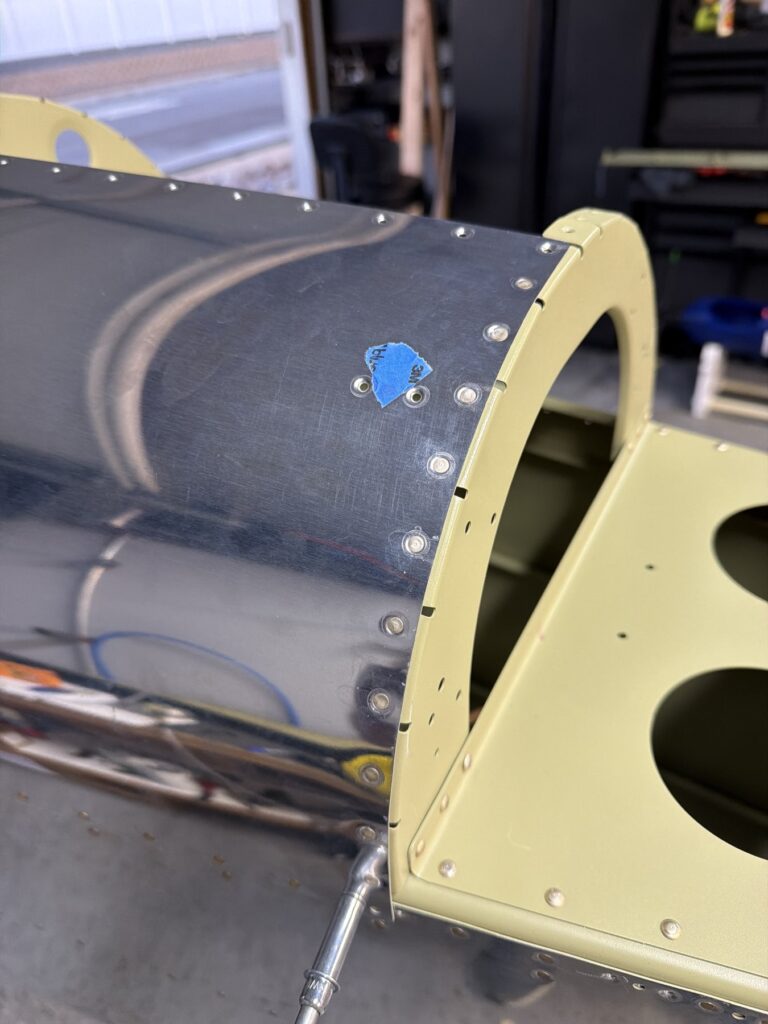
I didn’t say there were no small parts, just fewer..This piece gets shaped from basically just stock angle aluminum to the drawing on the top of the page. I made a couple mistakes here and ended up after a quick email exchange with Vans reproduced this part. Some more small parts..I had to grab the Vertical Stab and match drill some holes in these two pieces, as they join up later in the Empennage Assemble section so you want these to be right nowMore arts and crafts. This was more of that angle stock that I shaped in to what will become rudder stops laterThese are some beefy stiffeners, these have “structural, don’t mess up” written all over them in invisible inkOhhh finally getting to some bigger partsMore arts and crafts with metal shaping on the bandsawThis becomes structure inside where some bellcranks and autopilot servos attach later This part is about to get some tailwheel-based modifications..Taping the stencil in so I know where to remove materialTracing the stencil on to the aluminumWith that material removed, I do a test fit with the tailwheel holder thingy and the other components all right here. Additional shaping was required for the desired fit but I did get it there..This is what it looks like from the inside..and the back. The Tailwheel assembly will slide in to this piece way later in the process, but it’s cool that it’s there nowWith that shaping done, in to Primer Prep we go! You can see what my final shape ended up as, vs the template above.All these oddly shaped channel stiffeners need to get prepped as wellThese two long pieces are longerons; they’re heavier aluminum than all the other stiffeners that run lengthwise in the aft fuselage and provide a lot of support in the aft fuselage in general. They look bent in the picture, that’s because they are.. they help define the shape of the tail as it decreases in size. The precision of these kit parts and how they all line up together is very impressive.This blue vinyl film really should not be exposed to sunlight. This piece was under a small window in my shed for a little less than a year and it took a lot of work to get it removed since the glue changed itself up and decided it never wanted to let go.Little by litter, I eventually got it all removed
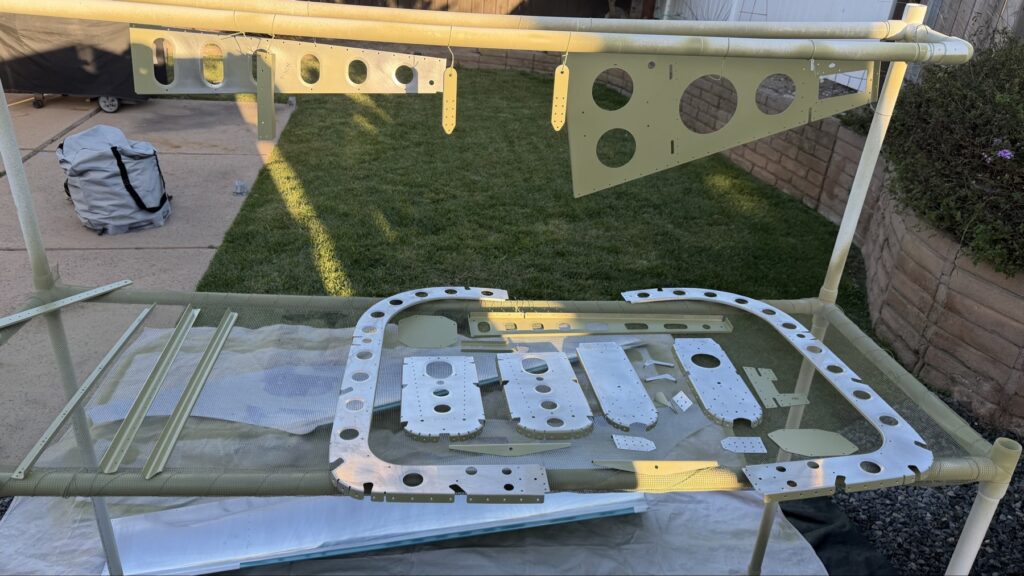
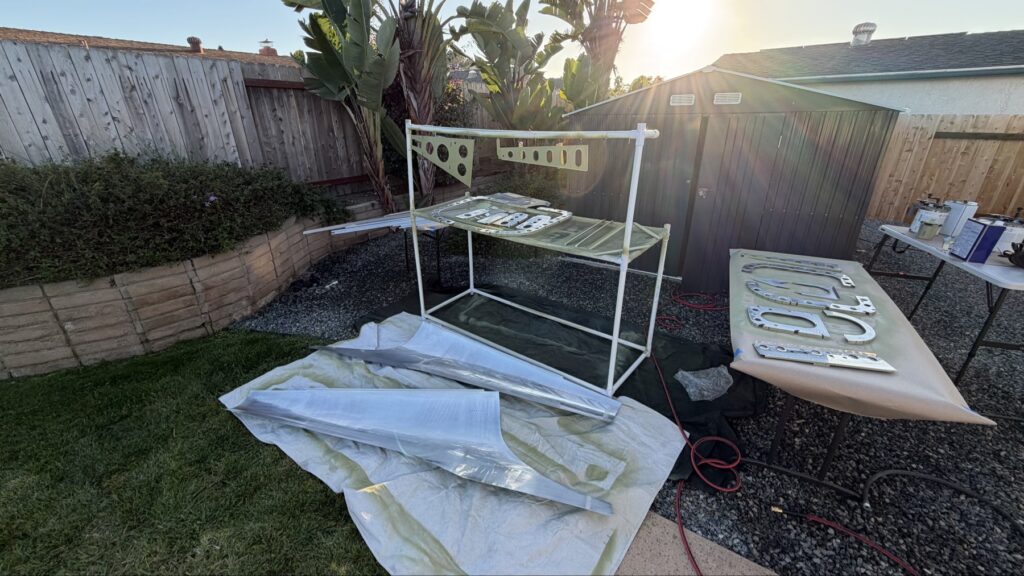
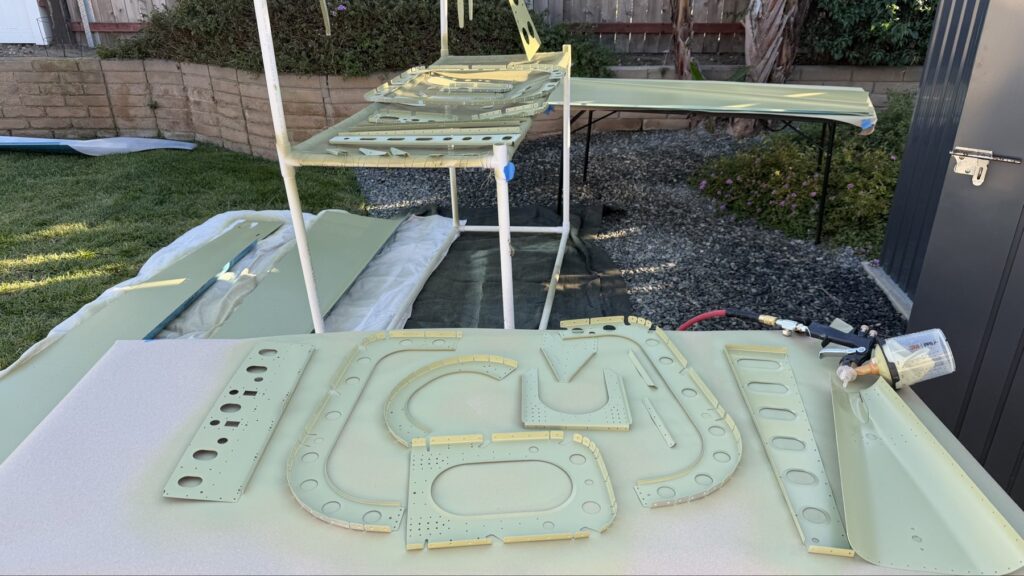
With all the primer prep done, you know what comes next!
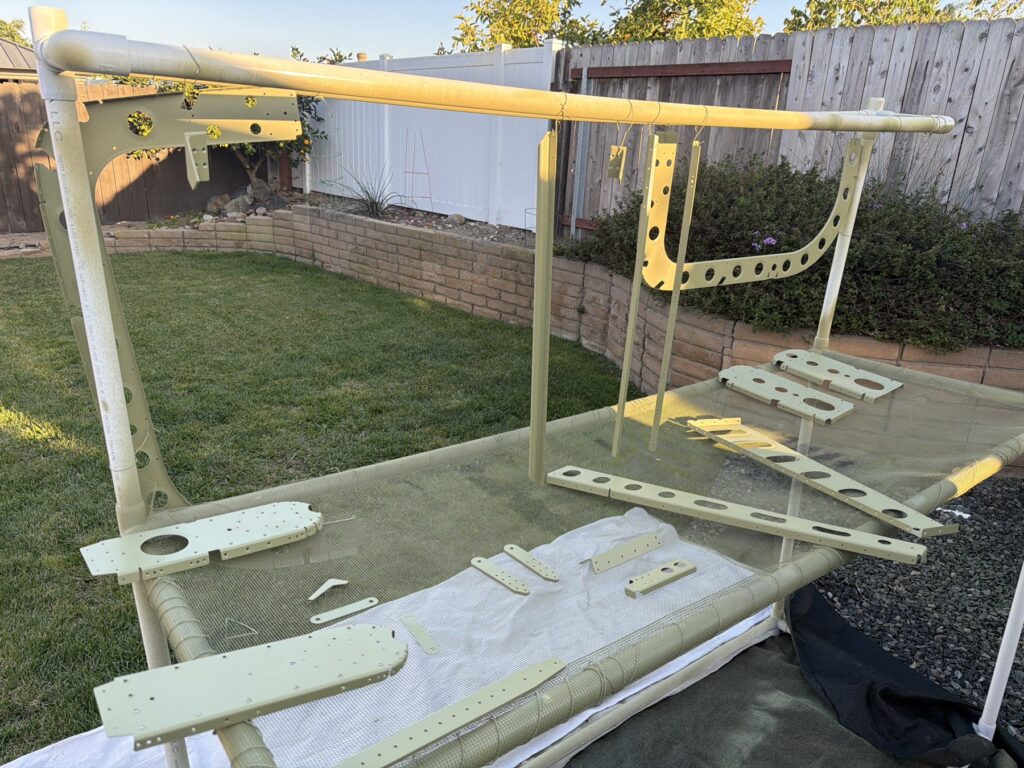
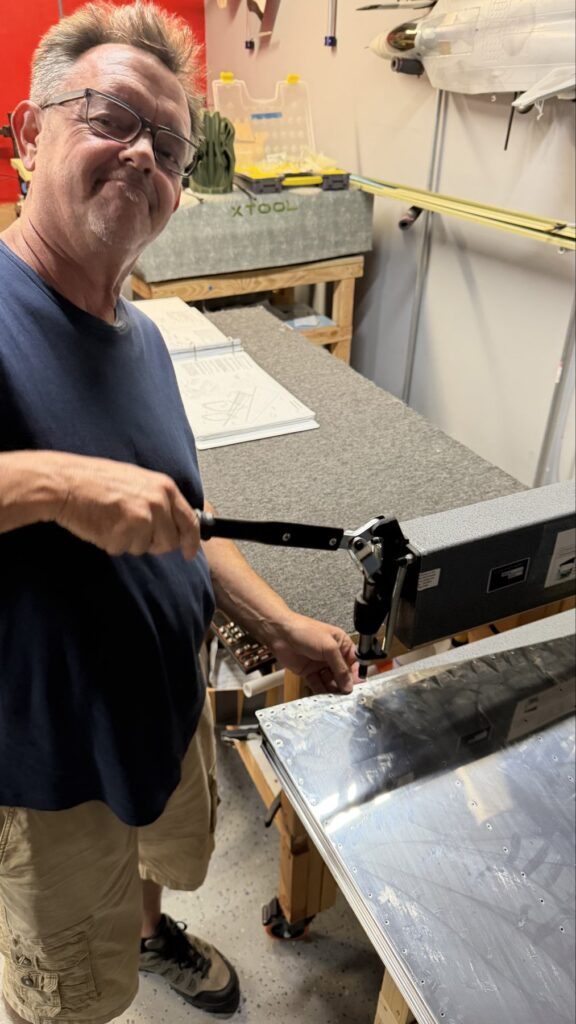
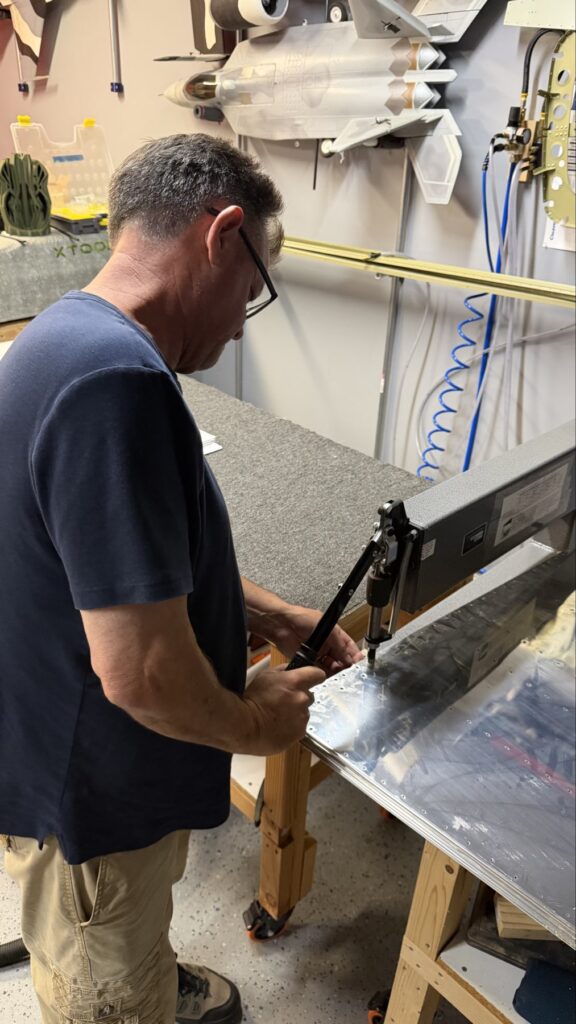
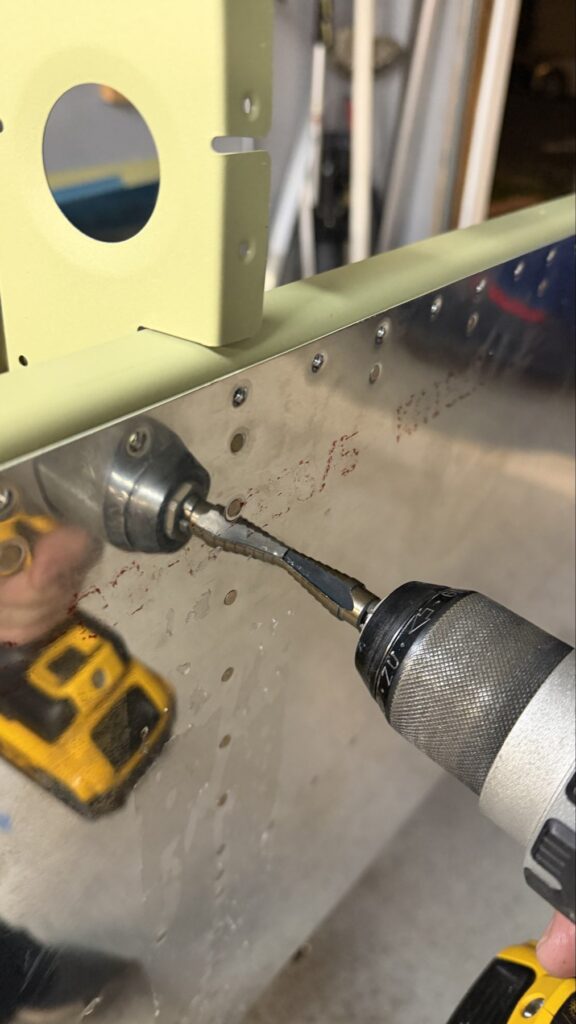
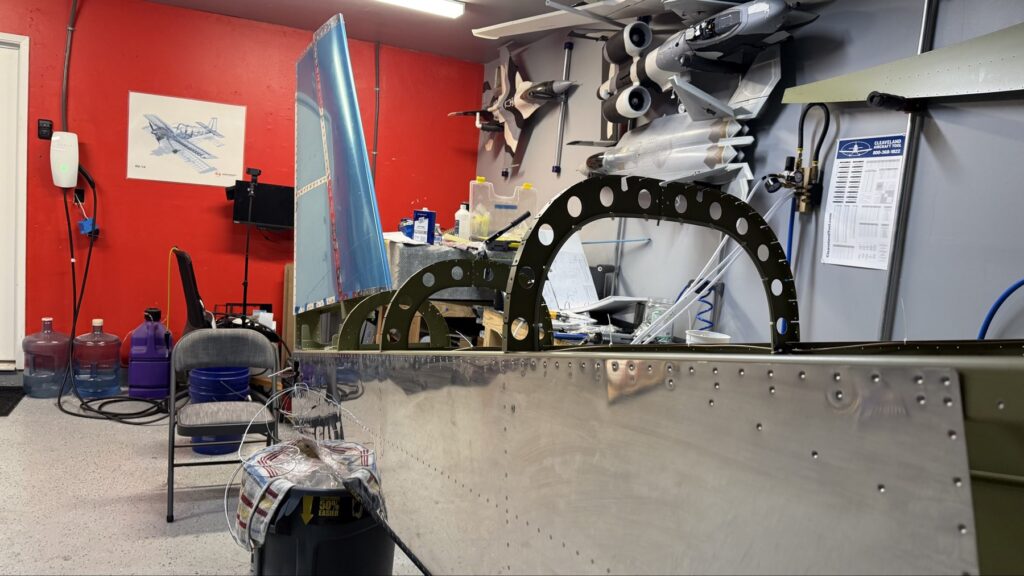
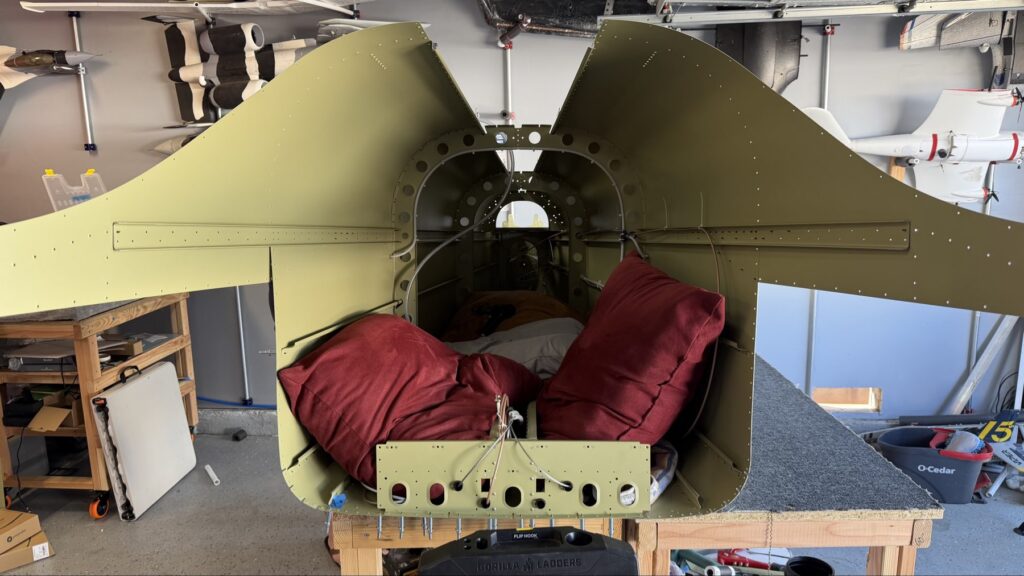
Now that all these parts are primed, it was time to start setting some rivets
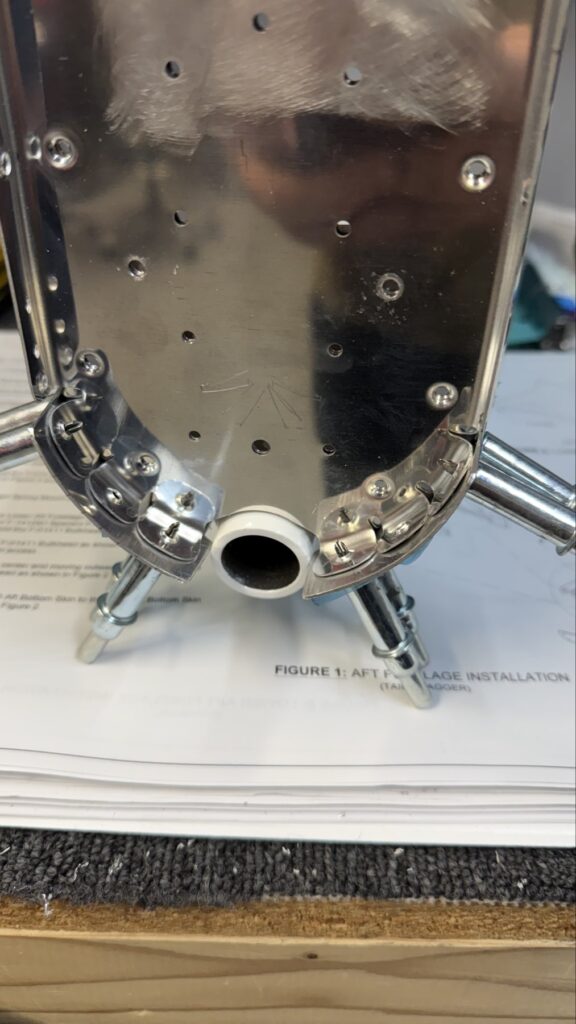
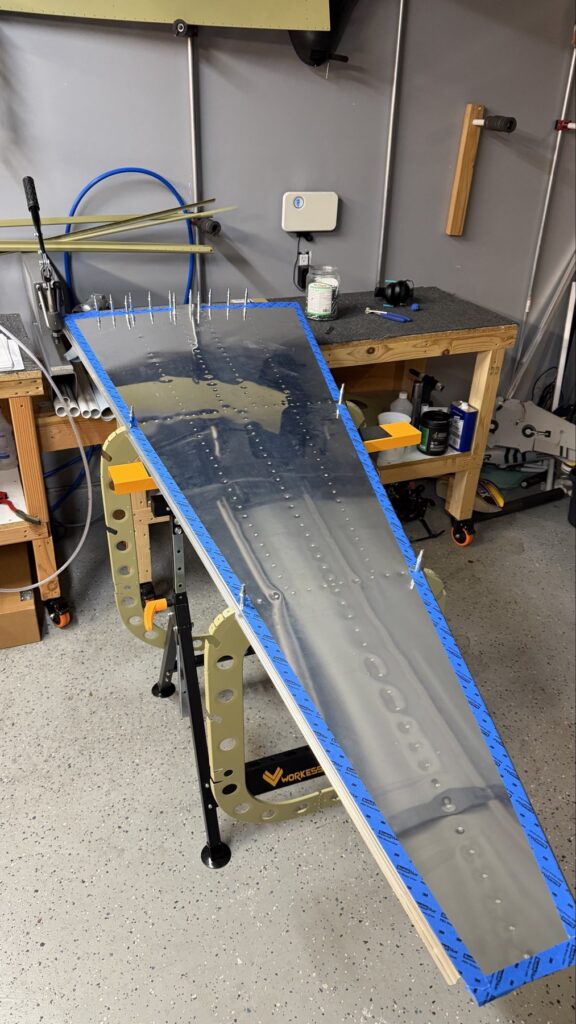
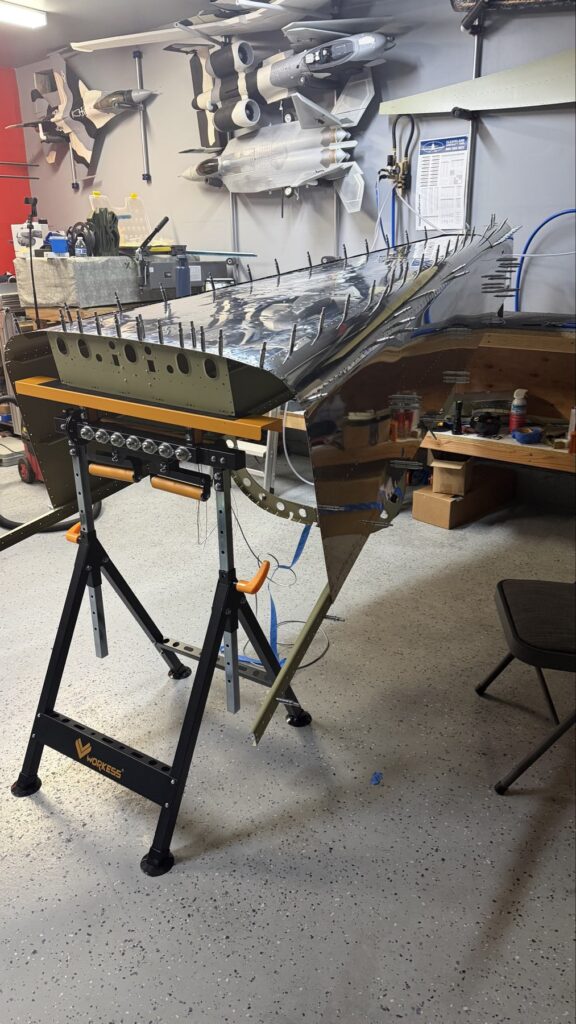
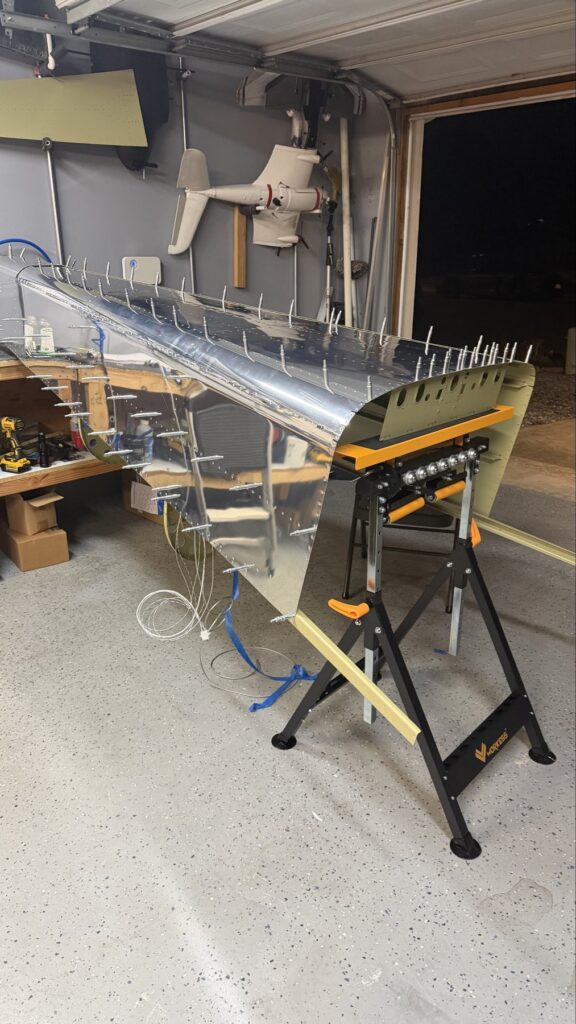
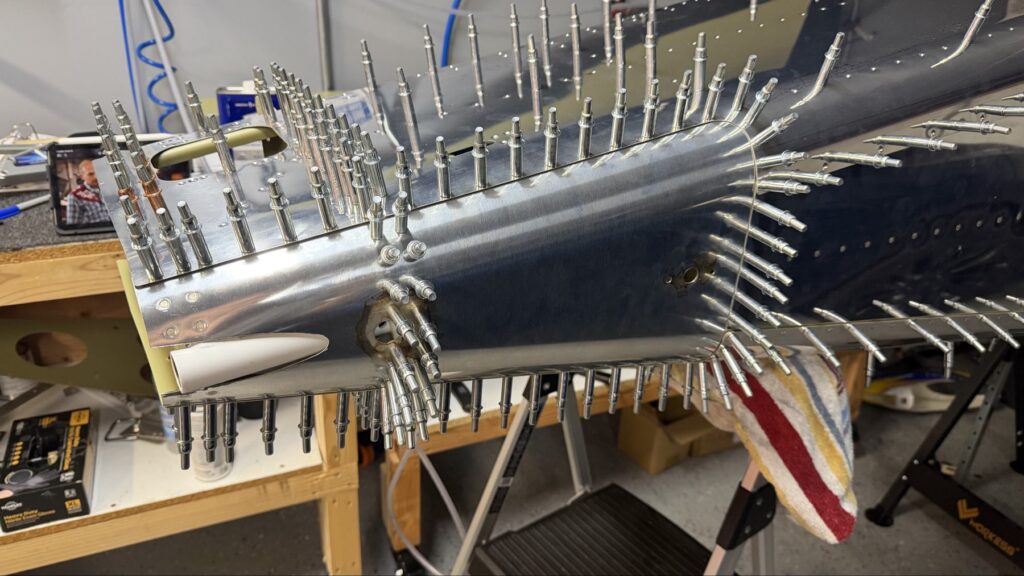
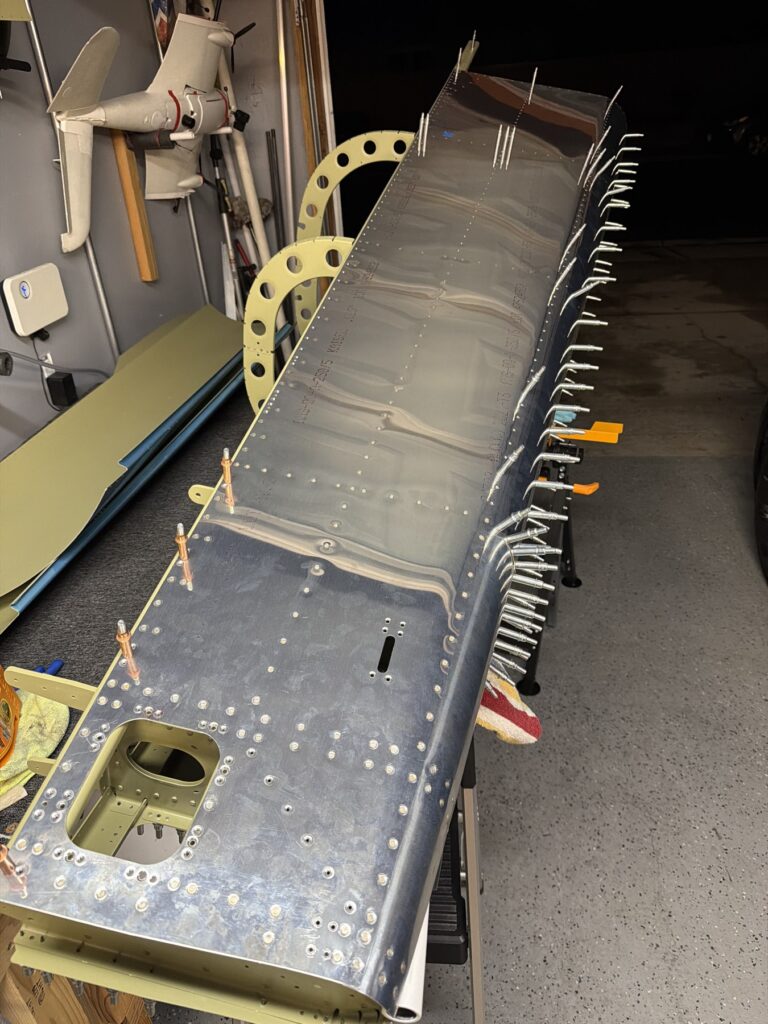
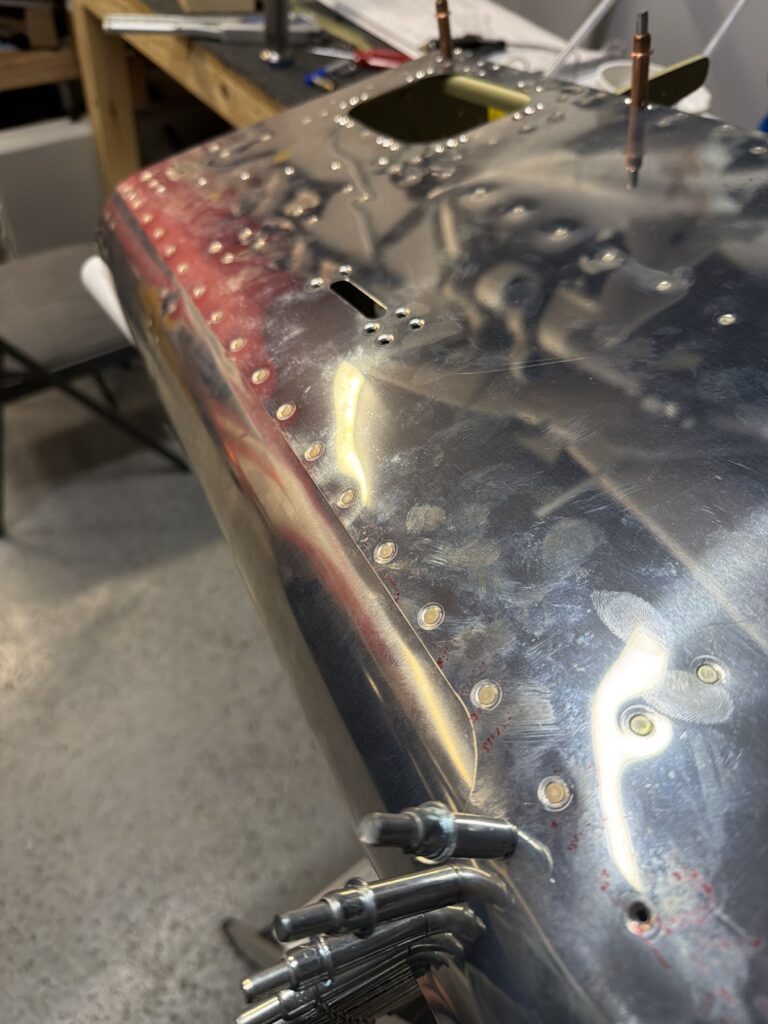
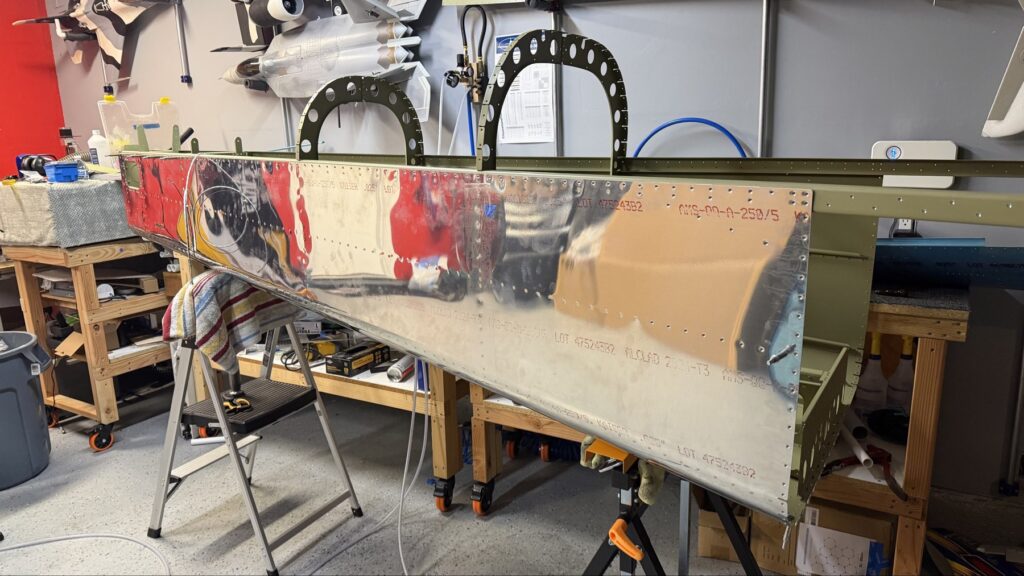
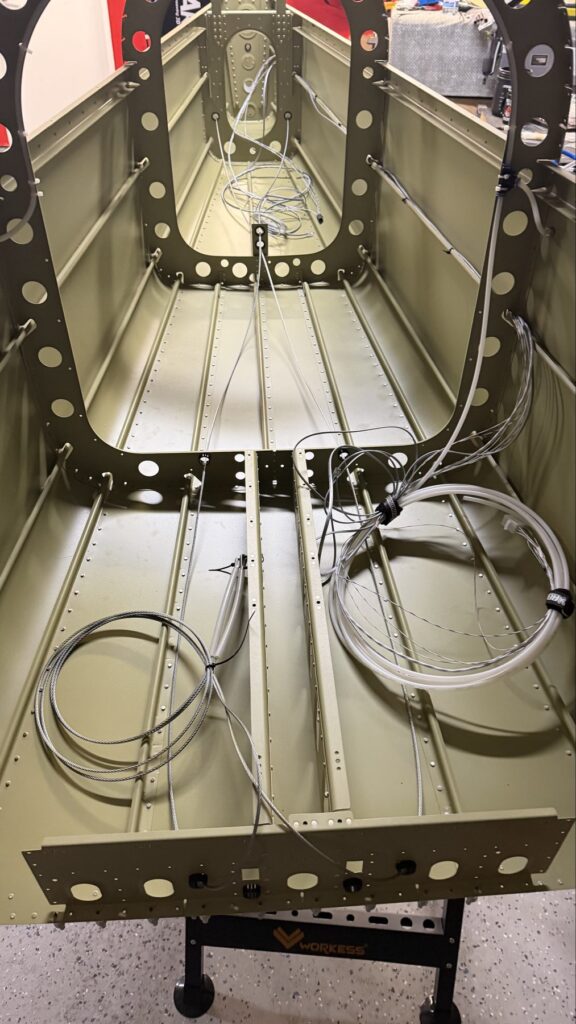
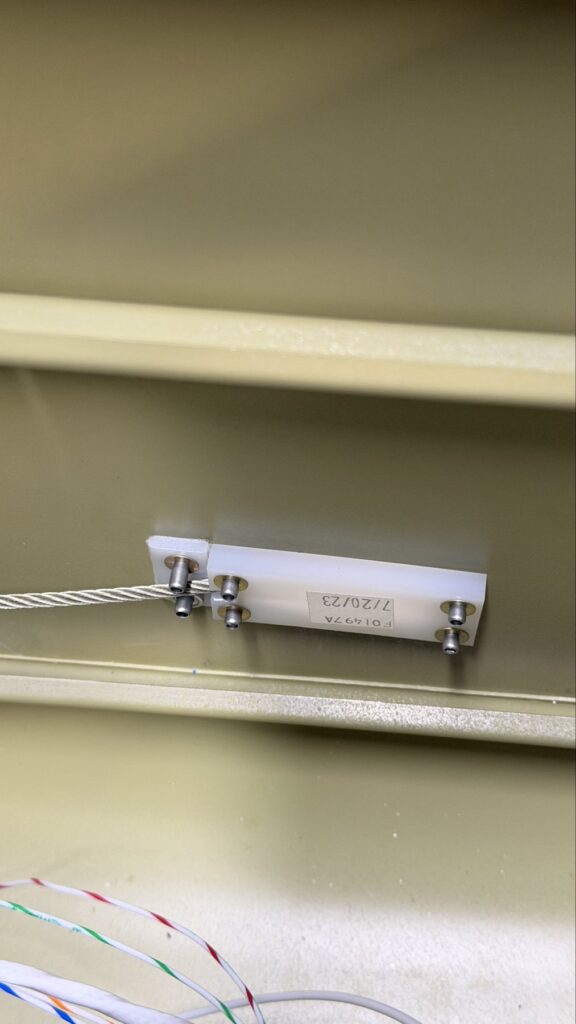
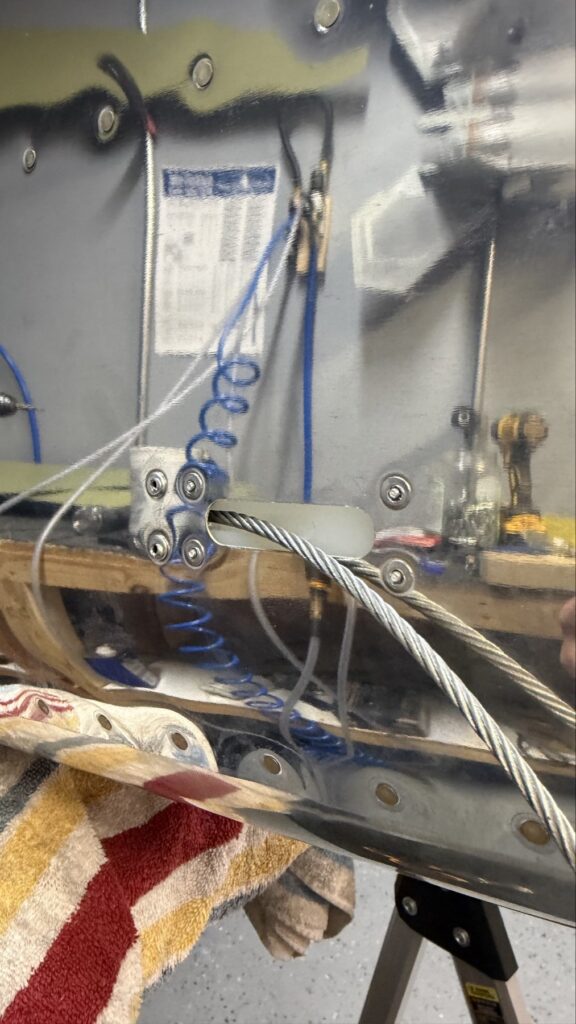
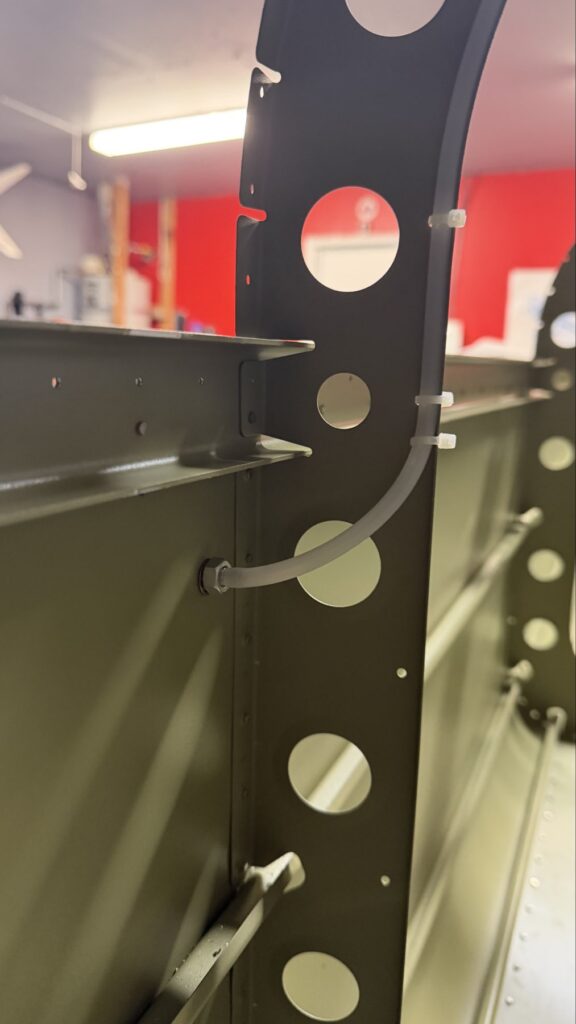
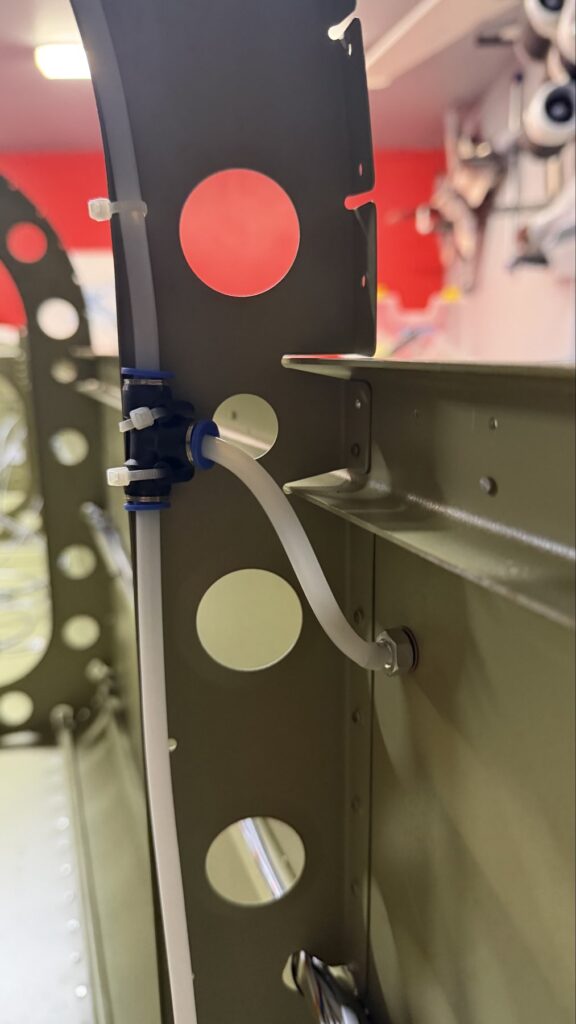
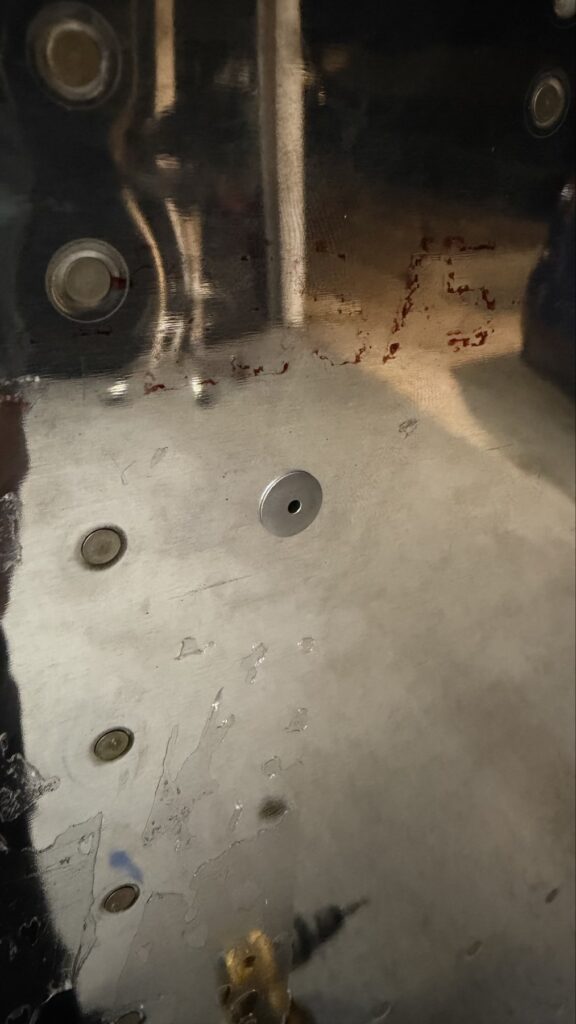
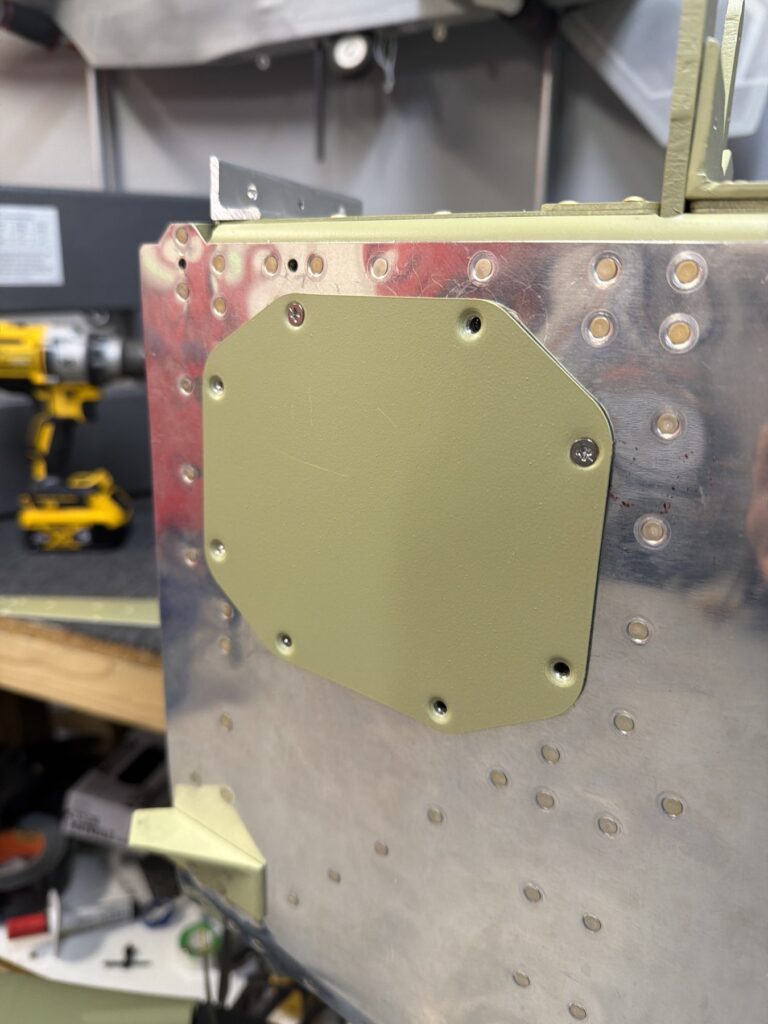
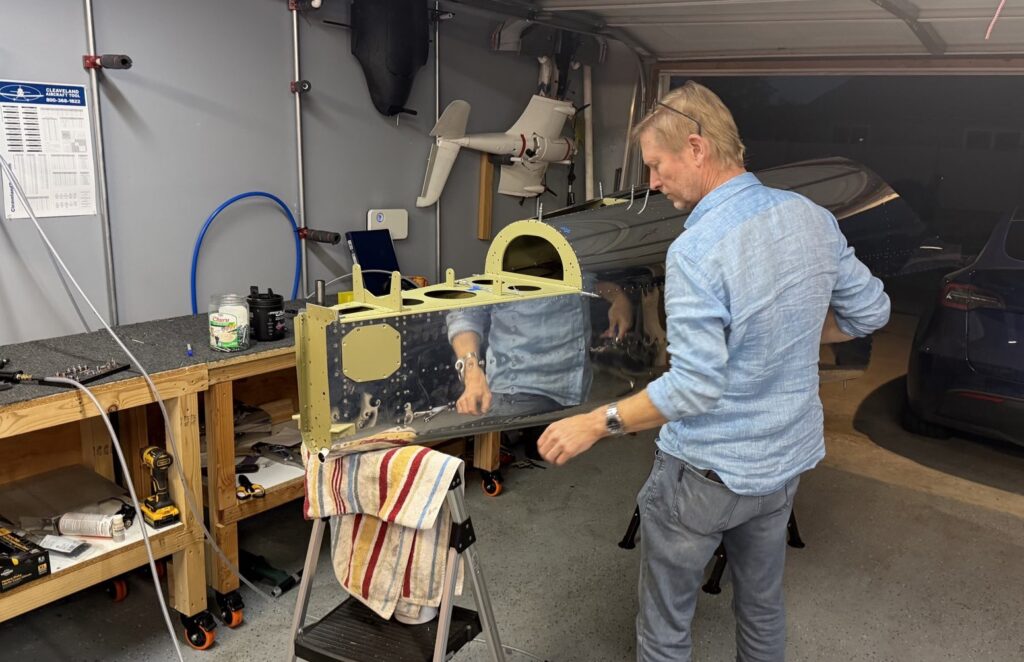
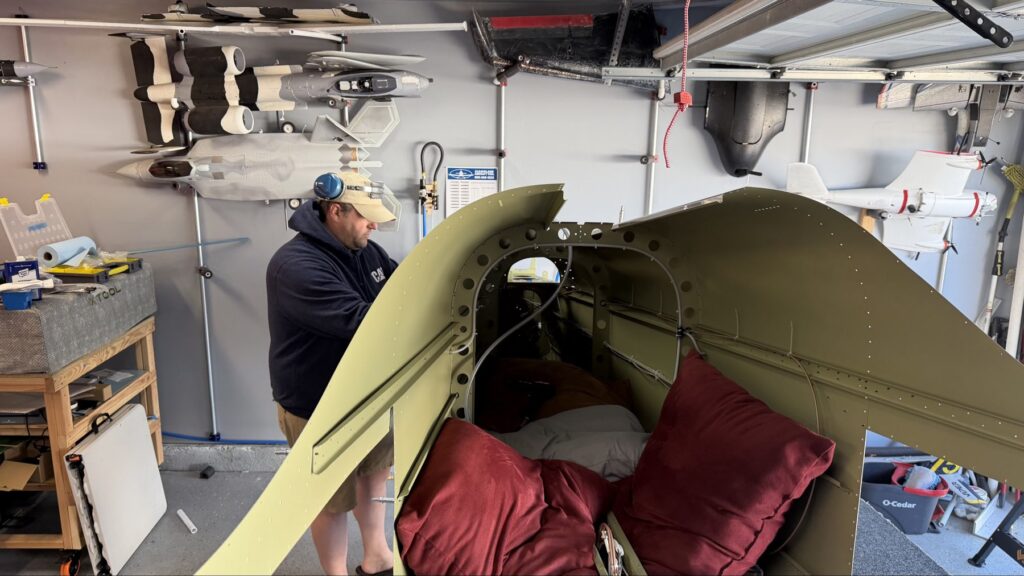
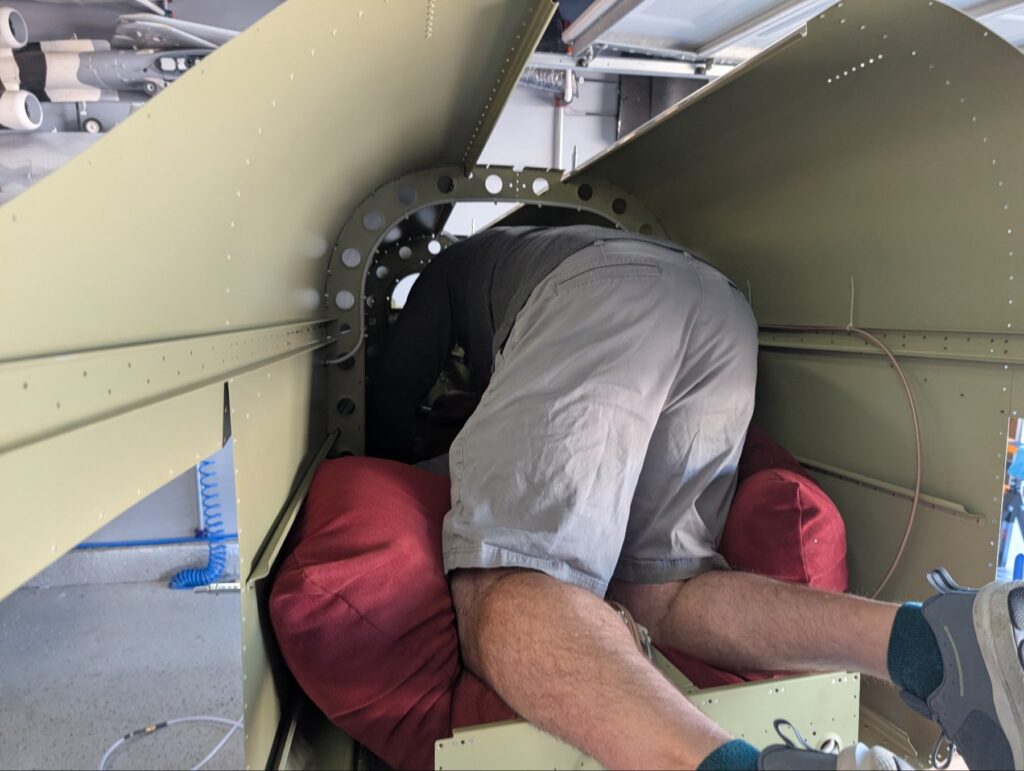
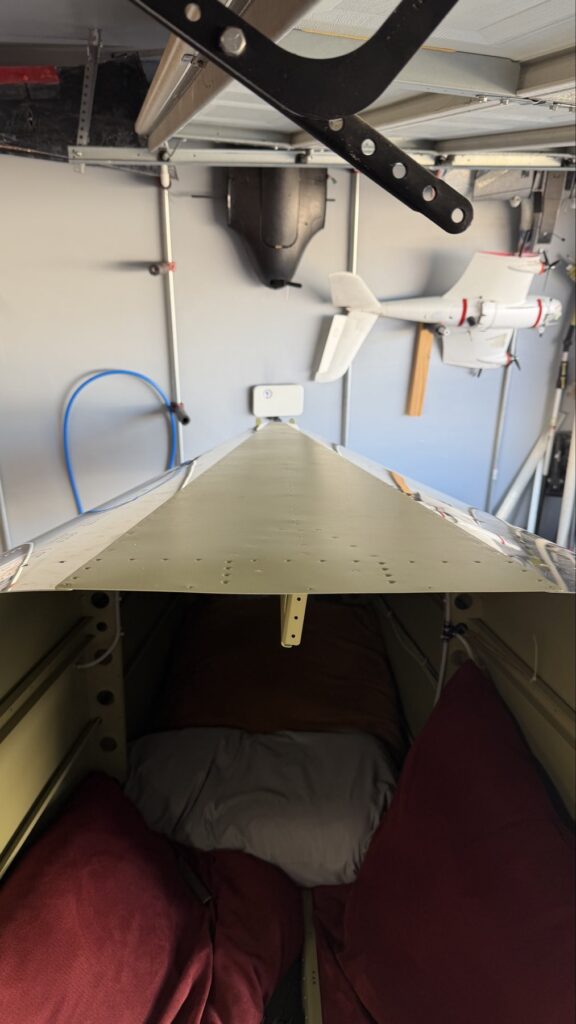
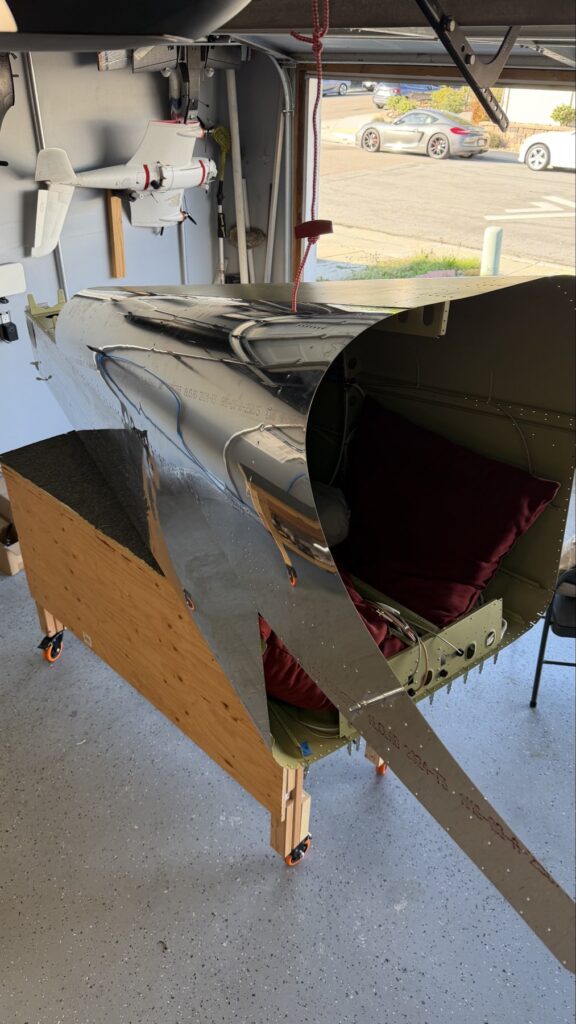
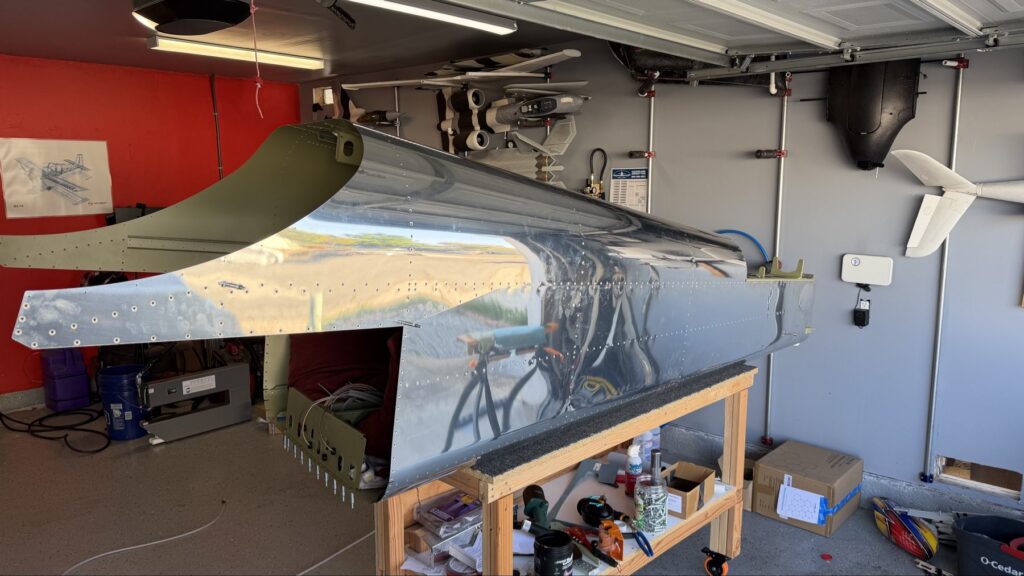
A really special friend came to visit me and some of our other friends here in San Diego, so of course I had to put him to work. Need to fill out that build log with as many friends as I can manage!Starting to get an idea of what things look like hereI turned that assembly over and attached the first two side skinsGetting the tailwheel holder attached so I can cover it up with that heftier skinHere is the skin clecod on. Don’t worry about those “spots” there, I wasn’t priming the outside of this part but I did break the alclad coating as a part of this metal shaping, so I deburred all of that and then went over it with an Alodine pen to protect it.Actually starting to run some systems wires, even an antenna cable!So many clecosThings getting permanent over here!This is one of the two rudder cables. These are guided out by these nylon parts that get riveted to the skinI am enlarging these holes to accept the static ports for the pitot-static systemThe Vertical got temp attached for some additional holes that needed to be matched upThis is the top skin that gets a rib and a doubler attached to it. This part is another of my priming mistakes.. I accidentally primed both the inside and the outside, foolishly thinking this part was just an internal doubler when in fact it was a visible skin.Speaking of oopsies, this access plate also got primer on both sidesHung one of the top-side skins and got the second one dimpled and also ready to hang, but it doesn’t go up until this part gets riveted down.Thanks to Jeff, I was able to finish these top skins and call it done!I had to get comfy though..Yeah.. here’s that top skin that shouldn’t have been primed on both sides. I don’t want to talk about it.