05: Rudder Assembly

by

in

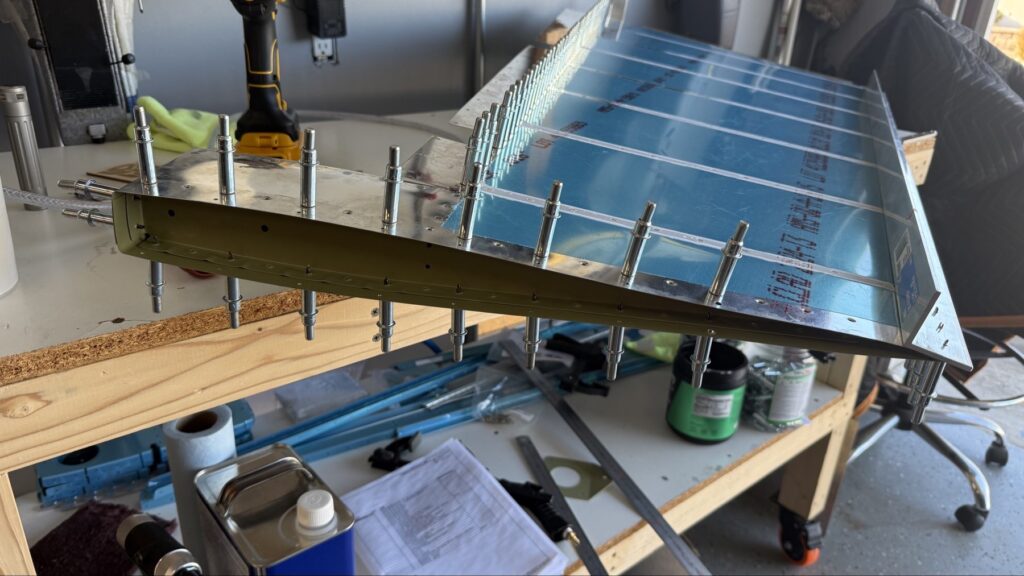
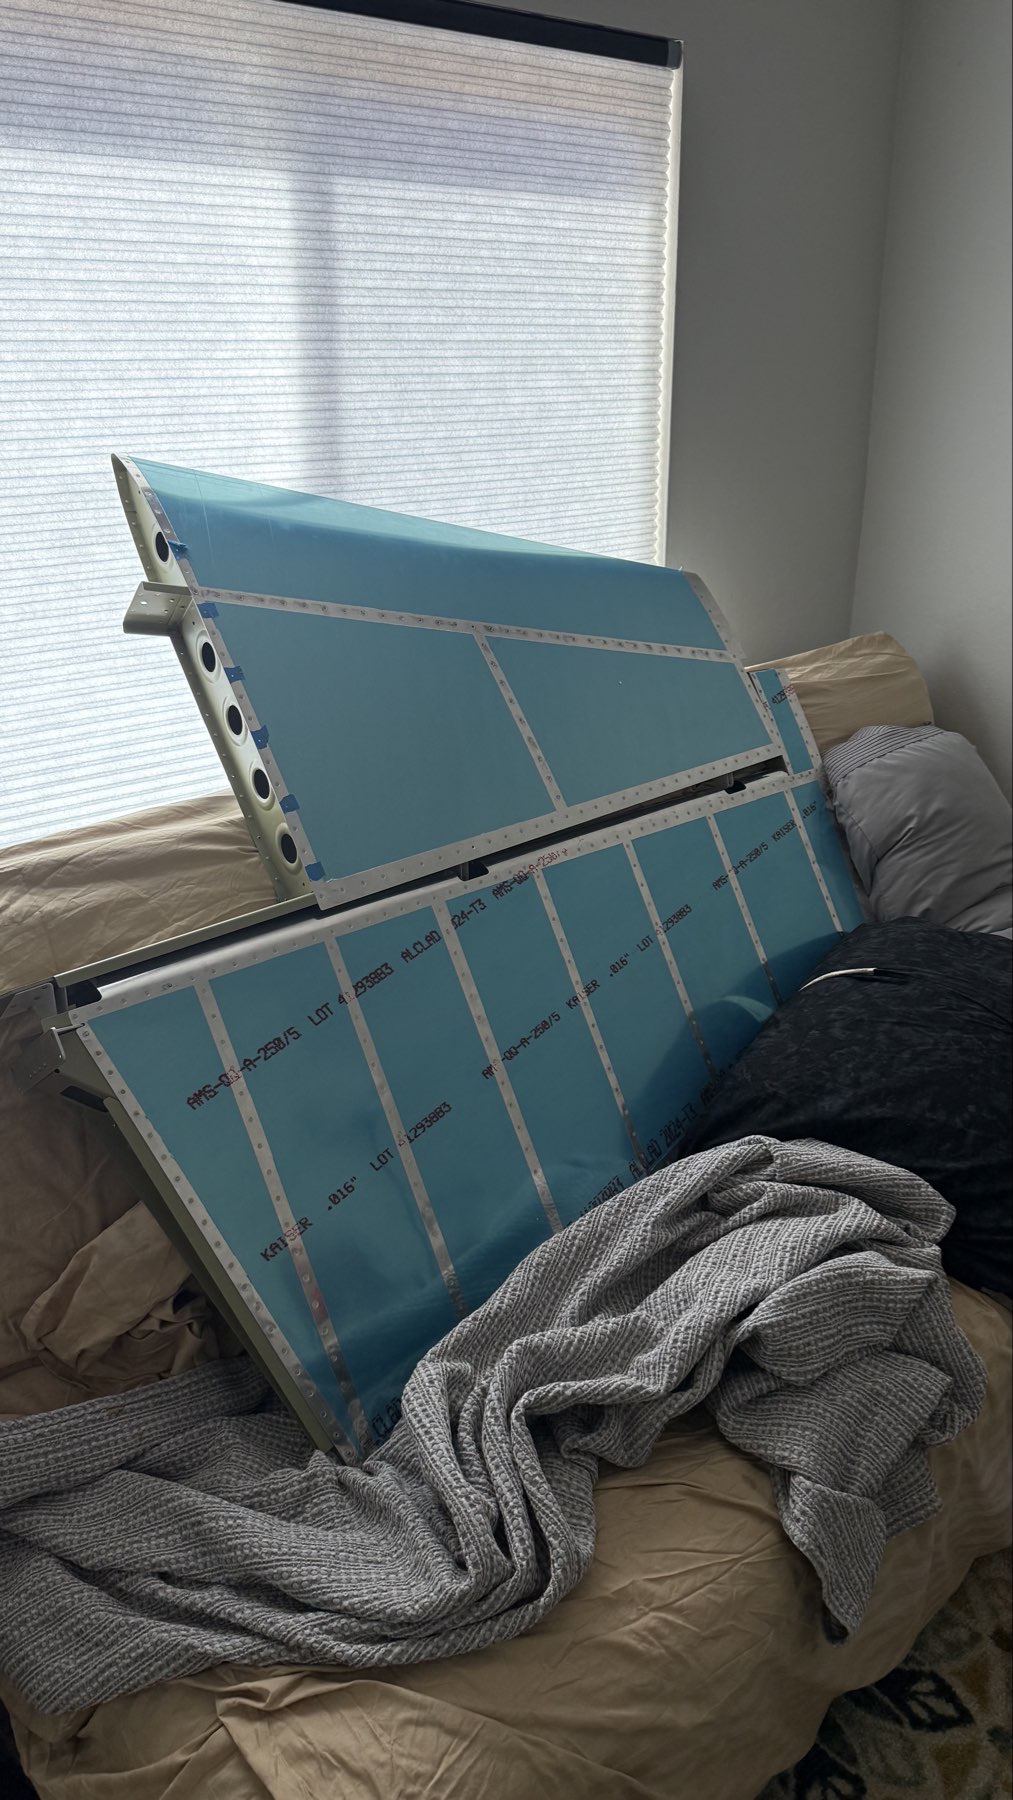
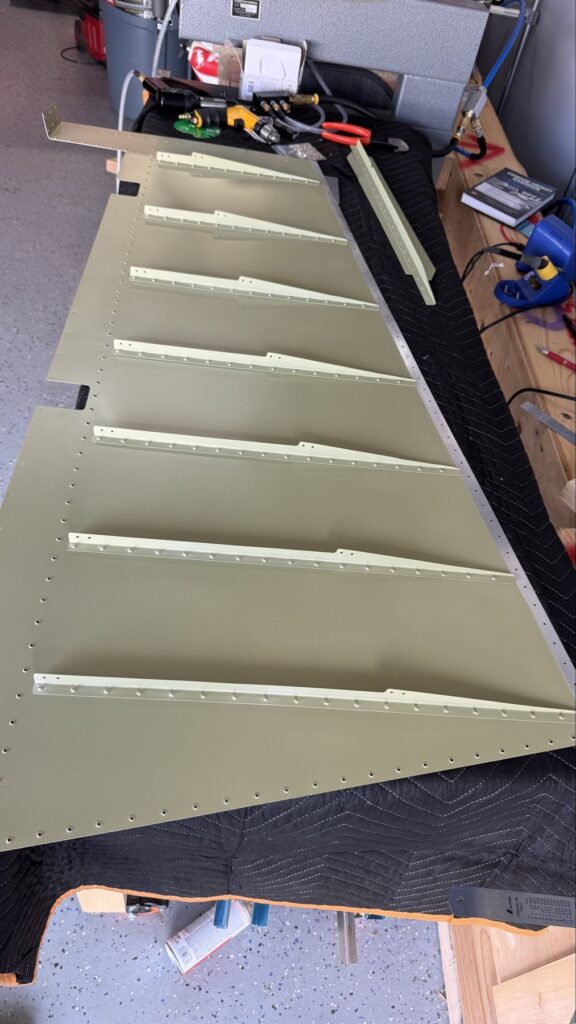
With priming complete, and the Vertical Stab finished, it became time to knock out the Rudder.

Look at all those stiffners
Doubler plate and nut plate installs
Pull riveting internal structure
More stiffners!

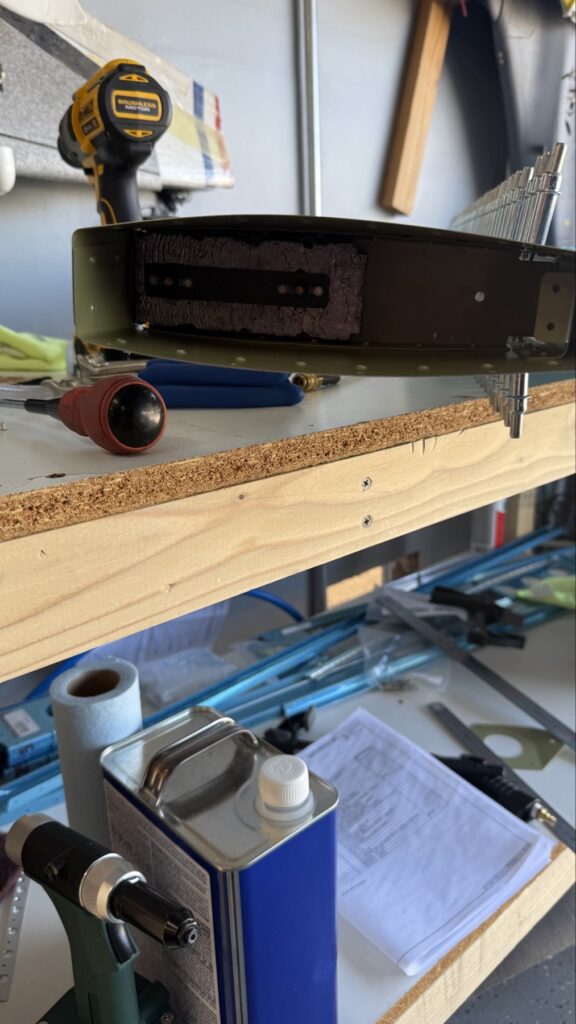
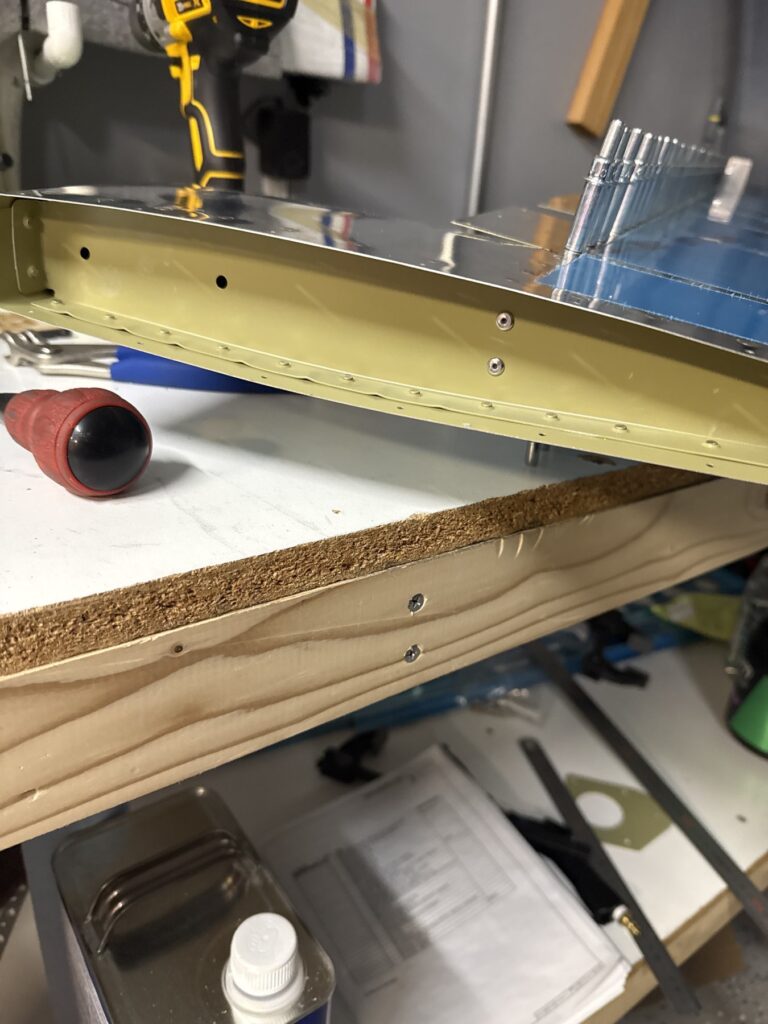
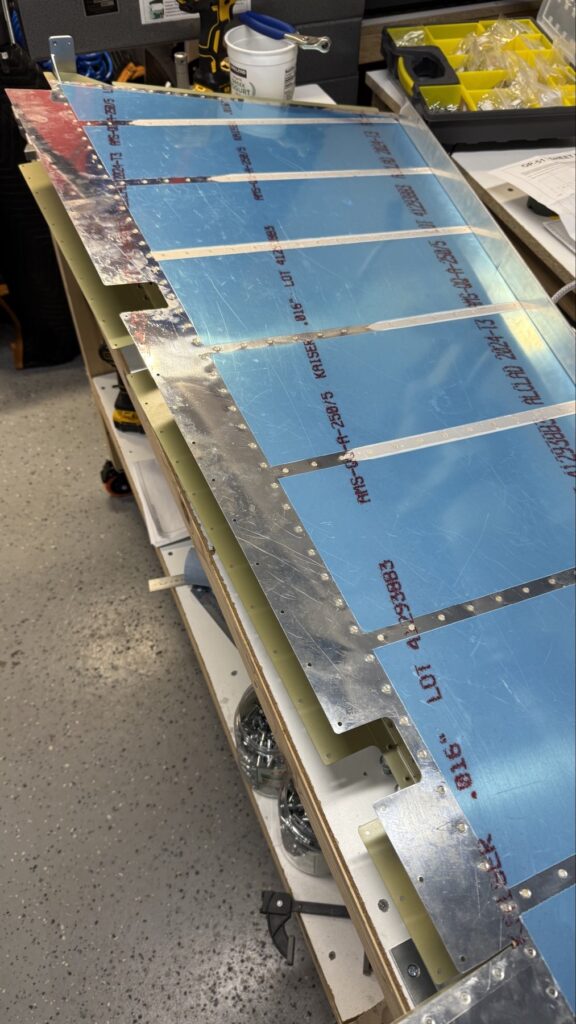
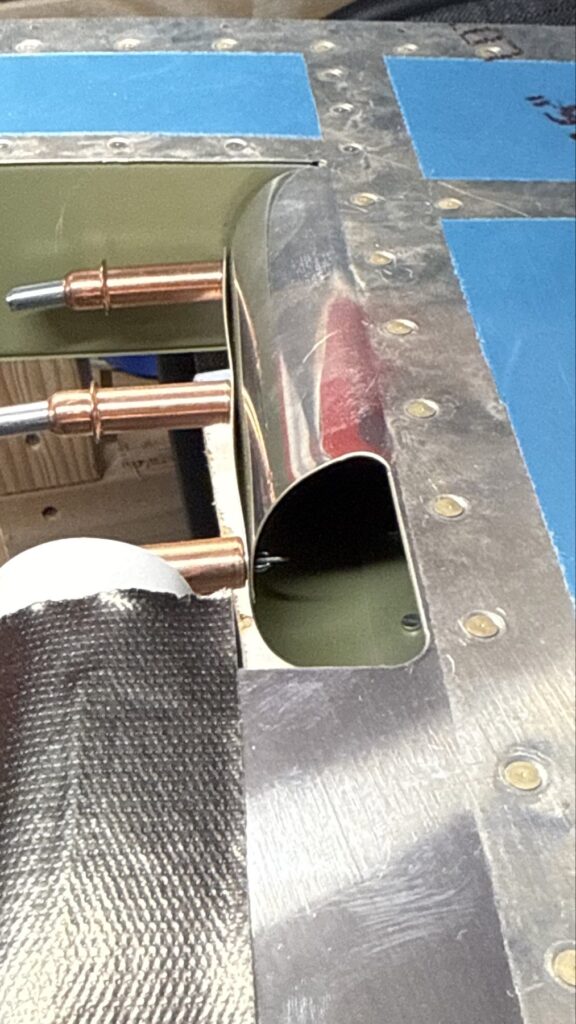
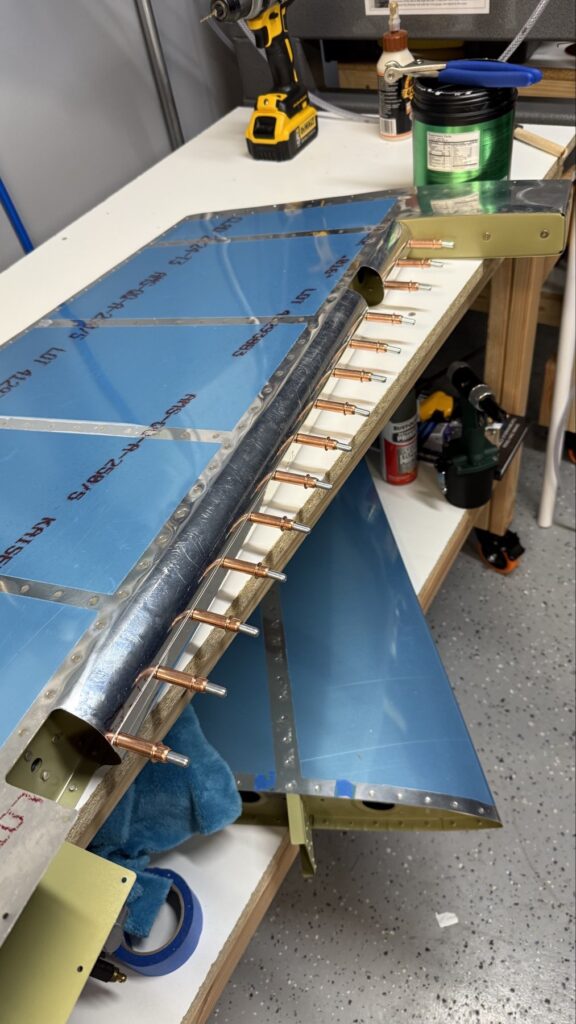
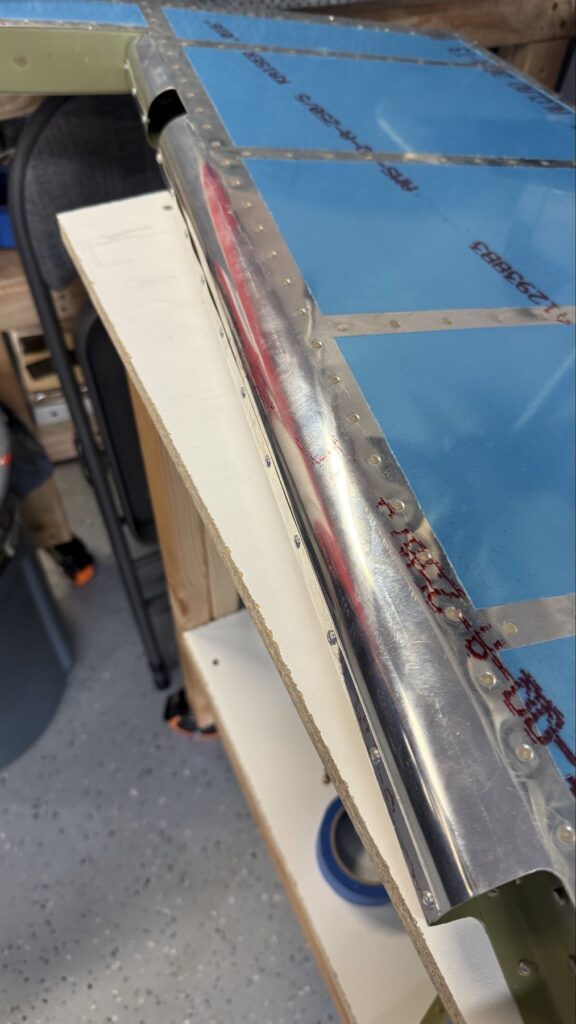
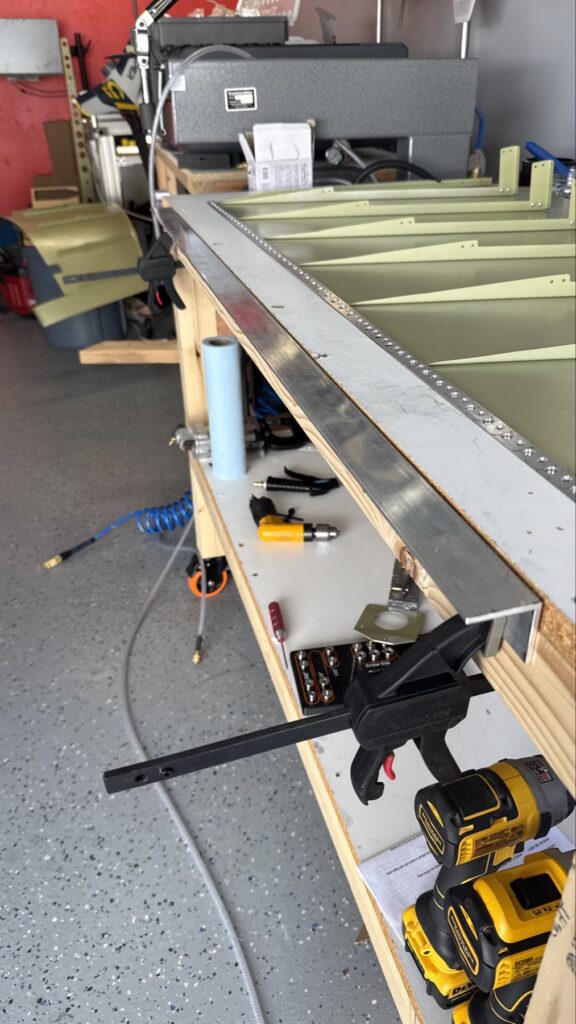
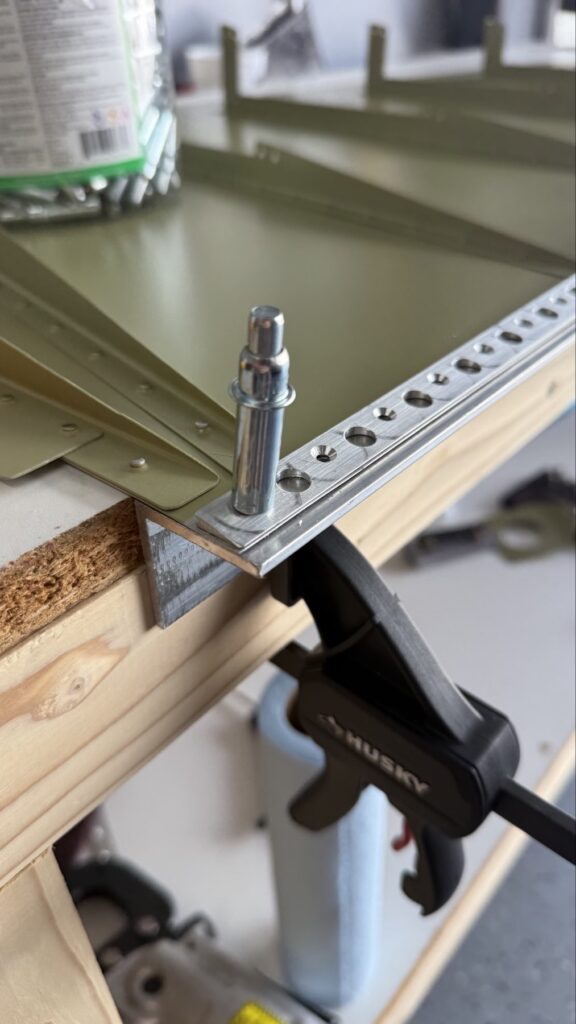
The trailing edge of the rudder has a special wedge that gets secured in and works to promote a nice straight trailing edge. This piece was countersunk in a previous blog.

I bought this angle piece at Home Depot and clamed it to the table so I could then match drill the trailing edge hole pattern to it. The reasoning will be apparent shortly..
Setting the first cleco to secure everything together. I then match drilled every one of the through holes to the angle piece
With all the holes now matched to the angle piece, I have a strip of thin 3M tape used to seal the two trailing edges to the trailing edge piece ahead of the riveting
This is what it looks like with the clecos all in the match drilled holes through to the angle piece. All effort towards a perfectly straight trailing edge!
Don’t forget to sign before closing permanently!
Both skins, the thin layer of 3M tape is now curing overnight
This is the rudder horn that attaches to the forward spar of the rudder and has holes in it that capture the rudder cables later

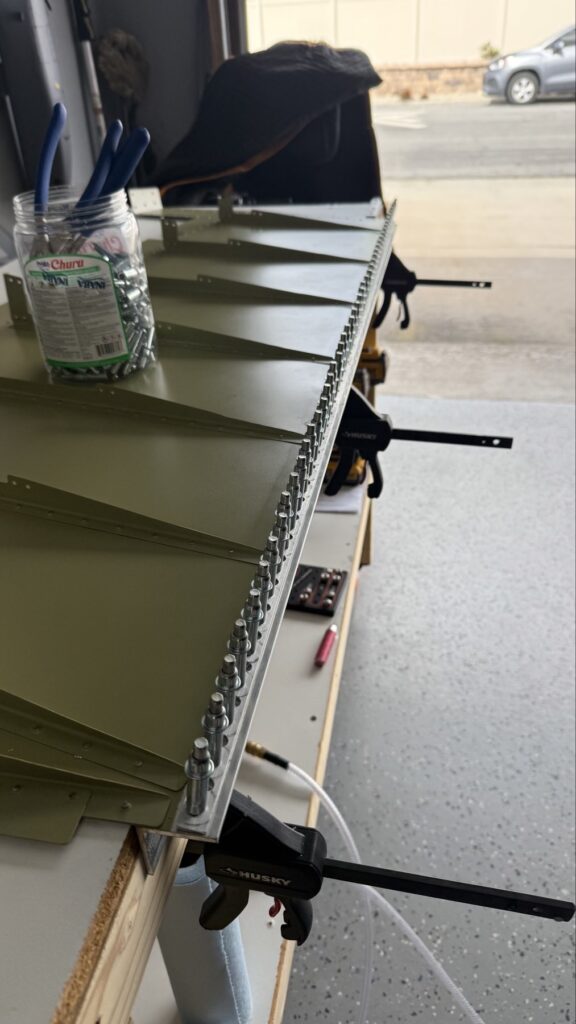
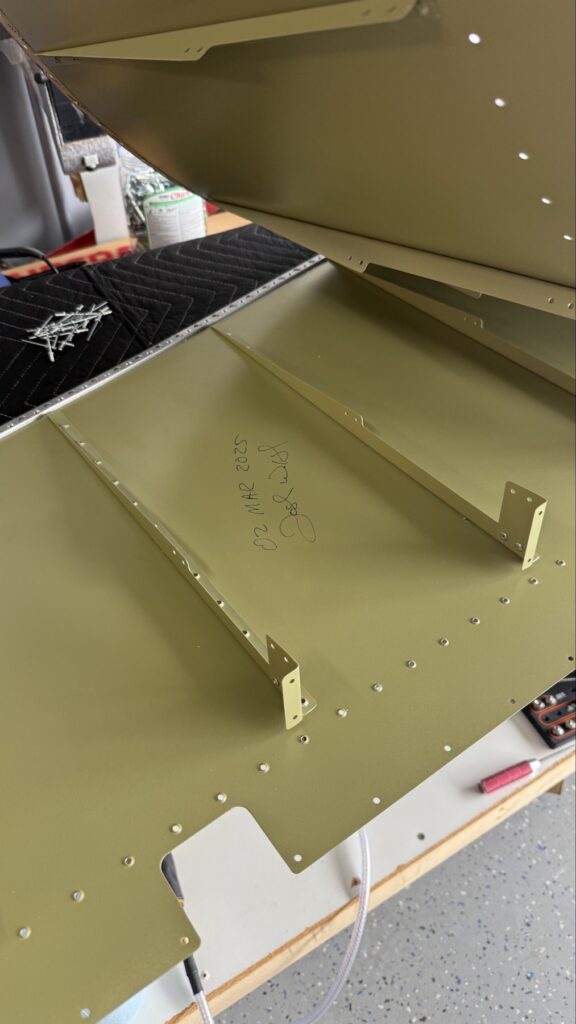
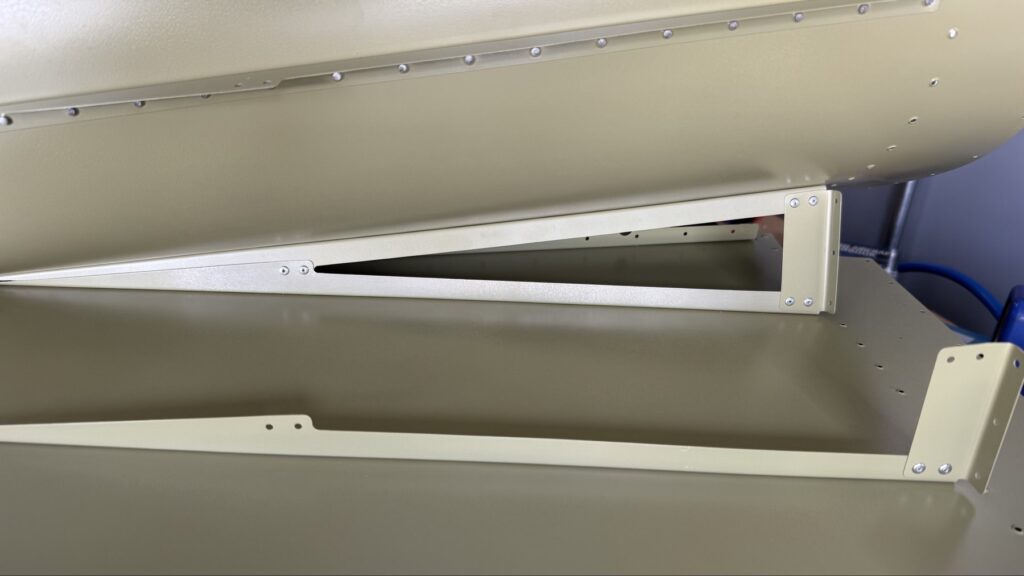
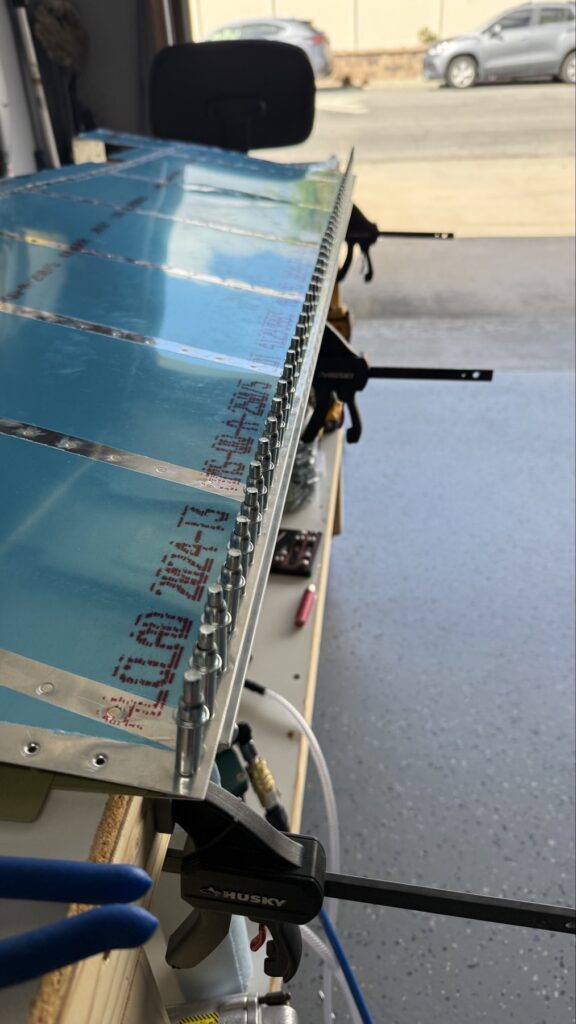
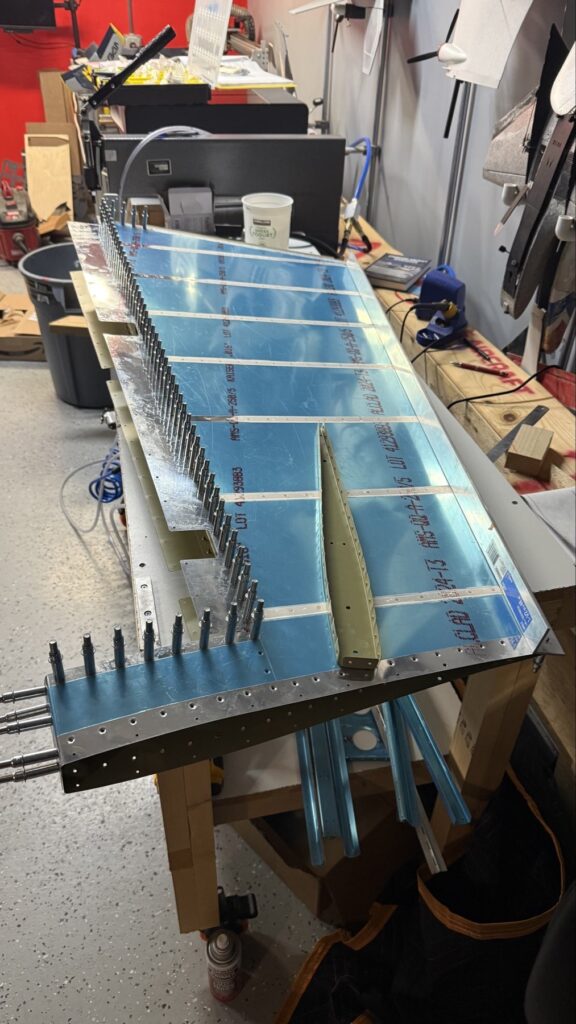
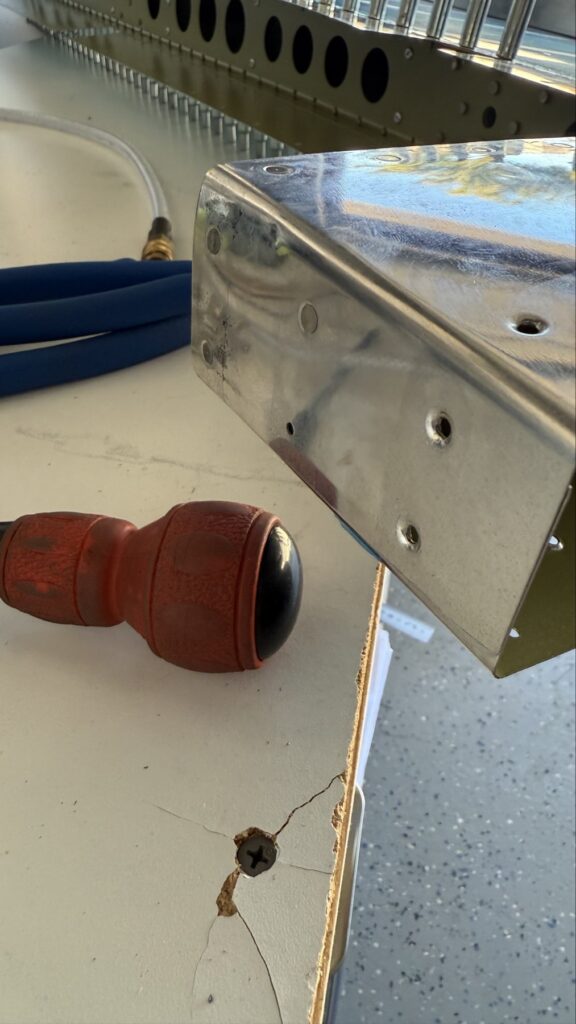
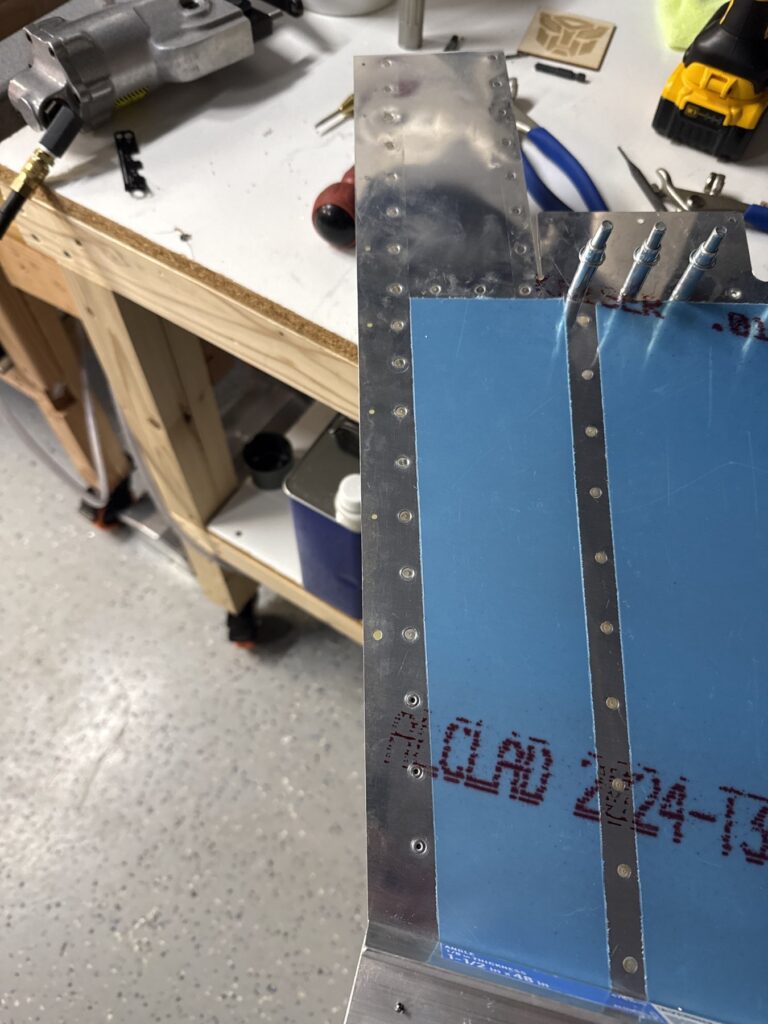
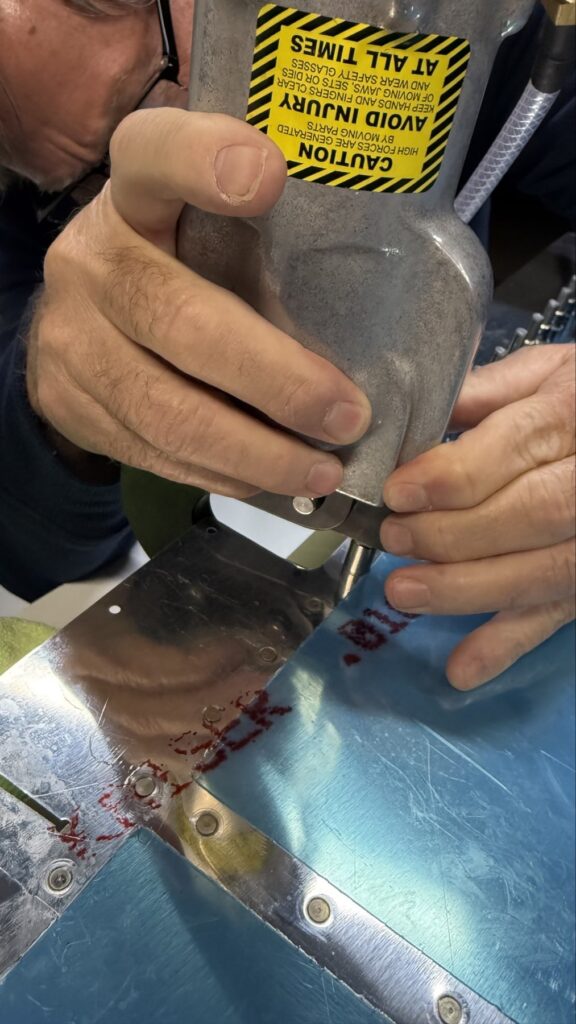
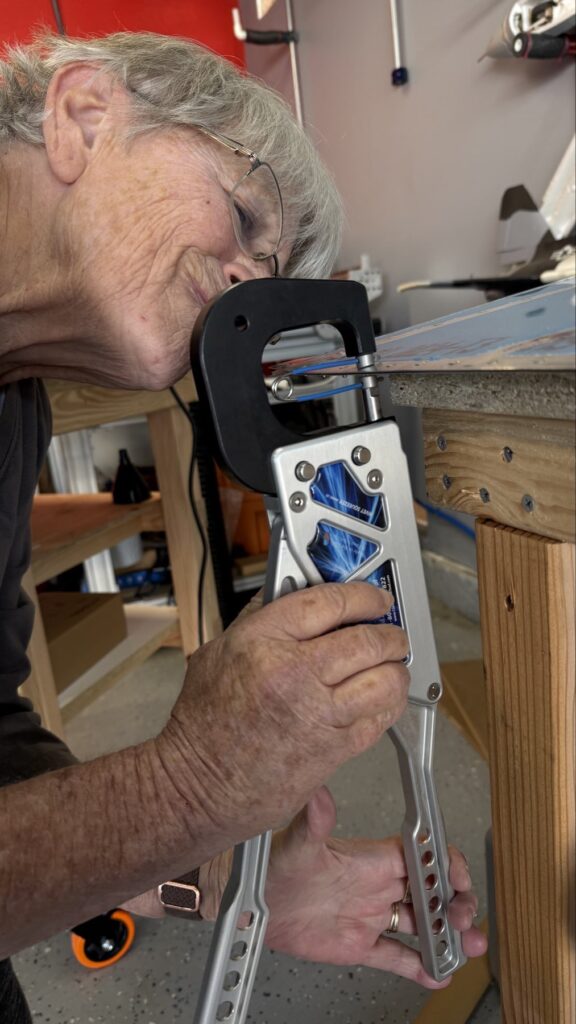
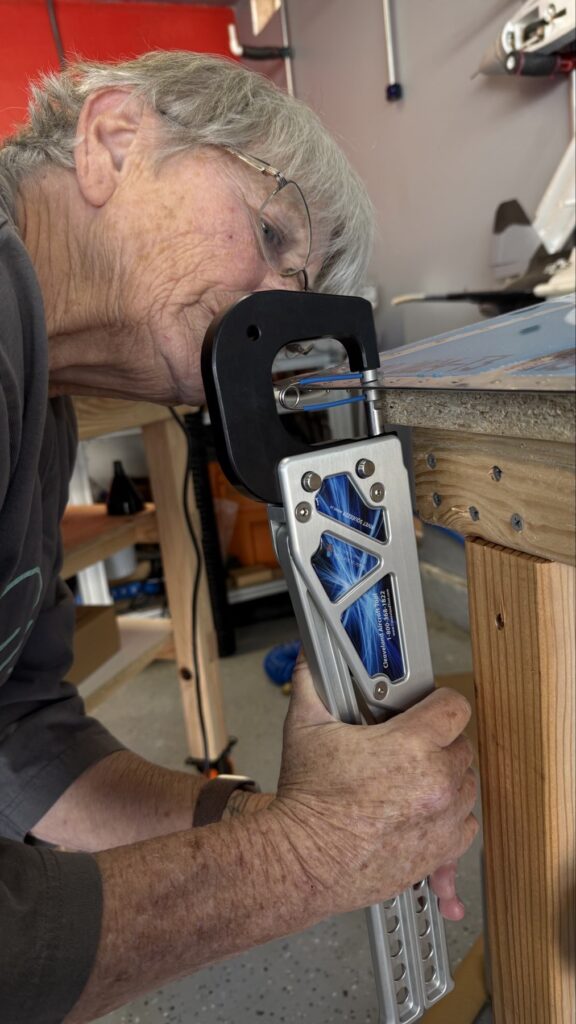
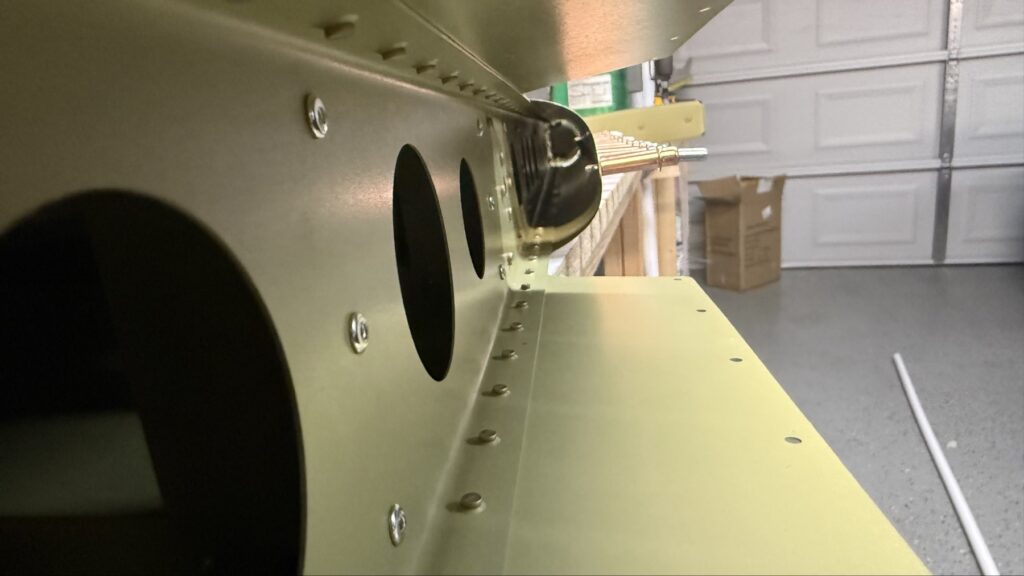
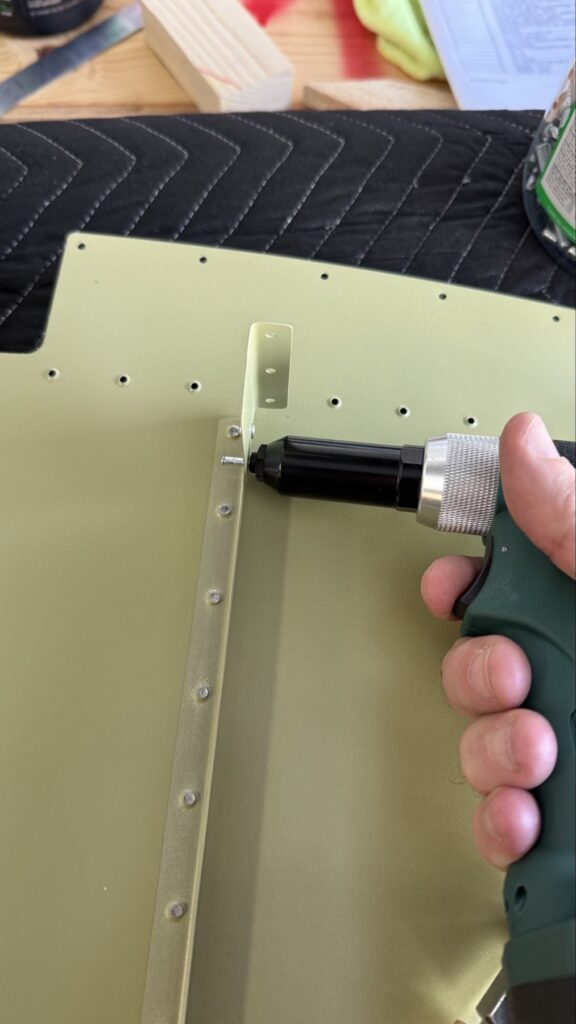
It is now time to start finalizing the close of the rudder. I installed the counterweight balance and started all the riveting to replace the clecos.

Counterweight installed
Rivets!
Got David over for the first time to help set some rivets
Mom’s first rivets!
I officially hate rolling leading edges.
Yep. Hate.